Posted on

The aperture in photography

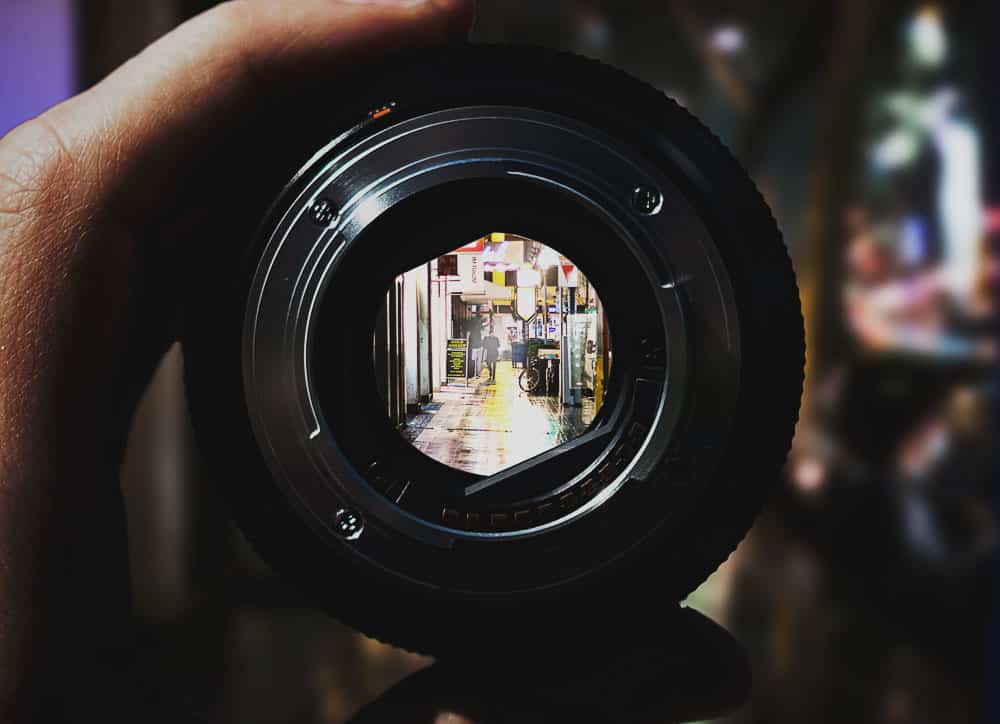
One of the most important factors in photography is the aperture . The aperture is a lamellar opening in the lens that opens and closes. It has two influences on a photo. On the one hand, it controls the brightness and, on the other hand, the depth of field (or depth of field).

General information about the aperture

Surely you know the portraits or macro shots where only a small part of the picture is sharp. The rest disappears in a blur. With this type of image we speak of a shallow depth of field. We sometimes control the size of this area through the aperture and have different areas of application for this. In landscape photography, we want to be as sharp as possible. But for this it is not necessary to close the shutter as far as it will go! Depending on the lens and camera, aperture values ​​of 5.6 or higher are enough to speak of a high depth of field. The opposite are low aperture values. These open the aperture further and ensure a low focus range.

Aperture value

The aperture value is a little bit confusing, because with a higher value we have a closed aperture and with a lower value we have an open one. This is because the aperture value is a fraction. We don’t actually set an aperture of 4, but an aperture of f / 4. This is because the aperture value is calculated from the focal length of the lens and the diameter of the light passage. This explains why lenses are sometimes very thick, but is difficult to remember for beginners.

Aperture step

If that wasn’t too much for you, I have another tip for you. Because we have a certain approach to the aperture values. As you may have already noticed, you cannot set an aperture of 3.8 on your camera ; an aperture of 4 works though … Why?

It has to do with a very simple calculation and logic. If the aperture makes a full step (from 5.6 to 8, for example), only half as much light falls into the camera. Conversely, of course, from f / 4 to f / 2.8 we let twice as much light into the camera. In this case one speaks of an aperture step. This is available in whole steps and in thirds.

Whole aperture steps:

1 – 1.4 – 2 – 2.8 – 4 – 5.6 – 8 – 11 – 16 – 22

In order to be able to adjust the aperture more finely, there are now third steps. These can be found in most cameras between all the steps for the blind. ( 2 – 2.2 – 2.5 – 2.8 ). Many values ​​in photography are based on this aperture value; also the exposure time and the ISO value.

In simple terms, however, you can say that if you turn a setting wheel on the camera three steps in a certain direction, you have halved or doubled the amount of light. Depending on which direction.

The focus range

The area of ​​focus is the area in an image that is in focus. The size of the focus area is controlled, among other things, by the opening of the aperture . If you keep it open, the area of ​​focus will get smaller, and if you close it it will get bigger.

With the autofocus, you can control at which point the image is in focus, through the aperture how far this focus spreads to the front or back. Please note that this focus area spreads on the camera axis. Everything that is left or right of your subject can therefore also be sharp.

Take pictures with the aperture open

There are several advantages to opening the bezel . In this way, you can keep the focus area in your photo small, which makes for a wonderfully focused look in portrait photography or macro photography.

Take pictures with the aperture closed

The complete opposite is of course the closed aperture . The closed aperture ensures that the picture is naturally darker. Less light comes into the camera, so the picture becomes darker. This can be an advantage if we want to expose longer or if we need a large focus area.

Closing the aperture (f / 5.6 -> f / 8 or smaller) increases the focus area . This is great for group pictures or landscape shots, because at this moment we want everything to be sharp. To do this, it is not necessary to close the aperture to f / 22, i.e. as far as it will go. In most cases an aperture of 5.6 is sufficient. That depends on other influences on the sharpness range. I’ll explain this to you now.

Further influence on the focus range

The focus area depends on the distance to the subject and the focal length used . If you take photos at a wide angle, the field of focus (also depth of field) is significantly larger than with a telephoto lens at the same distance.

An example with aperture 2 and a distance of 4 meters:

  • 17mm = 20.92m depth of field
  • 50mm = 0.77m depth of field
  • 200mm = 0.05m depth of field

The distance to the subject has the same influence. Have you ever noticed that the distance to the subject changes the blurring in the background? With a lot of distance the focus area is quite large, with a short distance it becomes smaller and smaller.

Again the example with aperture 2 and a focal length of 50mm

  • 1 meter distance – 0.05m depth of field
  • 2 meters distance – 0.19 m depth of field
  • 5 meters distance – 1.21 m depth of field

So if you want to have blurring in the background of your portraits, you should not only choose an open aperture , but also get close to your subject (and keep a distance from the background).

The connection between all these influences and factors is certainly not easy to understand at the beginning, but over time this becomes easier and easier. With a little practice you will develop a feeling for which combination of aperture , distance and focal length is the right one for the respective situation.

Limits of the lens

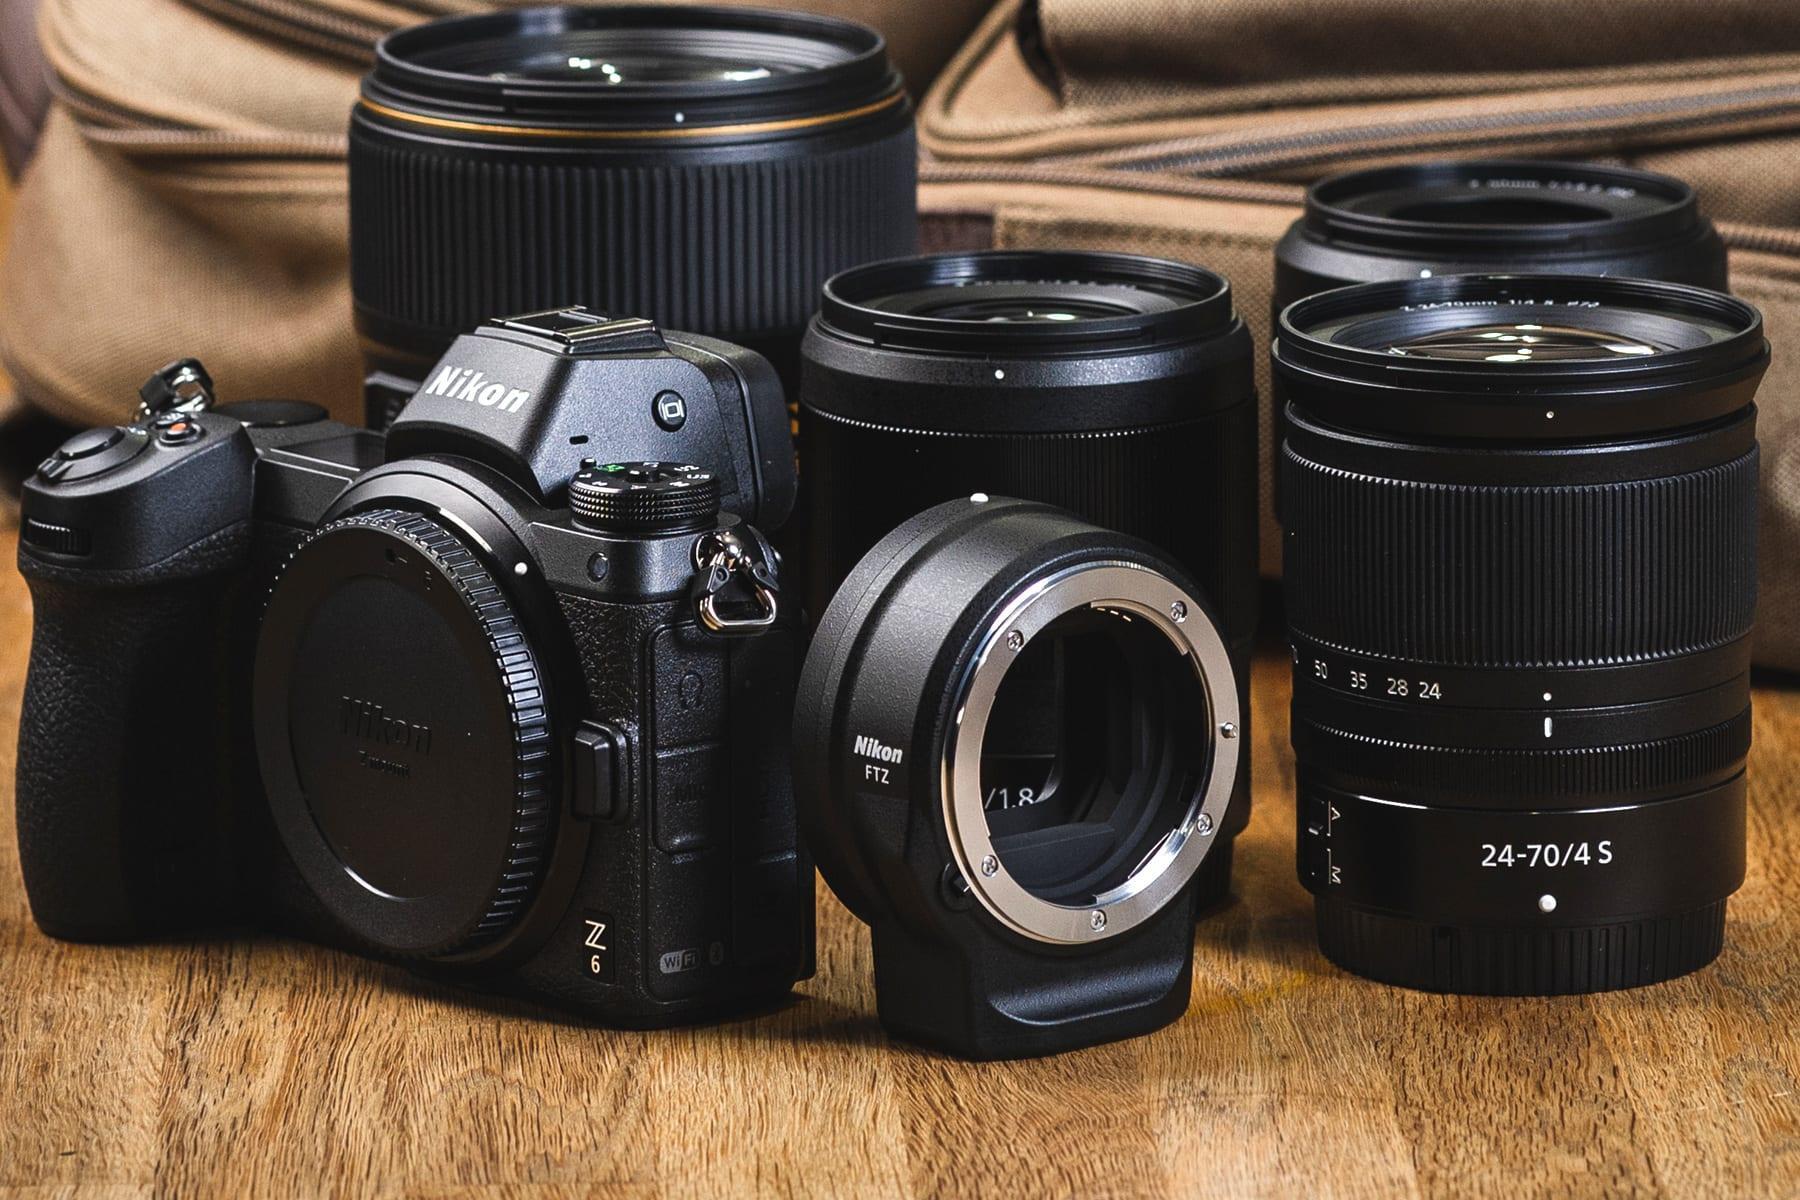
You have already learned a lot about aperture and depth of field. As you have probably already noticed, not every lens can set every aperture . The reason for this is usually the zoom. The zoom requires space in the lens. Every moving part takes its toll and usually ensures this limit. This is why you can usually not open the aperture any further, but what is the solution?

Lenses with the largest open aperture are fixed focal lengths. A fixed focal length is a lens without zoom and usually creates f / 1.8 or even more open (f / 1.4 or f / 1.2). There are also zoom lenses that work in a similar field, but these are often very expensive. So if you want to work with a small depth of field, you should use a prime lens.

Posted on

The Digital single lens mirrorless camera (DSLM) purchase guide

The Digital single lens mirrorless camera (DSLM) purchase guide


The DSLM; for a couple of years it has been changing the photography market. What started out as a poor SLT attempt developed into a completely new and booming market? The market for DSLMs (D igital S ingle L ens M irrorless) or system cameras.

These are now available for every budget and many manufacturers now have a mirrorless camera in their portfolio. But should you buy a mirrorless camera? Does it have any advantages over DSLRs ? That and much more is the content of this page and finally I will show you a few models that I would recommend.

What is a system camera / DSLM?

There are two types of system cameras, with and without mirrors. The system cameras with mirrors are called SLRs and those without are called mirrorless. Sounds logical, doesn’t it? The mirror in the DSLR is historical and comes from a time without image sensors. The system has been perfected over decades. But for a few years now, DSLMs have been picking up. Teething problems are being eradicated more and more and many photographers are seeing a new alternative that offers many advantages over the old DSLR cameras.

The mirrorless camera / DSLM in detail

Height and weight

Many see an enormous advantage here. The DSLM lacks the mirror and as you can see in the example above, this saves space and of course weight. That is why the mirrorless cameras are much smaller and lighter. But they are still bound by certain limits. They are not as small as compact cameras. This is simply not possible with interchangeable lenses and large sensors. But they are still smaller than the DSLRs and therefore more mobile and inconspicuous.

Lenses

This is a special feature of DSLMs that you should definitely not forget. Other lens connections are used that allow smaller lenses, but they are not that small. There are certain limits that are physically given and specify a certain size. If you only buy these cameras because you want something as small and portable as possible, you should look around for a bridge or compact camera .

Ergonomics

Ergonomics is probably the first thing anyone who is switching from a DSLR to a DSLM should notice. The manufacturers try to make this as similar as possible, but it is simply a different feeling that can seem strange, especially with long-term DSLR users. In direct comparison to an SLR camera, I find the DSLMs to get used to at first. They are just small and lie better in the hand of one than the other. In my opinion, many manufacturers simply have too many buttons on the small housing, which makes operation a challenge.

There is only one option here: try it out. I recommend that anyway before you buy a new camera. DSLM cameras come in different forms. Very large, such as the Sony A3 or Canon EOS R, but also very small such as the Sony A6000 or Canon EOS M50. Depending on the model, you have an electronic viewfinder or just the display to look at your pictures. In any case, try out what suits you and what suits your type of photography.

Electronic viewfinder

A DSLM or system camera takes photos with an electronic viewfinder or the display. This means that the viewfinder does not have a direct optical connection to the subject like the DSLR, but a display. It is like looking at the finished image through the viewfinder.

The electronic viewfinder offers several advantages:

  • Image preview: You get a direct idea of ​​your photo and actually see the finished image before you press the shutter release. If you now change the settings on your camera: for example , closing the aperture or increasing the ISO value , the image changes immediately and you can judge whether you like the photo or not. You can also see the picture in the viewfinder after you’ve taken it. So it’s a second display that works just like your large camera display. The advantage, however, is that you can use it without being distracted by the sun.
  • Exposure aids: Because our EVF is a display, we can use many aids that the optical viewfinder cannot offer us. We can show a histogram , use an overexposure warning and much more … You can see immediately if your camera is not doing something the way you want.
  • Manual focus: With manual focus, we can use the focus peaking to see where our focus is and even zoom into the image. A real help for manual focusing.
  • Much more: Since you can show almost everything in the displays, there are no limits to the manufacturers. Water cars, grids for image creation, image styles and much more is possible.

Now I’ve written so many great things about the electronic viewfinder that I would of course like to point out a few negative points. Because the electronic viewfinder naturally always has to be supplied with power. This should not be ignored with some models and some cameras have extreme problems with high power consumption and thus a short battery life. Also, for many photographers it is not pleasant to constantly look at a display (myself included). It’s a completely different feeling to actually see the subject instead of just being shown it. The cameras are getting better and better here, but sometimes they are lagging behind due to delayed display (the display is delayed compared to reality).

I would like to add one point for those who like to take photos at night (long exposure ). If you take a picture with the DSLR, you have the light intensity of your own eye available. With the DSLM, the display in the viewfinder depends on the power of the camera. That may not sound too bad, but there are a few moments when I would have wished for my DSLR…

If you are not sure which viewfinder is right for you, I recommend that you test both of them once and take a closer look. I find the DSLR to be much more pleasant, especially in series pictures and when photographing fast subjects, but something different suits everyone.

Autofocus

There are several options when focusing with a mirrorless camera (DSLM). You may be familiar with the first option from the DSLR. If you switch to live view here (i.e. using the display), the autofocus becomes significantly slower. This is because the camera is using the contrast AF. This simply shifts the focus until the image has the highest possible contrast has. This is very precise, but unfortunately a lot of time is lost in trying out and “pumping” the focus. That’s why there is still phase autofocus, which was reserved for DSLRs for a long time. Here, two sensors compare the light (phase) falling into the lens from different angles and thus know from the first measurement what needs to be changed on the lens to focus. Cool right?

Most modern DSLM cameras use a combination of these two methods in order to be able to focus both quickly and precisely. If you use a modern DSLM camera, you should make sure that it supports phase or hybrid autofocus.

Picture quality

We come to the last point, and in my opinion the most important point. The image quality. In terms of image quality, the system camera is in no way inferior to the SLR. Of course, not all cameras are the same here, but in most cases you don’t have to worry that you have something worse just because you are using a different system. Most cameras even have the same image sensors installed (Sony makes sensors for some Nikon cameras and Canon has installed the same sensor in the 5D4 & R and the 6D2 & Rp). There is only one real way you can be sure that the quality will meet your expectations. Test the camera 🙂

Choice of lenses

From my point of view, this is a major negative point. It is not the case with all manufacturers that the newer the manufacturer is in the DSLM market, the more likely it is that the choice of lenses is limited. For decades it took a long time to develop a wide variety of lenses for DSLR cameras. This has only just begun with DSLMs and although lenses are already on the market, one only starts with the most important ones at the beginning. One or the other special lens may not be found here yet. Of course there are adapters that allow the use of DSLR lenses, but I have made the experience that it often leads to problems (slow autofocus etc.).

There are always new lenses on the market, but keep in mind that you may not find everything here and that you have to expect limitations.

Is the mirrorless camera or system camera right for you?

This is of course a question that cannot be answered easily. I always recommend trying out the camera beforehand. But I would like to give you a little support along the way that should help you with your decision.

The DSLM is interesting for you if the following points apply:

  • You’re used to smaller cameras – that  was the first thing I didn’t like about the DSLM cameras. The size. Ok, I also come from the DSLR segment and am used to large cameras with battery handles. However, if you’ve been taking photos with a compact camera or mobile phone the whole time, then the size of the DSLM is perfect for you.
  • You can handle the digital viewfinder – the electronic viewfinder is not for everyone. Some have problems seeing everything on a display / digital viewfinder. If that is not a problem for you, then you can use the mirrorless camera.
  • You want to try something new – that was one of the reasons why I keep getting a DSLM for different jobs. It’s just fun to use a different camera. Maybe it fits better than the current one? Just keep in mind that you don’t need a new camera straight away because it can do one thing a little better than the current one.
  • Video – Yes, the site is actually called Learn Photography, but especially when it comes to video I would prefer the DSLM to the DSLR and any other camera. They’re small, they’re incredibly powerful, and you can’t beat the autofocus when filming.

Buy recommendations

Entry level DSLM

Canon EOS M50 * – Sony Alpha 5000 * – Olympus PEN E-PL9 * – Panasonic LUMIX G *

Advanced DSLM

Sony Alpha 6300 * – Olympus OM-D E-M10 Mark II *

Professional DSLM with full format sensor

Canon EOS R * – Nikon Z6 * – Sony A7 III *

Otherwise, make sure that you try your camera before buying and that you do not justify the purchase with the one feature that the new camera can do better. You take the photos and not your camera 🙂

Posted on

The compact camera – camera purchase advice

The compact camera - camera purchase advice

Which camera should I buy? One of the most frequently asked questions in the beginning of a photographer and beyond. On this page I’ll show you why compact cameras are the right choice for you; or not. Let’s go 😉

1 What is a compact camera?

2 The advantages of a compact camera

3 disadvantages of compact cameras

4 Who is the compact camera for?

What is a compact camera?

The compact camera is, as its name suggests, compact, i.e. very small and handy. All components are designed to be as small and light as possible. A small flash is usually built into the camera housing and the lenses are specially developed for the smaller cameras and are also smaller. They are mostly designed to turn them on and just get started. For this reason, the lens, which cannot always be changed, is designed to simply photograph everything. Some cameras offer further setting options, but the primary focus is often the simple “point and shoot”. Hold on and release.

The advantages of a compact camera

Mobility

Regardless of whether it is a pocket, a backpack or simply in the hand the compact camera simply fits everywhere. You can just take them with you wherever you go. Due to its small size and hardly any weight, it is extremely mobile and no problem even on long journeys. This is a real advantage compared to a SLR camera 🙂

Service

These cameras are designed to be operated by laypeople and are therefore extremely easy and intuitive to use. They are entry-level cameras and although you can control aperture , ISO and exposure time in some models , you will look in vain for one or the other professional function. But that’s not bad, because it makes operation easier and one must not forget: the cameras are not made for this.

Universal

A compact camera with its fixed lens can be used universally in all situations. With a DSLR or DSLM you would have to take several lenses with you, such as a macro lens, a wide angle lens, a telephoto lens, etc … The compact camera combines all of this in one lens. Super zoom and macro are functions that can be found with these cameras. So you are prepared for every situation and it is not necessary to change the lens.

Depth of field

Now it’s getting a bit technical. Compact cameras have a very small sensor. The size of the image sensor has an influence on the focus area. This means that with a small image sensor you can get a large area of ​​focus. If you want to have as much sharpness as possible in the pictures, you need a small image sensor. Architecture and landscapes can be reproduced very well, while cameras with a larger image sensor would have to close the aperture significantly and therefore need more light.

Price

We’re still with the small image sensor. Because small sensors are cheaper to manufacture. There are also devices in the field of compact cameras that exceed £ 2000, but these also have a large image sensor. The purchase and entry into photography is extremely cheap with these cameras, and the enormous spread of smartphones further lowers the price.

Disadvantages of compact cameras

Of course the world is not perfect. Everything has its disadvantages and so of course compact cameras too. Below I have listed the most important ones for you.

Limited image quality

Compact cameras are all-rounders. They can do anything, but that also means they are not really good at anything. Anyone who can do a lot, offers everything and that at a reasonable price has to compromise somewhere. In this case, the small image sensor is to blame. Compared to DSLR / DSLM cameras, you have to compromise on sharpness, dynamic range and the ability to take photos in the dark ( ISO noise). Especially in demanding situations it is very difficult to achieve useful results for these small karmas. Taking photos freehand in the dark? Not a very good idea.

Limited quality of the lens

I already said that you always have to cut corners with an all-rounder. The same goes for the lens. The size of the lens and the usually enormous zoom result in a loss of sharpness, vignetting and chromatic aberration. In addition, every light reflex is reflected across the lens and makes photography almost impossible in some situations. Of course, I am comparing € 1,000 lenses with a £100 camera-lens combination, but you should know what you’re getting yourself into … It gets better (it always gets better)

Handling

A problem that I’ve had with many DSLM and bring cameras: They are simply too small. That makes it very mobile, but it is also demanding to use the small buttons and it happens again and again that you press 3 buttons at the same time. The cameras also have no eyepiece and you have to rely completely on the display. This can work, but in strong sunlight this display is almost useless.

Lens change

There are compact cameras in the higher-priced segment that offer the option of changing the lens. However, I now assume that you are using a device that does not offer this functionality. A lens that is permanently installed has advantages, but an upgrade or a change is simply not possible here. As a photographer you always want to adapt the camera to the given situation and that only works semi-well here.

Who is the compact camera for?

I can answer this question very easily. For everyone who wants a camera that just works. You don’t want to deal with many setting options? Just hold on, pull the trigger and receive a photo as a memento? Then this type of camera is perfect for you. It is small, light, universally applicable and also inexpensive. However, if you now expect the ultimate camera that perfectly photographs every situation at the push of a button, then you will be more likely to be disappointed. These cameras have technical limitations and are perfect for someone who just wants to capture memories.

Posted on

The Digital single-lens reflex (DSLR) camera purchase advice

The camera with the most widespread use is the single-lens reflex camera or DSLR. It is suitable for a large number of photographers and can be used both in the beginner area and in the professional environment. In this article we will clarify whether a SLR camera is worthwhile for you or not. Finally, I would like to recommend a few DSLRs that are particularly suitable for beginners, but also for advanced users and professionals. But remember: a better camera doesn’t make a better photographer. It doesn’t hurt to start small and adapt your equipment to your experience. Your driving school car didn’t have 800PS either 😉

How does a DSLR work?

The mirror reflex camera is a camera that works with a mirror. DSLR stands for D igital S ingle- L ens R eflex. The mirror comes from the analog era, because back then you had to be able to look through the lens without exposing the film. The mirror is thus the switch between the optical viewfinder and the image sensor.

If the DSLR camera is switched off (or has nothing to do), the mirror is also folded down and we can look through the lens through our viewfinder. The moment we take a photo, the mirror folds up, covers the viewfinder and releases the image sensor. Then it folds down again. That is the reason why you sometimes see nothing with DSLRs while taking pictures.

Tips for taking photos with the DSLR

I would definitely advise you to use the viewfinder, although many cameras can also show the image live on the display thanks to digital technology. The disadvantage of the display, however, is that it is reflective and sometimes makes it difficult to see something. Of course, we don’t have that with the viewfinder 😉 these cameras are also built to take photos with the viewfinder. The complete autofocus and the power of these cameras are in here and it is definitely worth keeping the display outside.

 Advantages of the SLR camera

high image quality

To put it simply, a larger image sensor often results in better image quality. Well, the smallest image sensor in a DSLR is an APS-C sensor. These sensors are far superior to those of compact cameras. Due to their large size, they have a higher resolution or can handle more megapixels much better than their smaller colleagues from the compact camera. The reason for this is that with a larger sensor, more light per pixel arrives and that ensures a significantly better quality, especially in poor lighting conditions.

In good situations, all cameras can deliver a good result, but in every one? This is something demanding, which usually requires appropriate equipment.

Versatility of the DSLR

An SLR can do everything. Due to the possibility of interchangeable lenses and the almost endless setting options, we can use them in every area, which is also the reason that they can be found in every area. By screwing on another lens, we can bring distant subjects closer or capture gigantic landscapes in a single photo. The setting options of the DSLR are not only aperture , ISO and exposure time , but also white balance , autofocus and so much more. As a result, they are definitely superior to compact cameras, which were made for everything, but which cannot be specialized in one particular area.

Battery life

I still compare the subject with compact cameras, because DSLRs and DSLMs represent the next step after a compact camera or smartphone. The battery life is definitely enormous. How long can your cell phone or compact camera run before you need a new one? For me it is 7-8 hours (with two rechargeable batteries in the battery grip) and up to 4000 photos. The whole thing depends a bit on the situation, but many should realize that it is significantly more than what is possible with cheap cameras. So a big plus for the DSLR.

Speed

Probably the most important point from my point of view. So as a professional you have completely different demands on the camera. But even for beginners it is a huge advantage if the camera does not have to think for 1-2 seconds after triggering before we can look at a picture, but if everything is displayed immediately and live. I’m not talking about as many pictures as possible in the serial picture, but about general handling. Do you always want to wait a moment for a picture to appear? Or until the camera has finally written the image to the memory card? Probably not … But there is more, because the autofocus is of course much faster and more reliable. Setting the focus in milliseconds ensures that you really don’t miss any more moments!

Lenses

Maybe someone knows this well-known picture, which shows Canon’s lens park. This gigantic mass of lenses also gives us an incredible number of possibilities. There is a suitable lens for every situation, so nothing is left to be desired. What is often solved with an extreme zoom lens in compact cameras can now be solved with a variety of specialized lenses. But of course you don’t always have to go to the actual manufacturer of the camera if you want the right lens. You can also work with third-party manufacturers such as Tamron or Sigma. These offer a wonderful and, above all, often cheaper alternative.

Disadvantages of the DSLR

Nothing is perfect. Of course, the SLR camera also has disadvantages and I’ll show you a few reasons why you shouldn’t use DLSRs right away.

Weight and height

Please do not get me wrong. There are also small lenses and small DSLR cameras, but for many this factor is crucial. Imagine you are planning a vacation and you have to prevent a camera with 3 lenses in your luggage … A compact camera would be tempting. For example: a good full frame DSLR with a standard lens.

  • Canon 700d + KIT: approx. 800g
  • Canon 6d II + 50 1.2 + 35 1.4 + 24-70 2.8: 2.8 kg

These are all exemplary values ​​now, but larger cameras and lenses ensure that they take up more space and of course additional weight. It doesn’t really matter whether you use the DSLR or a system camera (DSLM). The DSLM is slightly ahead here, but in the end that doesn’t mean much. You have to be aware that you have a big and heavy camera with you.

Your own claim

This is something that I noticed again and again on my photo trips. When I travel with a DSLR, I need to take good photos. Over time you start to professionalize everything and look for the perfect photo. After all, a huge camera was dragged around with you all the time that cost several thousand yours. So why should you photograph something that you could have photographed with your mobile phone? Maybe it’s just me, but it can happen to you that you develop too high demands on your pictures and start to forget the actual memories and just stop taking those typical mobile phone photos.

Who should buy a DSLR?

A DLSR is not for everyone. If you are looking for a point and shoot camera, you should go for a compact camera. We are in an area where our purchase was unnecessary if we did not capitalize on the potential of this camera. So who is an SLR camera for?

  • Ambitious beginners who want a lot of performance for little money should use a DSLR or DSLM.
  • If you want a camera system that you can upgrade easily. (with new lenses or purchased lenses fit on new cameras again)
  • You are looking for an extremely wide range of accessories. Because the DSLR / DSLM market is extremely large and there is actually nothing that does not exist 😉
  • You want to rely on reliability and speed.

Some buy recommendations

Entry-level DSLRs

If you are looking for a cheap entry into DSLRs, the three-digit models from Canon or Nikon are very well served. Here you can get the models even cheaper if you buy older used ones. Canon’s 650d is still a good camera today!

Canon cameras with KIT lens: Canon 2000D * – Canon 1300D *  – Canon 800D *

Nikon cameras with KIT lens: Nikon D5300 * – Nikon D5100 *

Sony cameras with KIT lens: Sony Alpha 68 *

Advanced DSLRS

Canon camera with KIT lens: Canon 77D *

Nikon camera with KIT lens: Nikon D7200 *

Professional DSLRs with full frame sensors

Canon full format entry: 6D II + kit lens *

Nikon full frame entry: D750 *

Posted on

The exposure time in photography

The exposure time in photography

The exposure time or the shutter speed defines how long the shutter of the camera remains open. This has several influences on our image, such as brightness and motion blur.

Basics of exposure time

The exposure time defines how long light falls into the camera. This happens either through a mechanical lock that releases the image sensor when triggered, or it is electronically simulated. That depends on the type of camera.

As a photographer, you can control the exposure time and use this both to expose a photo correctly and to create creative effects in the images. Depending on whether you expose long or short.

The exposure time is usually given in fractions of a second (e.g. 1/125) or in whole seconds (2 ″ for two seconds) if this is necessary. But when do we speak of a short and when of a long exposure time ?

Normal cameras can expose between 30 seconds and 1/4000 of a second. If your camera can’t, don’t worry. These are extreme values ​​that are rarely used. You can orientate yourself on a value from the film industry. These use 1/48 of a second to expose the individual frames of a film. Applied to photography, this is a more normal guideline. It’s not very fast, but neither is it very slow. This exposure time ensures that, although motion blur can be perceived, i.e. motion in the image can be blurred, the motionless is mostly frozen.

Influence on the picture

Brightness

The exposure time has two influences on the image. On the one hand, it controls the brightness.
This means that with a long exposure time you let a lot of light fall into the camera and the picture becomes brighter. With a short one, less light falls into the camera and the picture becomes dark.
Beginners usually don’t notice much of this, as time is only one of three values ​​that control the brightness of a photo. However, you can also turn it around. If I want a short exposure time I need a lot of light. If I want to take long exposures, this is often not possible with lots of light. Too much light falls into the camera and the image would be too bright.

Motion blur

Everyone has probably blurred a picture at some point. This is motion blur. This occurs when something moves too fast for the currently set exposure time . That can be our subject as well as the camera itself. The motion blur depends on the speed of our subject. Everyone moves. You can’t sit 100% still. But these movements are not as fast as a car, an animal or a bird. We have to adjust our attitude in order to keep up with our motive.

Fast exposure time

If we want to expose quickly, we speak of exposure times over 1/60 sec. Usually 1/200, 1/1000 or even shorter. This short time is necessary to either compensate for too much light (when it is very bright outside) or to freeze a fast subject. When we capture a fast movement that we cannot really perceive even with the human eye, we speak of freezing. It looks like time has stood still and a very short moment has been captured on a photo. For this we need a very short exposure time and have to adapt it to the speed of our subject. The faster the subject moves, the faster we have to expose.

Long exposure time

Long exposure is a great way to get creative, but be careful. Long exposure is not all that easy. We have a few things to consider.

We usually speak of a long exposure time when we expose longer than 1/50 of a second. These are usually values ​​in the seconds range, i.e. half a second, a whole or several seconds.

Use a tripod

By using a tripod, we avoid blurring. You can reduce or completely avoid the motion blur caused by your hand and the movement of the camera. There is a rule of thumb from when you should use a tripod.

Focal length / 1 = minimum exposure time

Your focal length is crucial for this. It can be compared to binoculars. It is often difficult to hold binoculars steady without a tripod, and so it is in photography. The further your lens is in the partial area, the more likely you are to blur your image. The phrase can now be transferred to the different focal lengths.

For example:

  • 30mm = 1/30 sec. Or faster
  • 50mm = 1/50 sec. Or faster
  • 200mm = 1/200 sec. Or faster

In addition to the tripod, you can also use this value further by holding your camera correctly or using an image stabilizer.

The long exposure effect

A long exposure time now ensures that we have more light available, for example, that we can take photos at night. On the other hand, it naturally creates motion blur, which we can use skillfully to blur elements of our image or even to make them disappear. Because everything that happens while our shutter is open is also recorded on the image sensor.

Set exposure time

The exposure time you can set in your camera with two options. On the one hand there is the manual mode. This is quite demanding for photography beginners, as all values ​​have to be set manually and of course it does not forgive any mistakes. The second option is the Av or S mode. With this you can set the exposure time and your camera takes care of the other values, such as aperture and ISO . You can first concentrate on one value and then go into the other setting options.