Buying a used manual focus lens? This guide covers what to inspect—from focus rings and aperture blades to lens optics and mount condition—so you can avoid costly mistakes and get the best value.
What to Look for When Buying a Used Manual Focus Lens
In the era of lightning-fast autofocus systems and high-tech digital lenses, manual focus lenses might seem like a thing of the past. But for many photographers, especially enthusiasts and artists, manual focus lenses are a treasure trove of craftsmanship, optical character, and tactile shooting experience. Whether you’re interested in vintage glass for its unique rendering or modern manual lenses for precision control, buying used is an excellent way to expand your gear without spending a fortune.
However, buying a used manual focus lens is not as simple as grabbing the first good deal you see. Unlike autofocus lenses, which rely on motors and electronics, manual focus lenses depend entirely on the precision of their mechanical parts and optical integrity. This makes inspecting them thoroughly even more important.
In this article, we’ll guide you through what to look for when buying a used manual focus lens, so you can avoid costly mistakes and ensure you’re getting a reliable, high-quality lens that enhances your photography.
Why Manual Focus Lenses Are Still Worth Buying
Before diving into inspection tips, let’s quickly revisit why manual focus lenses still attract so much attention:
- Superior Build Quality: Many manual lenses, especially vintage models, are constructed with durable metal parts designed to last decades.
- Unique Optical Character: Older lenses often render images with distinct colors, flares, and bokeh that modern lenses can’t replicate.
- Budget-Friendly: High-quality used manual lenses are often far cheaper than their autofocus counterparts.
- Creative Control: Manual focusing encourages a more deliberate shooting style, which can be a creative advantage.
- Adaptability: Manual lenses can easily be adapted to modern mirrorless systems, making them versatile tools even today.
Essential Factors to Check When Buying a Used Manual Focus Lens
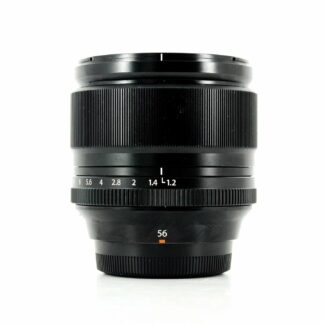
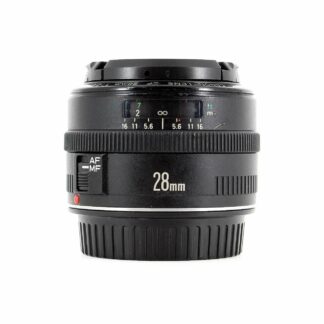
1. Physical Condition of the Lens Body
Start by inspecting the exterior barrel of the lens.
- Check for Dents, Cracks, or Heavy Scratches: While minor scuffs are expected, deep dents or cracks can indicate serious impacts that may have misaligned internal elements.
- Loose or Missing Screws: Examine all screws and fittings to ensure they’re intact and not signs of a careless repair.
- Check Mount Threads/Contacts: Ensure the lens mount is not stripped, bent, or excessively worn. A poor fit can cause mounting issues on your camera body.
2. Focus Ring Operation
Since you’ll be focusing manually, the focus ring’s performance is critical.
- Smoothness: Rotate the focus ring slowly from end to end. It should feel smooth, without stiffness, grinding, or uneven resistance.
- Consistency: Avoid lenses where the focus ring feels loose, wobbly, or has “dead zones” where the focus doesn’t respond.
- Hard Stops: Check that the focus ring stops precisely at minimum focusing distance and infinity without overshooting.
3. Aperture Ring Functionality
- Smooth Clicks: The aperture ring should click firmly into each stop with consistent resistance.
- De-clicked Aperture (if applicable): Some lenses are designed for video and may have a smooth, stepless aperture—verify this is intentional.
- Blade Movement: Move the aperture ring while looking through the lens to ensure the blades open and close uniformly.
- Oil-Free Blades: Shine a light through the lens and look for oil or stickiness on the aperture blades, which can cause them to stick and malfunction.
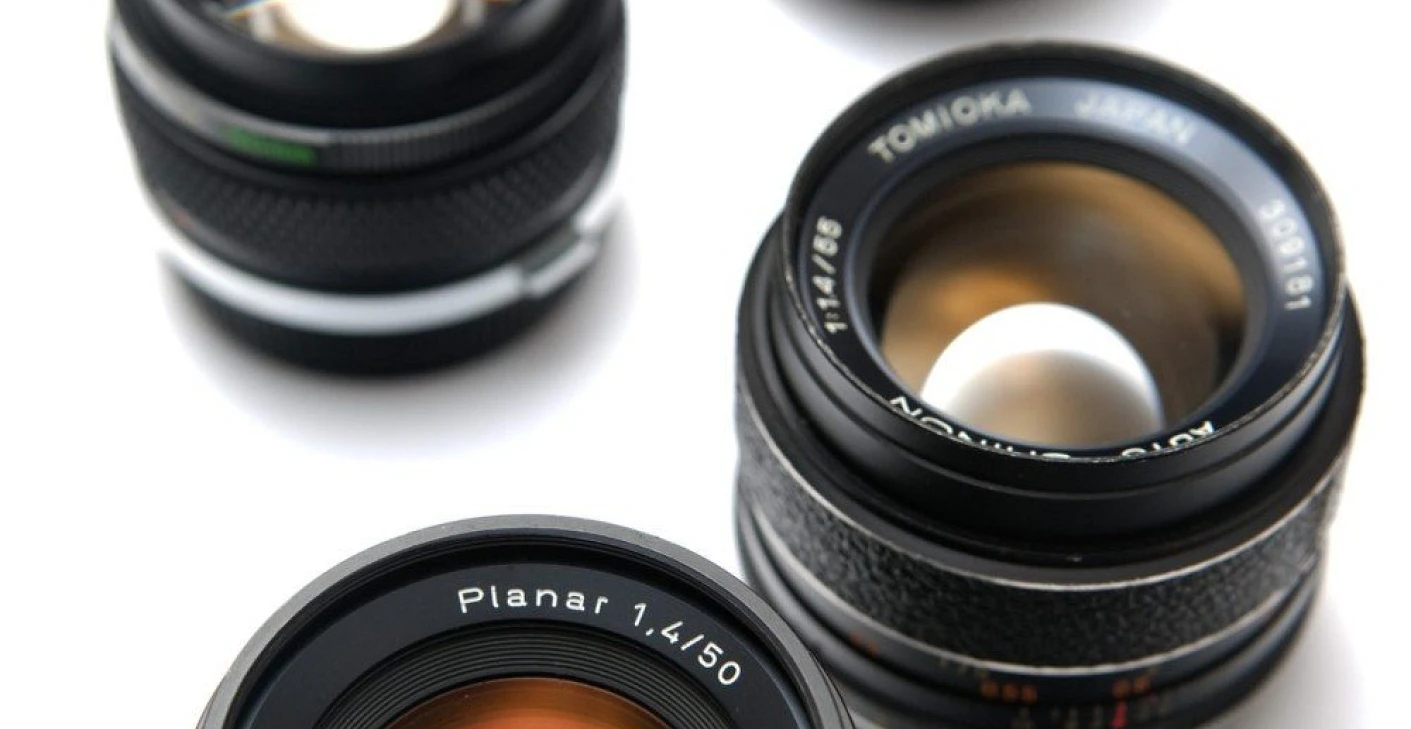
4. Inspecting Lens Elements (Front & Rear)
- Surface Scratches: Tiny cleaning marks or light scratches on the glass are often cosmetic and won’t affect image quality, but deep scratches are best avoided.
- Lens Coating Condition: Ensure the anti-reflective coatings are intact; patches of wear can increase flare and reduce contrast.
- Internal Haze: Check for foggy or cloudy areas inside the lens, which can severely impact image clarity.
- Fungus: Look for web-like patterns of fungus, especially near the edges of lens elements. Minor fungus might be manageable, but severe cases can damage lens coatings permanently.
- Balsam Separation: If you see rainbow-colored patterns or bubbles between elements, that’s a sign of cement separation, which is difficult to repair and affects image quality.
5. Internal Dust & Debris
- A few dust particles inside a lens are normal, even in new lenses.
- Large dust particles, hair, or floating debris can affect image contrast.
- Excessive internal dust could also be a sign the lens was stored improperly, increasing the risk of fungus or haze.
6. Lens Mount & Compatibility
- Mount Type: Confirm the lens mount is compatible with your camera system or check if a reliable adapter is available.
- Mount Integrity: Inspect the lens mount for any signs of damage, wear, or loose fitting.
- Adapter Fit: If possible, test the lens with the adapter you’ll be using to ensure a secure and wobble-free fit.
7. Test Image Quality (If Possible)
If you can mount the lens on a camera:
- Test Focusing Accuracy: Focus at both close distances and infinity to see if the image snaps into sharp focus.
- Check for Sharpness: Shoot at different apertures, especially wide open, and check sharpness across the frame.
- Look at Bokeh Rendering: See how the lens renders out-of-focus areas—many manual lenses are known for their distinctive bokeh.
- Test Flare & Contrast: Point the lens towards a bright light source to assess flare resistance and contrast handling.
8. Known Issues of Specific Lens Models
Some manual lenses are prone to certain design quirks or recurring issues. Before purchasing:
- Research forums, user reviews, and technical resources about the specific lens.
- Look for common complaints such as weak construction points, aperture blade issues, or known optical flaws.
This knowledge can help you identify red flags during your inspection.
9. Assessing the Lens’s History
- Ask the Seller About Storage Conditions: Lenses stored in humid environments are more likely to develop fungus.
- Frequency of Use: A frequently used lens isn’t necessarily bad but should show signs of good maintenance.
- Original Accessories: Presence of original caps, hoods, or cases often indicates a careful owner.
10. Market Price Research
Do a thorough price comparison across:
- eBay sold listings
- Online camera stores (KEH, B&H Used Department)
- Local photography groups and forums
Avoid deals that are “too good to be true”—they usually are.
Red Flags to Watch Out For
- Fungus or haze inside the lens.
- Stiff or grinding focus ring.
- Sticky aperture blades or oily residues.
- Deep scratches on front or rear elements.
- Loose or bent mounts.
- Sellers unwilling to provide detailed photos or answer questions.
Best Types of Manual Focus Lenses to Buy Used
- Vintage Classics: Canon FD, Minolta Rokkor, Pentax Takumar, Nikon AI-S lenses.
- Modern Manual Primes: Voigtländer Nokton, Zeiss Loxia, Samyang/Rokinon MF lenses.
- Specialty Lenses: Helios 44-2 (famous for swirly bokeh), Meyer-Optik Trioplan (soap-bubble bokeh).
Conclusion
Buying a used manual focus lens can be incredibly rewarding, offering access to beautifully crafted optics with distinct character. However, it requires a careful and informed approach. By thoroughly inspecting the physical condition, mechanical operation, and optical integrity, you can avoid costly repairs and ensure you’re investing in a lens that delivers both reliability and artistic flair.
Take your time, do your research, and don’t hesitate to ask questions. When you find a gem of a manual focus lens in great condition, it will serve you for years to come—and likely at a fraction of the cost of modern autofocus lenses.