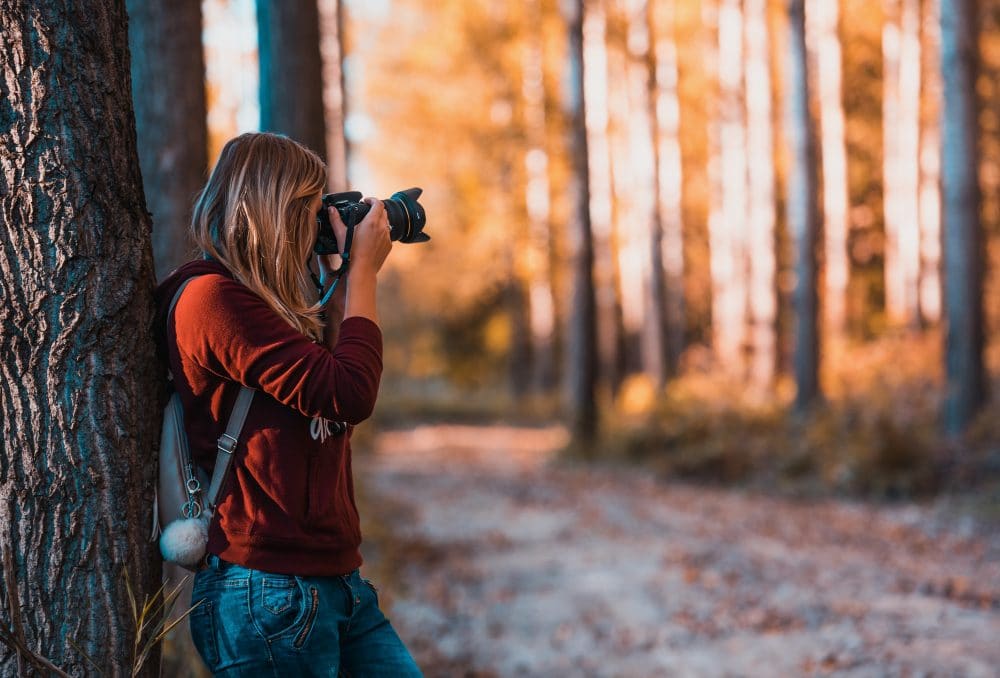
Are you looking for tips for better pictures? Do you want to learn photography and take better photos? Here I have 15 tips for cool photo tips for you. This makes learning photography child’s play.
Well, maybe I am a bit over the top. Because learning to take photos above all requires a lot of practice. But there are already a few tips that will help you on the way to better photos – basically the basics of photography or a great overview for beginners.
And one more word about your path into photography. We do almost everything out of habit. So when you think about your goal: I WANT TO LEARN TO PHOTOGRAPHY, then above all you should work on your habits! Make your vision or goal a habit – keep your camera on hand, daily or at least weekly. Try out new things but also get a routine in camera technology..
In this photography article for beginners, you will teach you some basic step by step important photography basics about aperture, ISO, focus, exposure time and light meter. You will learn how your camera takes a picture, regardless of whether it is a single lens reflex camera, system camera or compact camera.
1. Every photo needs a foreground
Bring depth to your photo. They also say: Every photo needs a foreground. So look for objects in the foreground of your photo. It can be a rock, a stone, a fence or a bush. That opens your picture and guides the gaze. Foreground is the portion of the frame that is closest to the camera. The foreground space in an image can be utilized to draw attention to a subject located further into the frame
A railing can be a perfect foreground, even if it’s only partially visible!
2. Give your photo a frame
A natural frame helps your composition. This can be an archway, a hedge or a group of people. So frame your photo! This also gives your photo depth. I also have a great photo task for you on the subject of “Give your photo a frame” !
A frame increases the depth of your photo
3. Get close!
Dare to approach your subject. Your photo wins by being close. Unimportant picture elements are eliminated and the view of the essentials increases.
Get close! Proximity increases the effect of the picture.
4. Zoom in with your feet
Wow, I can zoom in on it super cool. Nice to pull up the photo in the mobile phone. Huh, everything out of focus?! Remember that every zoom and telephoto effect often always has a loss of quality. So zoom in with your feet. Because then the quality is retained!
Too far away? Then get closer – instead of always zooming!
5. Pay attention to the direction
The eye always wants to follow the direction. No matter whether in the run, in the flight path or something similar. So your photographed object should always leave room for direction. For example, let the person walk into the picture, not out.
I tried to pay attention to the running direction in the running photos. Leave room!
6. In the dark with a tripod
Photos in the dark should generally always be taken with a tripod. Because in long exposure it is not possible for you to hold the camera without shaking. Nowadays, of course, many cameras can achieve infinitely high ISO values, but as a rule, the lower the ISO value, the lower the image noise. And above all, you can compose great photos in the long exposure with the remote release.
Better to use a tripod in the dark!
7. Do not cut off the feet
I often (only) pay attention to the face when photographing people. But in the full body portrait you should develop a view of the big picture of the subject. So do not accidentally cut off your feet, arms or legs.
If you’re taking full body shots, don’t cut off their feet!
8. Hard light and soft light
You should teach yourself to control the light. Because then you have learned one of the most important rules. Soft light gives your photo a natural mood, but hard light can also be totally exciting. Also you can use a flash diffuser.
9. Create tension and curiosity
If you don’t show everything, then you leave the viewer room for speculation. Much is completed in the head. But that is exactly what can create tension and curiosity.
A clever cut in particular can create a lot of tension.
10. Focus on the eyes
The eyes often determine the portrait. That’s why I always focus on the eyes in portrait photography. I also often choose a large aperture in order to have a lot of blurring in the background and thus additionally emphasize the eyes.A focus on the eyes combined with a large aperture and blurring can create tension.
11. Check the sharpness
Nothing is more annoying than blurry images when you have planned it differently. Consistent sharpness is particularly desirable in landscape photography or architectural photography. So check the sharpness during and immediately after the photo. Otherwise, vary the aperture to achieve a greater depth of field.
12. Go at eye level
Go on eye level with your subject. This is especially true for children, animals and flowers. The result is much more authentic images!
Go at eye level. This gives your photo a much more natural look!
13. Get out of the middle
Avoid placing them in the center of the picture. Better to take photos according to the rule of thirds. Visual balance is always important.
The eye perceives a placement according to the rule of thirds as very pleasant and exciting.
14. Use natural light
Light composes your photo. And if you want a natural, authentic photo here, then try to get as much natural light as possible.
15. Pay attention to shapes
There are shapes everywhere. You can find circles, rectangles, triangles and much more everywhere. Even if you don’t recognize it right away, develop an eye for shapes in your photo. This will help you.

