Discover how buying used photography gear reduces e-waste, lowers your carbon footprint, and promotes sustainability. Learn why eco-friendly photographers choose pre-owned lenses and cameras to protect the planet.
Eco-Friendly Photography: The Environmental Benefits of Buying Used Gear
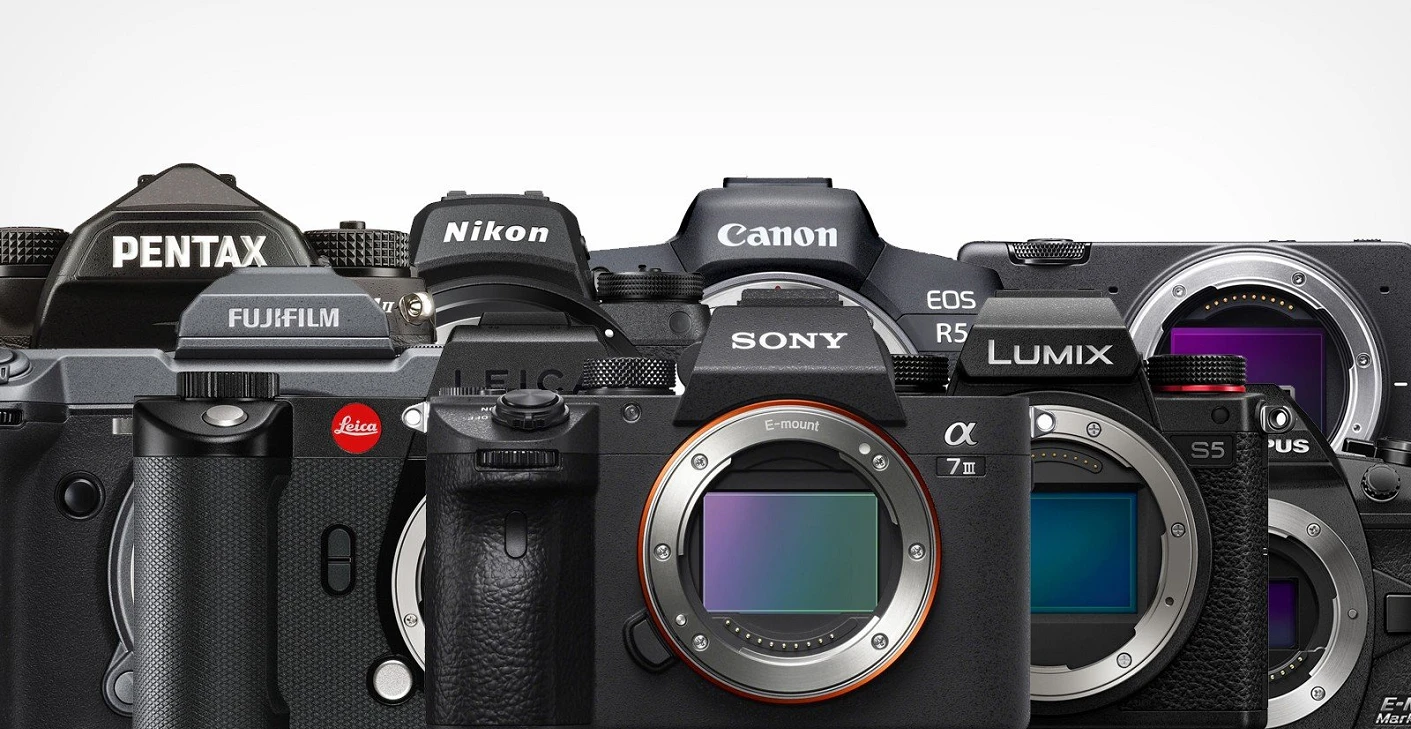
In a world where environmental concerns are at the forefront of global conversations, photographers are beginning to rethink their relationship with their gear. The constant cycle of buying the latest cameras, lenses, and accessories has an unseen environmental cost. Fortunately, a growing movement within the photography community is embracing a more sustainable approach—buying used gear. This eco-friendly shift not only helps protect the planet but also benefits photographers in practical and meaningful ways.
In this article, we explore the environmental benefits of purchasing used photography equipment and how photographers can make a positive impact through conscious buying choices.
The Environmental Impact of New Gear Production
The production of new photography equipment is a resource-intensive process. From the extraction of raw materials like aluminum, glass, rare earth metals, and plastics, to the manufacturing, packaging, and global distribution of products, the carbon footprint of a single lens or camera body is substantial.
Mining these raw materials contributes to habitat destruction, water pollution, and increased greenhouse gas emissions. The production phase requires significant energy, much of which is still derived from non-renewable sources. Add to that the emissions from shipping products across continents and the environmental cost becomes even more alarming.
Every time a new piece of gear is manufactured, it adds to the growing problem of industrial pollution and resource depletion. For photographers who are passionate about nature, landscapes, and wildlife, this contradiction between art and environmental impact can be difficult to reconcile.
Extending Product Lifecycles Reduces Waste
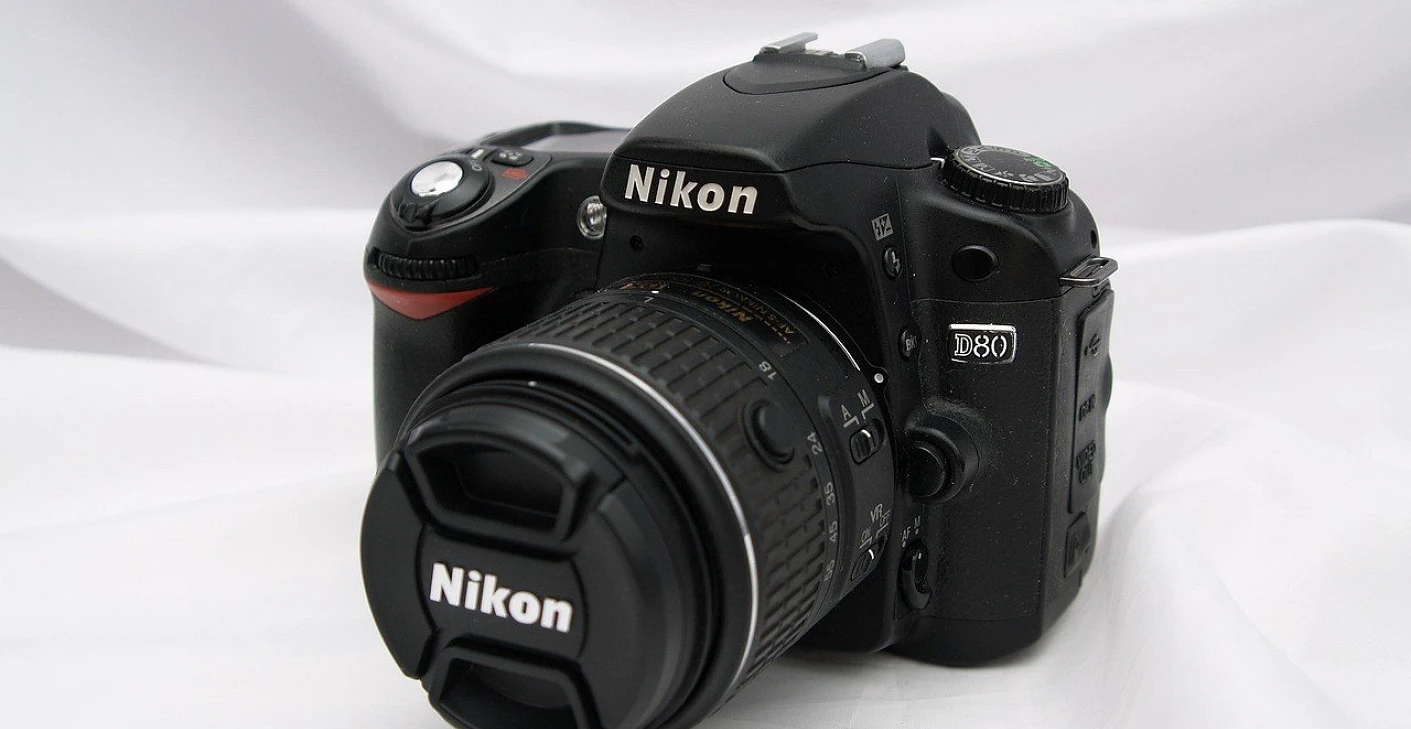
One of the simplest yet most effective ways to reduce environmental impact is to extend the lifecycle of existing products. High-quality camera gear is built to last. Professional lenses and camera bodies are designed with durable materials and robust engineering, capable of performing reliably for decades if properly maintained.
When photographers opt to purchase used gear, they give these products a second life, preventing them from prematurely ending up in landfills or recycling centers. This practice significantly reduces electronic waste (e-waste), which is one of the fastest-growing waste streams globally. Unlike typical household waste, e-waste is often difficult to recycle and can release toxic substances into the environment if not properly handled.
By keeping gear in use longer, photographers contribute to a circular economy that minimizes waste and conserves valuable resources.
Lower Carbon Footprint of Used Gear Purchases
Buying used gear has a much smaller carbon footprint compared to purchasing brand-new items. Since the gear has already been manufactured, the environmental impact of producing that item has already been incurred. When a photographer chooses to buy a pre-owned lens or camera, no additional emissions are generated from manufacturing or sourcing raw materials.
While there are still minor emissions associated with transporting and refurbishing used gear, they are negligible compared to the energy and resources required to create new products from scratch. This makes buying used a much more eco-friendly option for environmentally conscious photographers.
Reducing Demand for Mass Production
Consumer demand drives production. The relentless push for new features, faster processors, and minor cosmetic upgrades encourages manufacturers to produce new models at an unsustainable pace. This cycle fuels resource extraction, contributes to overproduction, and shortens the perceived lifecycle of products.
When more photographers choose to buy used gear, it sends a clear message to manufacturers: quality and longevity matter. By supporting the used market, photographers can help curb the culture of overproduction and planned obsolescence, encouraging brands to prioritize sustainability in their design and production practices.
Financial Savings That Benefit Both You and the Planet
An often-overlooked benefit of buying used gear is the financial savings. High-quality used cameras and lenses are typically available at a fraction of the cost of their brand-new counterparts. For photographers, this means accessing professional-grade equipment without the hefty price tag.
But the savings go beyond personal finances. Money saved on gear can be redirected towards eco-conscious photography projects, workshops, or supporting environmental conservation initiatives. In this way, purchasing used gear becomes a catalyst for broader positive change.
Minimizing Packaging Waste
New photography equipment often comes with excessive packaging—multiple layers of cardboard, plastic wraps, foam inserts, and printed manuals. While some of this packaging is recyclable, a significant portion still ends up as landfill waste.
Used gear, on the other hand, typically requires minimal packaging when resold. Many responsible retailers use eco-friendly packaging materials, and private sellers often reuse original boxes or opt for simple protective wrapping. This drastically reduces packaging waste, further lowering the environmental footprint of the transaction.
Encouraging a Culture of Repair and Maintenance
Buying used gear promotes a culture of repair and maintenance rather than disposal. Photographers who invest in pre-owned equipment become more attuned to caring for their gear, ensuring it remains in top condition for as long as possible.
This mindset shift moves the focus away from disposable consumerism and fosters an appreciation for craftsmanship, longevity, and resourcefulness. Repairing and maintaining gear reduces the demand for new products and supports the development of local repair services, which in turn stimulates small businesses and contributes to sustainable community economies.
Building a More Sustainable Photography Community
The choice to buy used gear is not just a personal decision—it has ripple effects that influence the broader photography community. When influential photographers advocate for eco-friendly practices and share their experiences using used equipment, it normalizes and encourages sustainable habits among their peers and followers.
Workshops, photography clubs, and online communities play a vital role in spreading awareness about the environmental benefits of purchasing used gear. By fostering discussions around sustainability, the photography community can collectively reduce its environmental impact and become a positive force for change.
Supporting a Circular Economy in Photography
A circular economy is one where products and materials are kept in use for as long as possible through reuse, refurbishment, and recycling. In the context of photography, a robust used gear market is a cornerstone of this circular model.
Retailers who specialize in buying, refurbishing, and selling used photography equipment are essential players in this ecosystem. By choosing to buy from these businesses, photographers support an economic model that prioritizes resource efficiency and waste reduction.
Additionally, photographers who sell or trade-in their unused gear contribute to the circular economy by ensuring that their equipment finds new life with someone who needs it.
Eco-Friendly Photography Goes Beyond the Gear
While buying used gear is a significant step towards eco-friendly photography, it’s part of a larger philosophy that extends to other aspects of the craft. Photographers can further reduce their environmental impact by:
- Opting for rechargeable batteries instead of disposables.
- Minimizing unnecessary printing and using digital portfolios.
- Practicing Leave No Trace principles during outdoor shoots.
- Supporting local labs and print shops that use sustainable practices.
- Educating others about eco-conscious photography techniques.
By integrating these habits with the choice to buy used equipment, photographers can significantly reduce their ecological footprint while still pursuing their passion.
Conclusion
Eco-friendly photography is not just a trend—it’s a responsible shift in mindset that acknowledges the environmental cost of our creative pursuits. Buying used gear is one of the simplest and most effective ways photographers can make a positive impact. From reducing e-waste and carbon emissions to promoting a culture of repair and conscious consumption, the benefits are far-reaching.
As more photographers embrace the environmental advantages of purchasing used equipment, the photography community can lead by example, proving that great artistry doesn’t have to come at the planet’s expense. By making mindful choices today, photographers can help preserve the natural beauty they so passionately capture for future generations.