Discover whether the Sony A77 is still a smart buy in 2025. Explore its performance, features, and value in today’s market for budget-conscious photographers
Is the Sony A77 Still Worth Buying in 2025?
In a world dominated by mirrorless cameras and cutting-edge sensor technology, it’s easy to overlook older DSLR-style bodies like the Sony A77. Released in 2011, the Sony Alpha SLT-A77 made waves as a high-end APS-C camera packed with features that rivaled full-frame competitors. Fast-forward to 2025, and many photographers—especially beginners and budget-conscious shooters—are asking the same question: Is the Sony A77 still worth buying in 2025?
Let’s break it down.
The Sony A77 at a Glance
The Sony A77 was part of Sony’s Single-Lens Translucent (SLT) lineup, designed with a fixed semi-transparent mirror and electronic viewfinder. This gave it some unique advantages over traditional DSLRs, such as faster continuous shooting and real-time autofocus during video.
Key Specs:
- 24.3MP APS-C CMOS Sensor
- 12 fps burst shooting
- ISO 100–16,000
- Full HD 1080p video
- 19-point AF system (11 cross-type)
- Built-in OLED electronic viewfinder
- Weather-sealed magnesium alloy body
At its release, these features were impressive. Even today, they hold up better than you might expect, especially for the price.
Image Quality in 2025
While modern sensors have come a long way, the 24.3MP sensor in the A77 still delivers solid results, especially at lower ISOs. You’ll get detailed, sharp images suitable for both web and print.
However, the A77 does show its age in high-ISO performance. ISO 1600 is usable, but you’ll start to notice significant noise beyond that. If low-light shooting is a big part of your workflow, the A77 might not be ideal—though with good lighting or a flash, it’s more than capable.
Video Capabilities
The A77 shoots Full HD 1080p video at 60fps and features continuous phase-detection autofocus while recording, thanks to its SLT design. For casual video creators or those documenting family moments, this is still perfectly usable. But in a market where 4K is the standard and many cameras offer 10-bit color or Log profiles, the A77’s video features are somewhat dated.
That said, it still beats many entry-level DSLRs in this department.
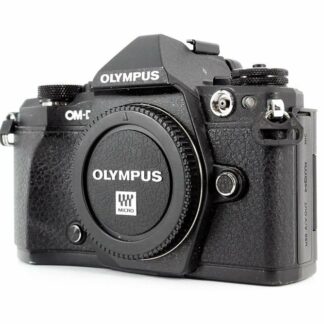
Build Quality and Handling
One of the standout features of the A77 is its robust construction. The body is made of magnesium alloy and is weather-sealed, giving it a durable feel that’s rare in mid-range DSLRs of its time—and even some modern ones.
Its ergonomics are excellent. The grip is deep and comfortable, the button layout is intuitive, and the top LCD panel is a convenient touch. The articulating LCD screen is a huge bonus for creative angles, especially for vloggers and low-angle shots.
Autofocus and Speed
The 19-point autofocus system, with 11 cross-type points, still performs admirably in good lighting conditions. It’s fast, accurate, and more than capable for general photography, portraits, and even some action shots.
The real headline is its 12 frames per second burst shooting, which outpaces many current entry-level and mid-range cameras. If you shoot sports, wildlife, or any kind of fast-paced action on a budget, this is a major perk.
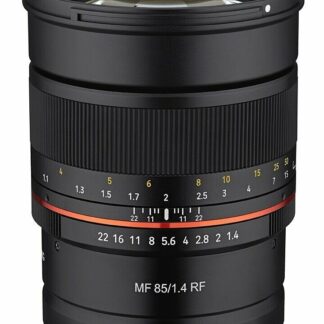
Lens Compatibility
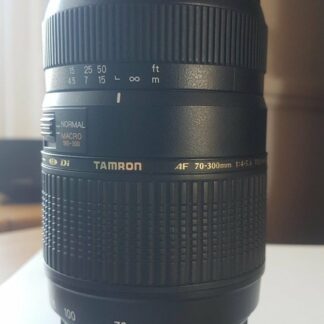
The A77 uses the Sony A-mount, which Sony has largely phased out in favor of the E-mount system. While this means you won’t see many new lenses released for A-mount, the silver lining is that the used market is rich and affordable.
There’s a healthy selection of Minolta AF lenses, Sony DT lenses, and third-party glass (Tamron, Sigma, Tokina) available at low prices. For those who don’t need cutting-edge optics and autofocus, this can be a goldmine.
Battery Life
One area where older DSLRs and SLT cameras like the A77 fall short compared to modern mirrorless bodies is battery life. That’s not the case here. Thanks to the large NP-FM500H battery and efficient SLT design, the A77 can shoot upwards of 400–500 shots per charge, depending on how often you use the EVF and LCD.
This makes it a great option for long shooting days or travel without the need for constant battery swaps.
Who Is the A77 Still Good For?
The A77 may not be for everyone in 2025, but it serves specific users quite well:
Beginners & Hobbyists:
If you’re just getting into photography and want to learn the ropes on a capable body with manual controls, excellent build quality, and fast performance, the A77 is a great starting point.
Budget-Conscious Shooters:
You can find a used A77 for under $400 (sometimes with a kit lens), making it one of the best-value APS-C DSLRs around.
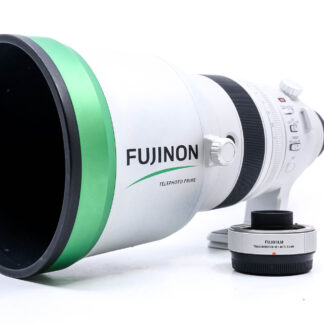
Wildlife & Action Shooters:
Thanks to the 12 fps burst mode, solid autofocus, and telephoto lens availability, it’s a sleeper choice for wildlife and sports on a tight budget.
Landscape & Travel Photographers:
Pair the A77 with a used ultra-wide or standard zoom lens, and you’ve got a weather-sealed rig that produces beautiful landscape images without breaking the bank.
Things to Keep in Mind
- No 4K video: This might be a dealbreaker for modern content creators.
- Limited A-mount lens development: Sony is not updating this system, so you’re relying on older or third-party lenses.
- No touchscreen: While not a necessity, it’s a feature many have come to expect in 2025.
- EVF quality: Usable but not as crisp as today’s OLED viewfinders.
Conclusion: Is It Still Worth It?
Yes—if you know what you’re getting.
The Sony A77 is not a cutting-edge camera in 2025, but it doesn’t need to be. Its solid sensor, fast burst shooting, excellent build quality, and affordable used pricing make it a fantastic option for photographers who prioritize value.
If you’re okay with its limitations—no 4K, dated lens mount, and older tech—it’s still a camera that can produce beautiful results in the right hands.
Verdict: A hidden gem for budget shooters who want more than entry-level performance.