Learn how to inspect a used camera lens before buying. This step-by-step guide covers checking for damage, testing focus, aperture, image quality, and tips for buying safely in-person or online.
How to Inspect a Used Lens Before You Buy It
Buying a used lens is one of the smartest ways to build a high-quality photography kit without spending a fortune. However, unlike buying brand-new gear, purchasing used lenses requires careful inspection to ensure you’re getting a product that performs as expected. While many pre-owned lenses are in excellent condition, it’s essential to know how to spot hidden defects that could affect image quality or functionality.
Whether you’re buying from a camera store, an online marketplace, or a private seller, this guide will walk you through how to inspect a used lens before you buy it, so you can make a confident and informed decision.
1. Research the Lens Model First
Before you meet the seller or make an online purchase, familiarize yourself with the lens model you’re considering. Understand its specifications, known issues, and typical market price. Look up reviews, sample images, and common problems associated with that particular lens.
This knowledge will help you assess whether the lens is performing as it should and ensure you’re not overpaying.
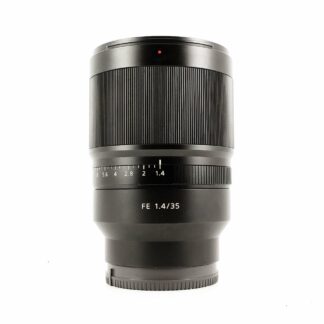
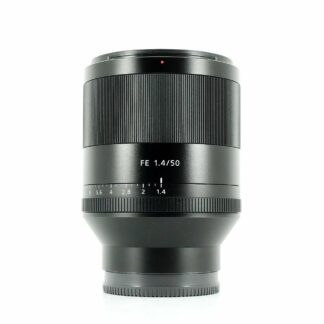
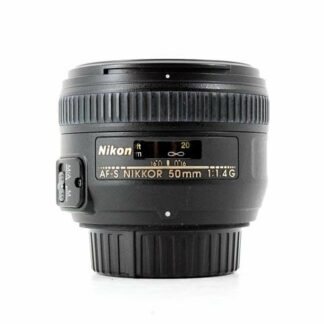
2. Inspect the Lens Body
Start with a thorough visual inspection of the exterior of the lens. While minor cosmetic wear like small scuffs or scratches on the barrel is normal for used gear, be cautious of:
- Dents or major impacts on the lens barrel, especially near the front or rear elements.
- Loose or wobbly parts, such as a zoom or focus ring that feels unstable.
- Missing screws or parts, which might indicate prior repairs or disassembly.
- Damaged filter threads, which could prevent the attachment of filters or lens caps.
A lens with significant external damage may have internal issues as well, so it’s essential to proceed with caution if you notice these red flags.
3. Check the Glass Elements
One of the most critical steps is to inspect the front and rear glass elements. Here’s what to look for:
What’s Acceptable:
- Tiny dust particles inside the lens (common in used lenses and rarely affect image quality).
- Minor surface cleaning marks on the glass, as long as they don’t affect clarity.
Red Flags:
- Scratches on the glass elements (especially deep scratches).
- Haze or fogging inside the lens, which can reduce contrast and sharpness.
- Fungus growth, which looks like spiderweb patterns or small white/gray patches inside the lens.
- Separation of lens elements, visible as rainbow-colored patches or bubbles under the surface.
To properly inspect the glass, hold the lens up to a light source and tilt it at different angles. Use a small flashlight to examine internal elements closely.
4. Test the Focus Ring and Zoom Mechanism
Gently rotate the focus ring and, if applicable, the zoom ring. Pay attention to:
- Smoothness: The rings should move smoothly without grinding or stiffness.
- No Slipping or Sticking: There should be no points where the rings get stuck or slip unnaturally.
- Focus Throw Resistance: Manual focus lenses may have more resistance, but it should still feel even and controlled.
Any unusual resistance, grinding, or looseness might indicate internal damage or wear that can affect usability.
5. Inspect the Aperture Blades
If the lens has a manual aperture ring or visible aperture blades, check the following:
- Blades should be clean and free of oil. Oil on aperture blades can lead to sticking or malfunction.
- The blades should open and close smoothly when adjusting the aperture.
- If inspecting a modern autofocus lens, test aperture actuation by mounting it on a camera and using depth-of-field preview or testing at various f-stops.
Sticky or sluggish aperture blades are a sign of internal issues and often require professional repair.
6. Mount the Lens on a Camera Body
If possible, bring your camera body (or ask the seller to provide one) to test the lens in real-time. Mount the lens securely and test the following:
Autofocus:
- Ensure autofocus is working correctly in both single and continuous focus modes.
- Check for quick, accurate focus acquisition.
- Listen for unusual noises (grinding, buzzing) during focusing.
Image Stabilization (if applicable):
- Activate the lens’s image stabilization (IS/VR/OSS) function and test for proper operation.
- Listen for odd clicking or motor noises that could indicate malfunction.
Communication with Camera:
- Check if the lens aperture settings are correctly registered by the camera.
- Make sure EXIF data (focal length, aperture) displays accurately.
- Test all electronic functions like autofocus, focus peaking (for manual lenses), and stabilization features.
7. Capture Test Shots and Examine Image Quality
Take several test shots under different conditions:
- Wide Open Aperture Test: Check for sharpness, vignetting, and optical clarity at the widest aperture.
- Stopped-Down Test: Test image sharpness and consistency at f/5.6 to f/8.
- Backlight Test: Shoot towards a light source to spot lens flare, internal reflections, and potential haze.
- Focus Accuracy Test: Use live view or autofocus points to ensure the lens locks onto subjects precisely.
After shooting, review the images on your camera’s screen and later on a computer monitor to ensure there are no softness issues, unusual color casts, or defects like spots caused by internal dust/fungus.
8. Inspect the Lens Mount
Examine the lens mount for excessive wear, scratches, or damage to electronic contacts. A damaged lens mount can cause poor fitment, communication errors, or even damage your camera body.
Ensure the lens mounts securely and locks in place without excessive play or wobble.
9. Ask About Lens History and Usage
If buying from a private seller, ask:
- How long they’ve owned the lens.
- What kind of photography they used it for.
- If it’s been serviced or repaired.
- How it’s been stored (dry boxes, climate-controlled environments).
Sellers who have taken good care of their gear will usually be transparent and willing to discuss the lens’s history.
10. Verify Accessories and Packaging
While not a deal-breaker, having the original lens caps, hood, pouch, and box is a good sign that the lens was well cared for. Missing accessories aren’t necessarily a problem, but they can slightly affect resale value later on.
If purchasing from a retailer, check whether the lens comes with a warranty or return policy. Many reputable sellers of used gear offer a short return window for added peace of mind.
Final Tips for Buying Used Lenses Online
If buying online and an in-person inspection isn’t possible:
- Ask for High-Resolution Photos: Request detailed images of the lens body, glass elements, and mount.
- Request a Video Demonstration: Ask the seller to send a short video showing the lens in operation (autofocus, zoom, aperture blades).
- Check Seller Reputation: Only buy from sellers with positive feedback or reputable platforms that offer buyer protection.
- Understand Return Policies: Make sure there’s a return window in case the lens doesn’t meet expectations upon arrival.
Conclusion
Buying a used lens can be one of the most rewarding decisions a photographer makes. With the right inspection techniques, you can acquire high-quality lenses that perform just as well as new ones while saving a significant amount of money. Whether you’re purchasing from a private seller or a trusted store, taking the time to thoroughly inspect a used lens ensures you get reliable equipment that will serve you well for years.
Understanding what to look for—and what to avoid—turns buying used lenses from a gamble into a smart, informed investment. With these inspection steps, you can shop with confidence and grow your photography gear arsenal the smart way.