Discover the best used portrait lenses that deliver stunning bokeh without breaking the bank. Explore affordable Canon, Nikon, Sony, Fujifilm, and vintage lenses for beautiful background blur.
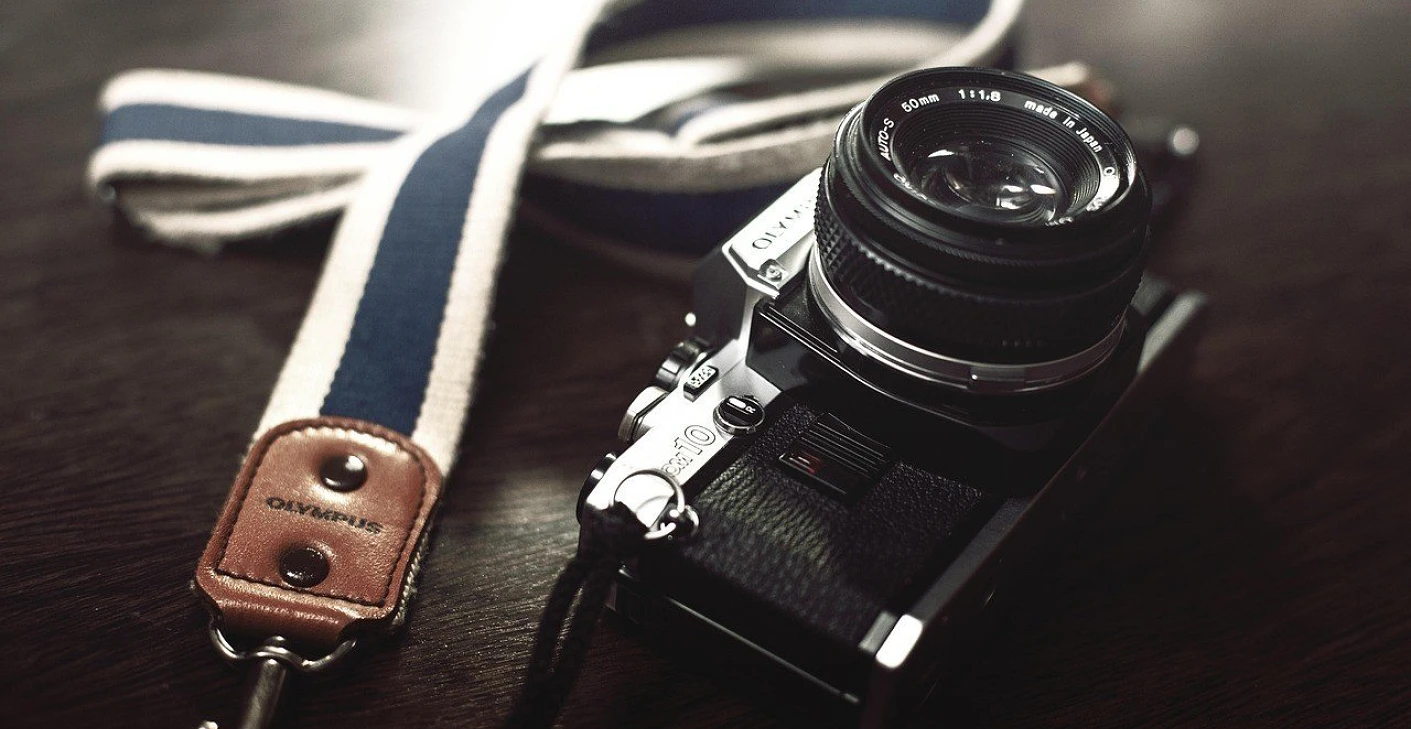
Used Portrait Lenses That Deliver Stunning Bokeh
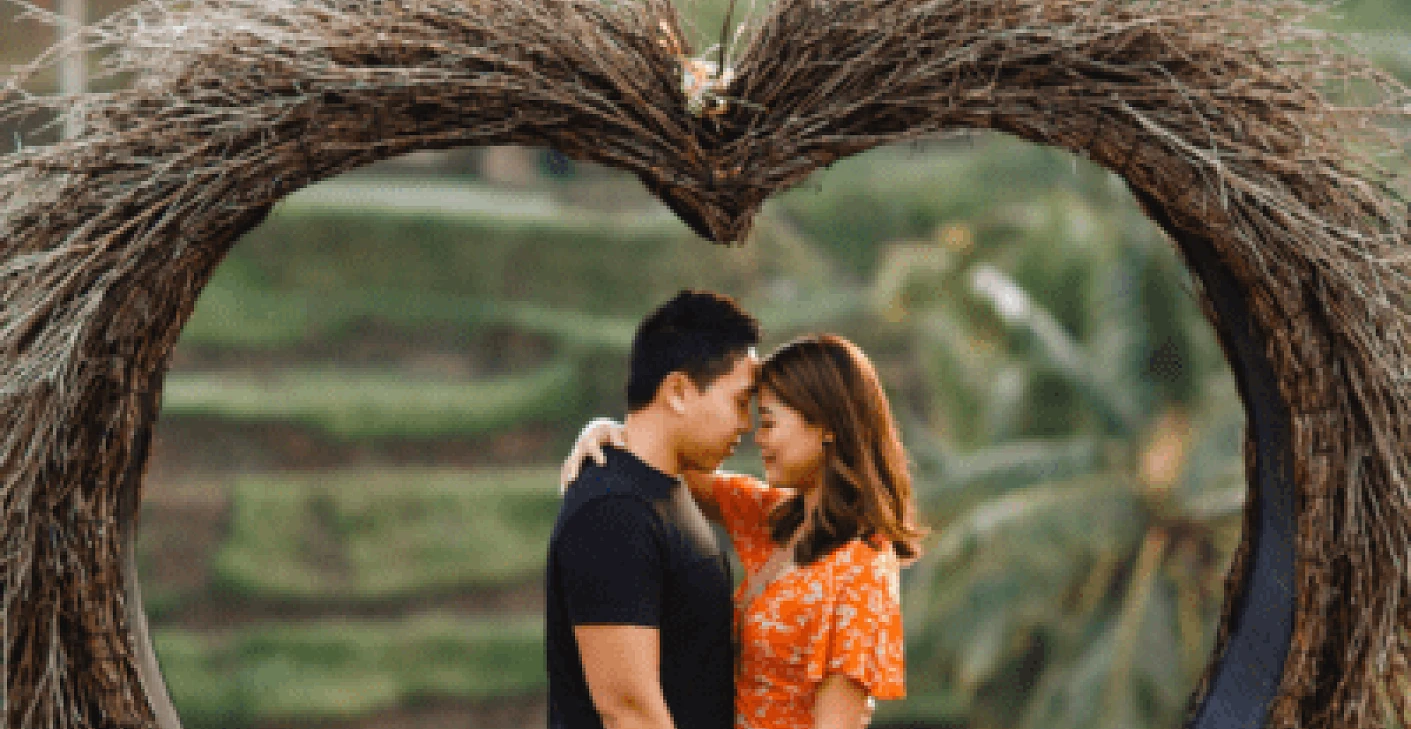
For portrait photographers, few things are as desirable as lenses that produce beautiful, creamy bokeh—that smooth, dreamy background blur that makes subjects pop and gives images a professional look. While modern high-end lenses are engineered to deliver flawless bokeh, they often come with steep price tags. Fortunately, the used lens market is filled with incredible portrait lenses that offer stunning bokeh at a fraction of the cost.
In this article, we’ll explore some of the best used portrait lenses renowned for their bokeh quality. Whether you’re a beginner looking for affordable options or an enthusiast seeking unique character, these lenses will elevate your portrait photography without breaking the bank.
Why Bokeh Matters in Portrait Photography
Bokeh, derived from the Japanese word “boke” meaning blur, refers to the aesthetic quality of the out-of-focus areas in an image. In portrait photography, good bokeh helps isolate the subject from distracting backgrounds, creating a sense of depth and enhancing the overall visual appeal.
Lenses that render smooth, circular bokeh balls and soft background transitions are highly sought after. Factors influencing bokeh quality include:
- Wide apertures (f/1.2, f/1.4, f/1.8)
- Optical design and diaphragm blade shape
- Focal length (longer lenses compress backgrounds more effectively)
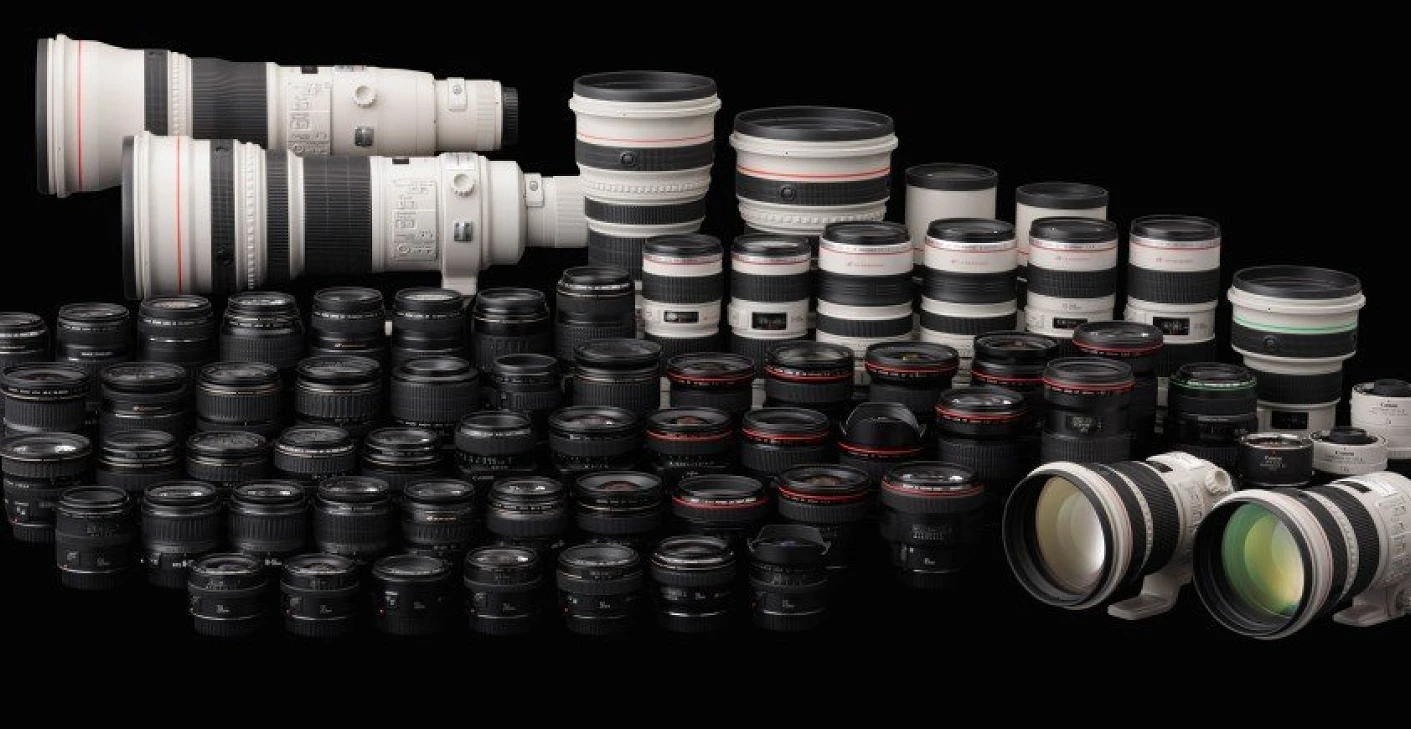
Top Used Portrait Lenses for Stunning Bokeh
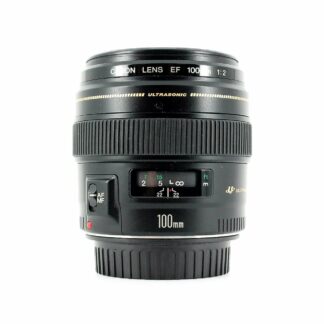
1. Canon EF 85mm f/1.8 USM
- Mount: Canon EF (Full-frame & APS-C)
- Why it’s great: Known as the “budget portrait king,” the Canon EF 85mm f/1.8 offers beautiful background blur, fast autofocus, and excellent sharpness.
- Bokeh Quality: Smooth and creamy, with soft edge transitions that give portraits a professional feel.
- Used Price Range: $250–$350
2. Nikon AF-S 85mm f/1.8G
- Mount: Nikon F (Full-frame & APS-C)
- Why it’s great: Lightweight, sharp, and with superb color rendering, this lens is a go-to for Nikon shooters wanting portrait-quality bokeh without paying for the more expensive f/1.4 version.
- Bokeh Quality: Clean, soft bokeh with minimal chromatic aberrations.
- Used Price Range: $300–$400
3. Sony FE 85mm f/1.8
- Mount: Sony E (Full-frame & APS-C)
- Why it’s great: One of the best value lenses in Sony’s lineup, it combines fast autofocus with exceptional sharpness and pleasing bokeh.
- Bokeh Quality: Smooth, round bokeh highlights thanks to a 9-blade circular aperture.
- Used Price Range: $350–$450
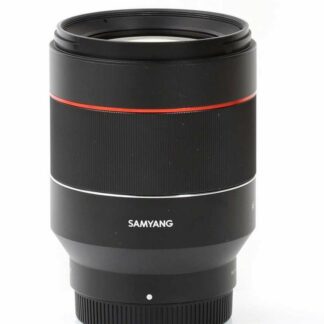
4. Fujifilm XF 56mm f/1.2 R
- Mount: Fujifilm X (APS-C)
- Why it’s great: Arguably the best portrait lens in Fujifilm’s lineup, offering a full-frame equivalent focal length of 85mm.
- Bokeh Quality: Silky smooth with excellent subject isolation. The f/1.2 aperture delivers beautiful background blur.
- Used Price Range: $500–$700
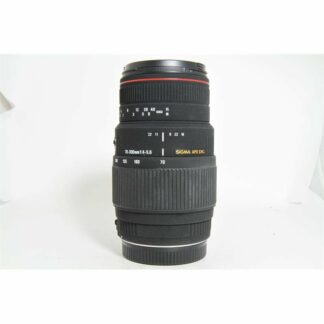
5. Sigma 85mm f/1.4 EX DG HSM (Canon/Nikon Mounts)
- Mount: Canon EF, Nikon F
- Why it’s great: Sigma’s older Art predecessor, this lens is known for its sharpness and fantastic bokeh at a more accessible price point than Canon or Nikon’s f/1.4 offerings.
- Bokeh Quality: Creamy bokeh with excellent separation, especially at f/1.4.
- Used Price Range: $400–$600
6. Canon EF 135mm f/2L USM
- Mount: Canon EF (Full-frame & APS-C)
- Why it’s great: A legendary lens for portraits and headshots, offering buttery smooth bokeh and excellent subject compression.
- Bokeh Quality: One of the smoothest bokeh renderings in Canon’s lineup.
- Used Price Range: $600–$800
7. Nikon AF DC-Nikkor 105mm f/2D
- Mount: Nikon F (Full-frame & APS-C)
- Why it’s great: A unique Defocus Control (DC) lens that allows photographers to fine-tune the foreground and background bokeh.
- Bokeh Quality: Creamy with the ability to adjust the softness via DC controls.
- Used Price Range: $600–$750
8. Helios 44-2 58mm f/2 (M42 Mount)
- Mount: Adaptable to most mirrorless cameras
- Why it’s great: A vintage gem, beloved for its unique swirly bokeh effect that gives portraits a dreamy, artistic feel.
- Bokeh Quality: Character-rich, swirly bokeh that’s hard to replicate with modern lenses.
- Used Price Range: $50–$100
What to Look for When Buying Used Bokeh Lenses
When shopping for used portrait lenses with bokeh in mind, here are key factors to inspect:
1. Lens Optics Condition
- Check for scratches, haze, or fungus on glass elements.
- Minor internal dust is common in used lenses and rarely affects image quality.
2. Aperture Blade Function
- Ensure aperture blades are free from oil and move smoothly.
- Aperture shape directly affects bokeh rendering, so circular blades are preferred.
3. Autofocus Performance
- Test autofocus speed and accuracy if applicable.
- Some used lenses may have worn motors, leading to slower or noisy focusing.
4. Build Quality
- Check for dents or damage to the lens barrel, filter threads, and mount.
- A well-maintained lens will feel solid with smooth focus and zoom rings.
5. Compatibility and Adaptability
- Ensure the lens mount is compatible with your camera body.
- For vintage lenses like the Helios, you’ll need a proper adapter for mirrorless systems.
Vintage Lenses: The Bokeh Artist’s Secret Weapon
Many vintage lenses are celebrated for their unique bokeh character. While they lack autofocus and electronic contacts, they reward photographers with creative, artistic rendering. Lenses like the Carl Zeiss Jena Biotar 58mm f/2 and the Pentacon 135mm f/2.8 are popular among bokeh enthusiasts for their distinctive background blur.
With manual focus and aperture control, using vintage lenses encourages a slower, more intentional shooting process. This can lead to more thoughtful compositions and a deeper appreciation of how light interacts with your subject and background.
Why Used Lenses Are Perfect for Bokeh Lovers on a Budget
The used market provides access to professional-grade lenses at a price point that’s friendly to enthusiasts and hobbyists. While brand-new bokeh-centric lenses like the Canon RF 85mm f/1.2L or Sony FE 135mm f/1.8 GM can cost over $2000, their used counterparts—or older versions—deliver stunning results at a fraction of the price.
Additionally, lens designs that emphasize bokeh quality (such as wide maximum apertures and specialized optical coatings) retain their value and performance for many years, making them safe investments even when bought used.
Tips for Capturing Beautiful Bokeh Portraits
- Shoot at Wide Apertures: Use f/1.2 to f/2.8 for the softest background blur.
- Increase Subject-Background Distance: The farther your subject is from the background, the smoother the bokeh.
- Choose Backgrounds with Light Points: Light sources like fairy lights or sunlight filtering through trees create pleasing bokeh balls.
- Use Telephoto Focal Lengths: Longer focal lengths like 85mm, 105mm, or 135mm compress the background, enhancing the bokeh effect.
- Mind the Distance to Subject: Get closer to your subject to amplify the depth-of-field separation.
Conclusion
You don’t need to spend a fortune to capture portraits with mesmerizing bokeh. The used lens market is filled with hidden gems that deliver professional-level background blur, allowing photographers of all levels to create stunning, dreamy portraits. From classic 85mm primes to unique vintage lenses like the Helios 44-2, there are countless affordable options that bring character and depth to your images.
Whether you’re shooting with Canon, Nikon, Sony, Fujifilm, or adapting vintage glass to a modern mirrorless body, investing in a well-chosen used portrait lens will dramatically elevate your photography, all while keeping your budget intact.