How do you find the perfect lens? To be honest: I have no answer to that. But I can show you how to find the right lens. I have a couple of criteria that are crucial for this.
uality of the lens
With lenses, of course, the first impression counts. What material was used for the lens? There are lenses that are made from 100% plastic; even the glasses. Now it depends on your requirements. It is not bad to use a cheap lens, but if you want to take photos in the rainforest, I would advise against such a lens.
For beginners, I recommend a cheap zoom lens or a fixed focal length. If you are in the advanced field or even in the professional field, you should rely on first-class workmanship and weatherproof lenses, especially when it comes to sharpness and strong weather influences.
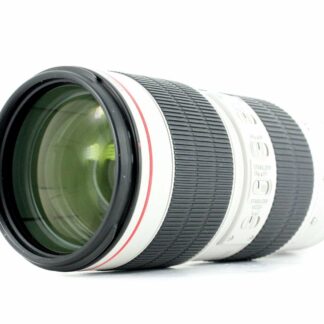
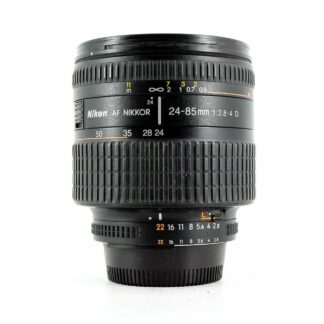
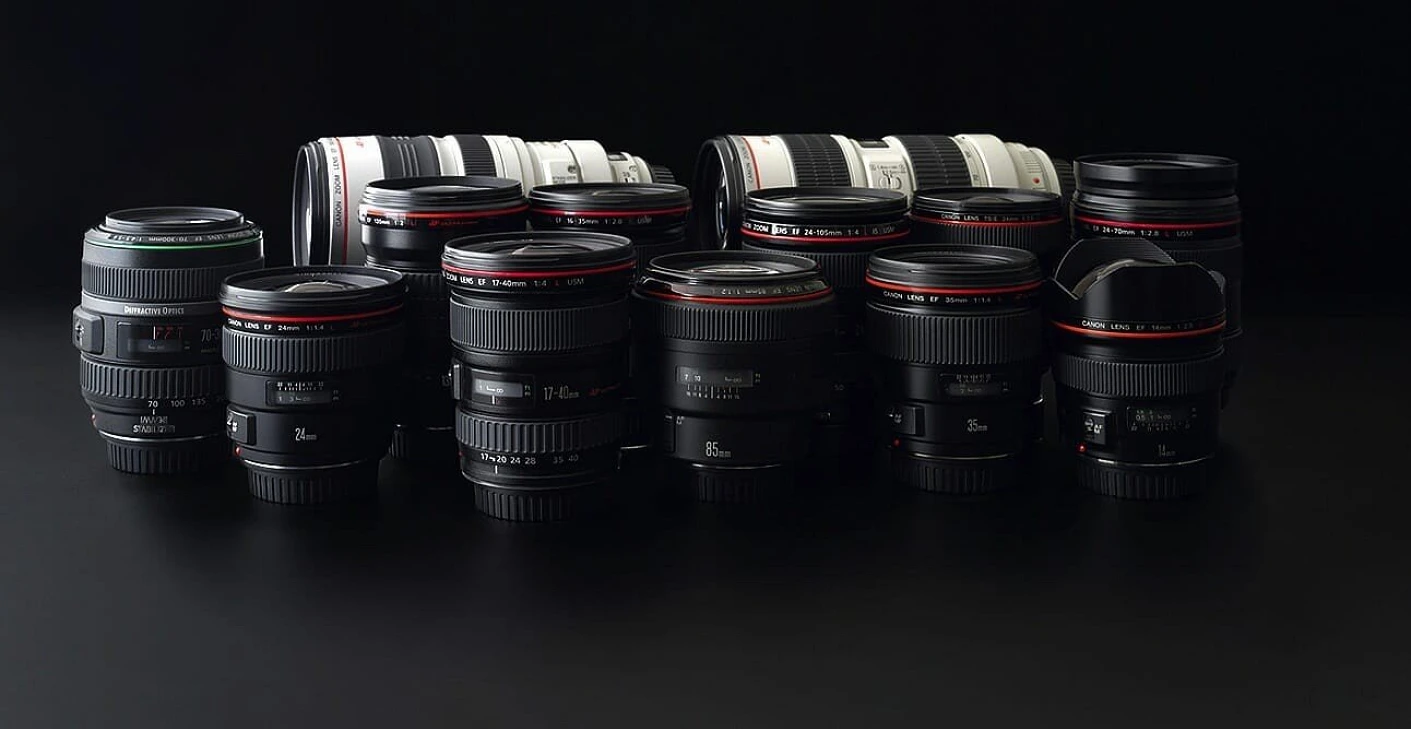
Most manufacturers have special series for this, such as the Sigma ART series, the Canon L series or the Nikon series with the golden ring on the lens. These are built in such a way that they can withstand dust, dirt, moisture and temperature fluctuations much better.
Focal length
The focal length is not decisive for the quality of a lens, but you should definitely include it when planning your lens purchase. This should match the area and the way you are photographing. There is no point in buying a lens that covers every focal length . On the one hand it makes a lazy photographer and on the other hand the quality drops. If the lens can cover a larger focal length range, you usually have a dull picture and a lower light intensity.
Extreme focal lengths also have an impact on quality. If the focal length is in the extreme wide-angle or telephoto range, the lenses are often very expensive or quality losses can be expected. This can be blurring or distortion.
Light intensity or maximum aperture
The light intensity is decisive for many when it comes to lenses. With a high light intensity, you can open the aperture wider and get significantly more light on the image sensor. This makes it possible to take pictures in dark light situations without increasing the ISO value .
So if you often take photos in such situations or if you have a blurry background (i.e. you need a shallow depth of field) you should pay attention to an appropriate aperture .
The aperture can be opened much wider, especially with fixed focal lengths . With zoom lenses, a corresponding revelation is usually associated with a higher price.
Sharpness
From my point of view, this is extremely important. If the lens is sharp, you get completely different images. This cannot really be copied with image processing.
With different glasses and significantly better processing, a completely different sharpness and a completely different contrast can be achieved.
I can promise you that here, of course, but what do you think if I just show you. The following images are both unprocessed and not sharpened. One was made with a € 100 prime lens and the other was made with a € 750 prime lens.
Optical resolution
Let me elaborate on the previous part. Because what we perceive as sharpness is called optical resolution. This optical resolution indicates how many lines the lens can display. It’s kind of like an eye test at an ophthalmologist. The finer the lines that can be displayed, the higher the optical resolution.
I have the following opinion on this: The lens should match the camera. It is much more beneficial to use a high-quality lens on a cheap camera than the other way around. Sure, 50 megapixels sound great in a camera, but if the lens can’t reproduce it, they won’t do anything. The many pixels on your camera are then just mud.
But don’t just rely on laboratory tests. Try lenses for yourself.
Bokeh
Bokeh not always back. Anyone who thinks that this is just a blurry background will quickly be taught better. Because depending on the lens, you get a completely different blur in the background. But let me show you more in the following example.
In this picture you can see the 50mm 1.8 from Canon and the 50mm 1.2 from Canon. Both set to f / 1.8. If you pay close attention, you will see that the 50mm 1.2 has a much softer background. Of course there is about 1000 € between the two lenses, but I wanted to demonstrate that you get a completely different bokeh .
If you can’t really see that difference now, then you don’t really need to worry about a more expensive lens. At least as far as the bokeh is concerned 😉
Close focus limit
This is interesting for all macro photographers.
Every lens has a close focus limit. This unit describes the minimum distance between the subject and the image sensor. If the subject is closer to the sensor, the lens can no longer focus and the image becomes blurred. Incidentally, it does not matter whether you focus manually or automatically.
So if you like to get close to your subject, you should pay attention to this value and combine it with the correct focal length . A minimum distance of 2.2 meters sounds a lot, unless you use a focal length of 600mm. It all depends on the right combination.
Autofocus
Auto focus is very important with a lens. Of course, otherwise, all images would be out of focus, but what exactly makes a good autofocus?
Speed
Faster is better? In any case, it should also be precise. It’s not just up to the camera how fast your autofocus is, the lens also has a part in it. Because the glass elements in a lens have to be moved in order to change the focus. A more powerful engine or a more sophisticated system can change a lot here and be decisive for a sharp photo.
Precision
What good is a great lens if it is often wrong? Well, it’s not normal for lenses to be wrong, but there’s a moment when they do. This is due to the back or front focus. With DSLR cameras, this is to blame for the fact that your subject can be blurred. This can often be adjusted with cameras, but it is laborious and not possible with every camera model.
Balance front or back focus
Video player
00:00
15:38
Incidentally, this problem does not exist with DSLM cameras. Due to their design, these are not prone to this error.
But why am I addressing this topic? With third-party manufacturers in particular, it can often happen that the focus is far off. This became known especially at Sigma with the 35mm 1.4. This lens is only half the price of the Canon original, but many have complained that the autofocus failed and went wrong far too often. Once calibrated and the lens is just awesome…
Noise
Probably less important for most people, but if you want to film or take photos in an environment in which you should avoid loud noises, this point is important. I recommend an ultrasonic motor here. This technology ensures almost silent focusing.
Image stabilizer
The image stabilizer is a great tool that offers great support, especially in low light or high focal lengths. But it is not only there to avoid blurring with the free hand, but also to be able to expose longer. You may still remember the rule of thumb from the exposure time . If we apply this, we can only expose for a certain time. What if we want to expose longer? Then an image stabilizer can help 🙂
A good image stabilizer can give you a buffer of 2, 3 or even 4 f-stops in exposure time . If we apply the reciprocal shutter speed rule, in which the exposure time corresponds at least to the focal length , we come to the following result.
| Focal length | min. time | Stabi 2 panels | Stabi 4 panels |
| 25mm | 1/25 | 1/8 | 1/2 |
| 100mm | 1/100 | 1/25 | 1/6 |
| 200mm | 1/200 | 1/50 | 1/13 |
| 400mm | 1/400 | 1/100 | 1/25 |
So if you often shoot in situations where you are photographing still subjects on your free hand, you should definitely consider using an image stabilizer. It is helpful in many other situations as well. You will almost always benefit from an image stabilizer and if not, it can simply be switched off 😉
Distortion
Most lens distortion occurs in the wide-angle range. Then the edges of the picture are shown distorted and your motifs are unreal. If you like to photograph architecture, that’s something extremely annoying and the photo quickly looks unprofessional and ugly.
Even if these errors can often be corrected easily in image processing, it doesn’t do any harm to have a lens that does not allow such errors in the first place. Above a certain price range, the distortion becomes less and less and sometimes disappears completely. But remember: The whole thing is based on physics. This can only be tricked to a certain extent. This means that from a certain focal length it does not matter how expensive your lens is, such distortions occur.
The extreme example with an 11mm fisheye lens
Vignetting
In addition to the optical distortion, it can happen with lenses that the edges of the image are darkened or blurred. The darkening is something that I actually really like. In portrait photography in particular, this effect ensures that the viewer’s gaze focuses more on the center of the picture and the subject. If you want to place the motif in a different place, that is again unfavorable. However, at least the dark edges of the image can be easily removed in image processing.
Stray light
Have you ever photographed in the sun with your mobile phone and the picture was simply outshone and nothing really visible? That’s a different matter with high-quality lenses. Extreme light situations and backlighting in particular ensure significantly less reflection and a natural contrast with the appropriate compensation and value .
Chromatic aberration
Chromatic aberration is a color fringing that can appear on contours. But don’t worry, you can get a grip on this quite easily in image processing.
Now what’s a good lens?
Unfortunately, I can’t tell you that, because this feeling is completely subjective. Everyone has different demands on their lenses and different ideas about a good lens. However, I have a few tips on how to use the previous points to find exactly what you are looking for. Even if the last points sounded like everything could easily be corrected while editing, it is definitely not so. A good lens can make a difference like day and night. You don’t believe me
Borrow lenses before you buy them!
Borrow a lens before you buy it. But not just any run-of-the-mill lens. Also take a high quality one. My world and my understanding of good pictures changed completely when I tested the Canon 50mm 1.2. I didn’t buy it and went for a Sigma lens, but it’s worth it just to find out what’s possible.