Discover why the Canon EOS 7D Mark II remains a top choice in 2025. This in-depth review explores its performance, image quality, autofocus, video features, and value as a used APS-C DSLR.
Used Canon EOS 7D Mark II Review: Still a Pro-Level APS-C Beast?
Introduction
When it launched, the Canon EOS 7D Mark II was hailed as a professional-grade APS-C DSLR built for speed, durability, and performance. A favorite among sports, wildlife, and action photographers, this camera earned a solid reputation for its fast burst rate, advanced autofocus, and rugged build. But is it still worth buying in 2025—especially as a used option in the mirrorless era? Let’s dive into a detailed review to see if the 7D Mark II still holds its place as a pro-level APS-C beast.
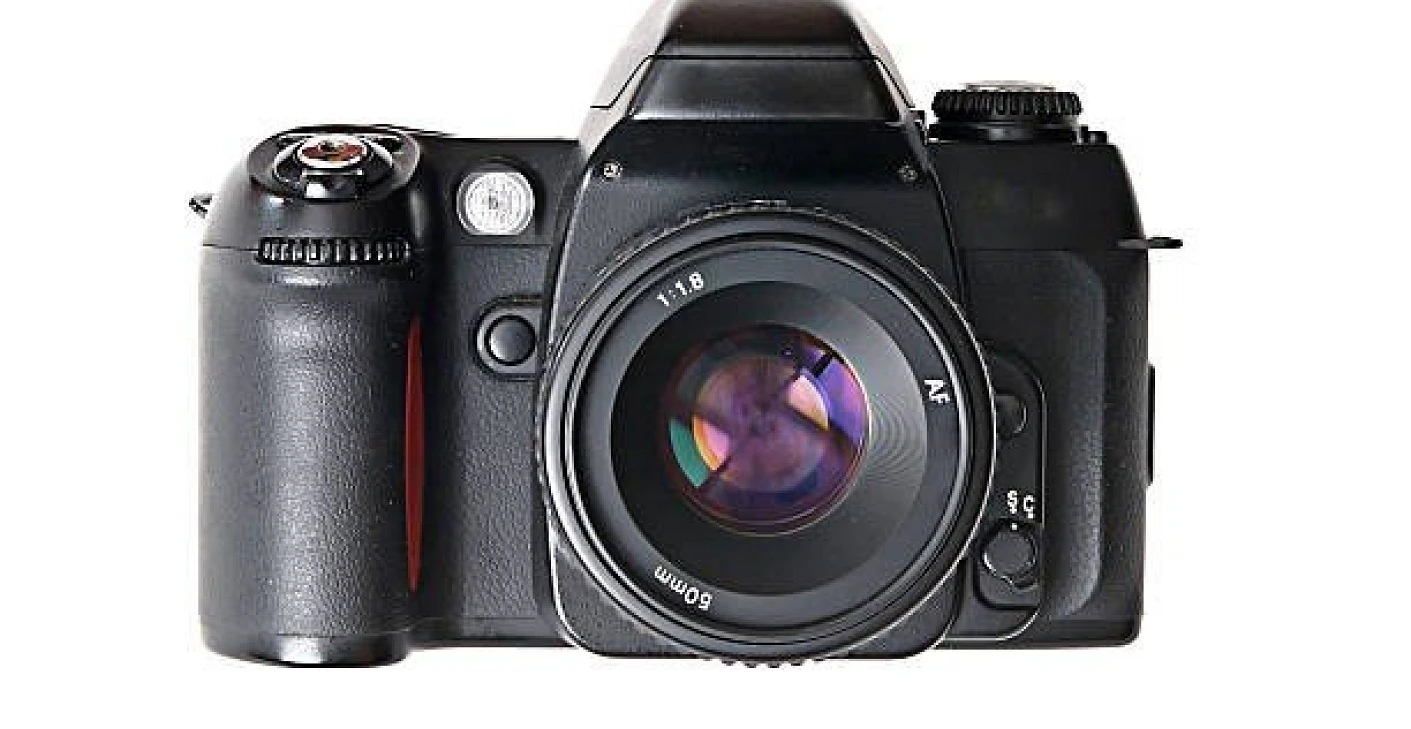
1. Build Quality and Design
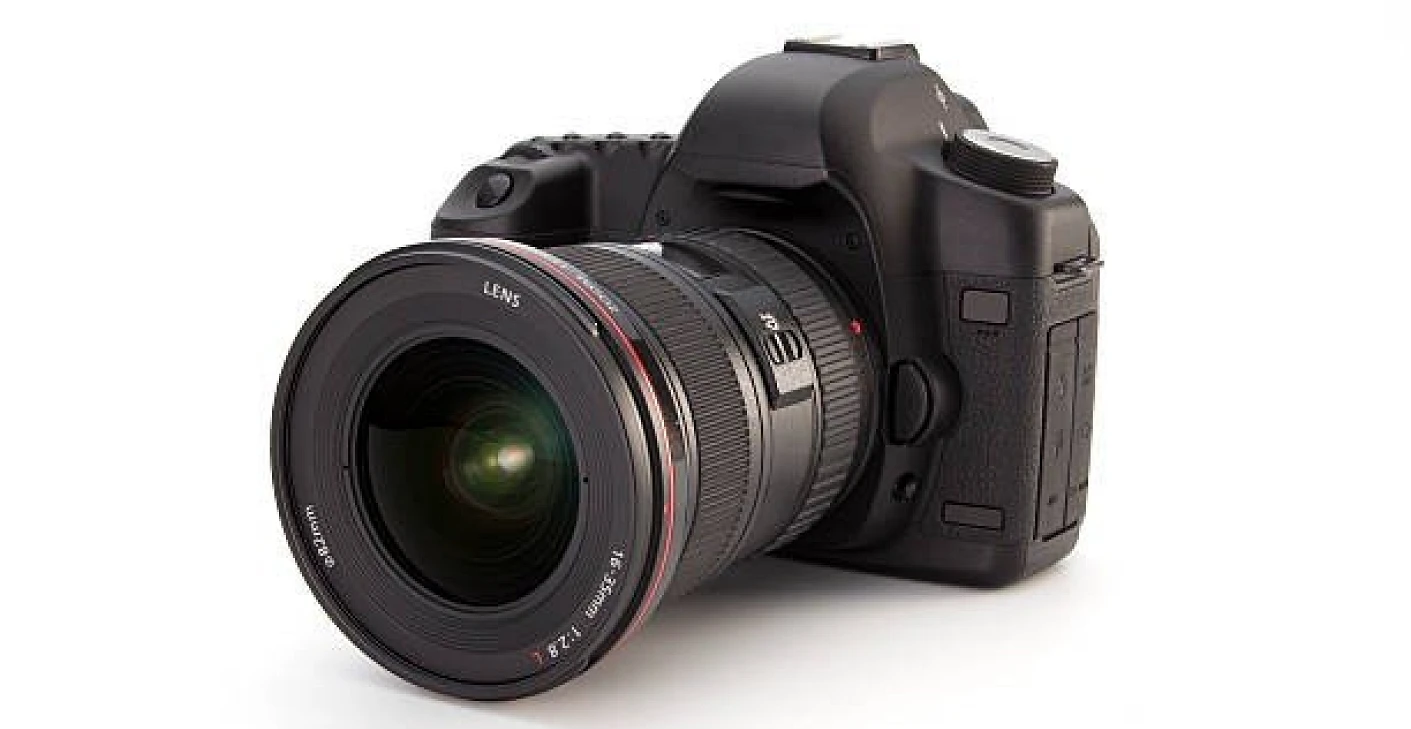
The Canon 7D Mark II was built like a tank. With a magnesium alloy body and weather-sealed construction, it’s designed to withstand harsh conditions—from rain-soaked football fields to dusty safari trips. Even in 2025, this durability makes it a reliable choice for those who shoot in challenging environments.
The layout is distinctly Canon: intuitive, well-spaced buttons, dual card slots (CF and SD), and a large top LCD screen. It handles more like a flagship camera than a mid-tier one, which is part of its continued appeal.
2. Autofocus and Performance
The autofocus system is still highly capable. With 65 cross-type AF points, the 7D Mark II provides excellent subject tracking and fast acquisition, especially when paired with high-quality lenses. While not on par with the latest mirrorless eye-tracking systems, it still performs better than most DSLRs in its class.
Its burst shooting rate of 10 frames per second, combined with a deep buffer, makes it ideal for action, wildlife, and sports photography—genres where timing and precision are everything.
3. Image Quality and Sensor
Equipped with a 20.2MP APS-C CMOS sensor and Dual DIGIC 6 processors, the 7D Mark II delivers excellent image quality. It handles ISO settings up to 16,000 natively (expandable to 51,200), and performs respectably in low light. While newer sensors offer better dynamic range and noise control, this camera’s files are still sharp, detailed, and easily editable in post.
Paired with good glass, such as Canon’s EF 70-200mm f/2.8L or a sharp prime like the EF 50mm f/1.4, it still holds its ground.
4. Video Capabilities
For video users, the 7D Mark II offers Full HD (1080p) recording at 60fps. It includes headphone and microphone jacks, manual audio control, and clean HDMI out. However, it lacks 4K and features like focus peaking or in-body stabilization (IBIS), which many newer mirrorless cameras provide.
If video is your priority, you might be better served by a newer hybrid mirrorless model like the Canon EOS R7 or even a used EOS 90D. But for casual video use, the 7D Mark II is more than capable.
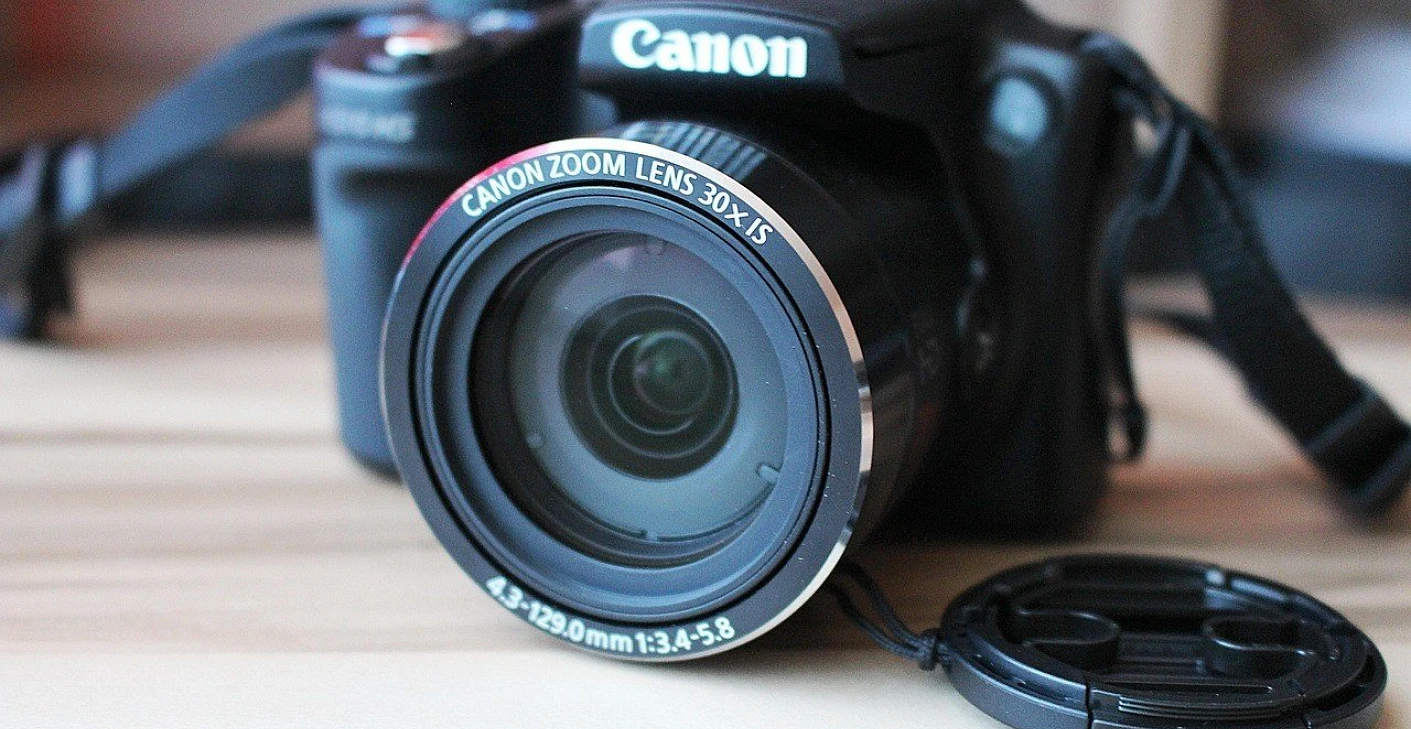
5. Compatibility with EF Lenses
One of the major strengths of the 7D Mark II is its compatibility with Canon’s extensive EF and EF-S lens lineup. With so many high-quality used lenses on the market, you can build a solid, professional system for a fraction of the original cost. From telephoto zooms to fast primes, the options are plentiful and often very affordable second-hand.
6. How It Holds Up in 2025
So, how does the Canon 7D Mark II compare in 2025? Here’s a quick look at its pros and cons:
Pros:
- Excellent build quality and durability
- Fast, accurate autofocus
- Impressive burst rate for action and wildlife
- Dual card slots and pro-grade ergonomics
- Wide range of compatible lenses
Cons:
- No 4K video
- No touchscreen or IBIS
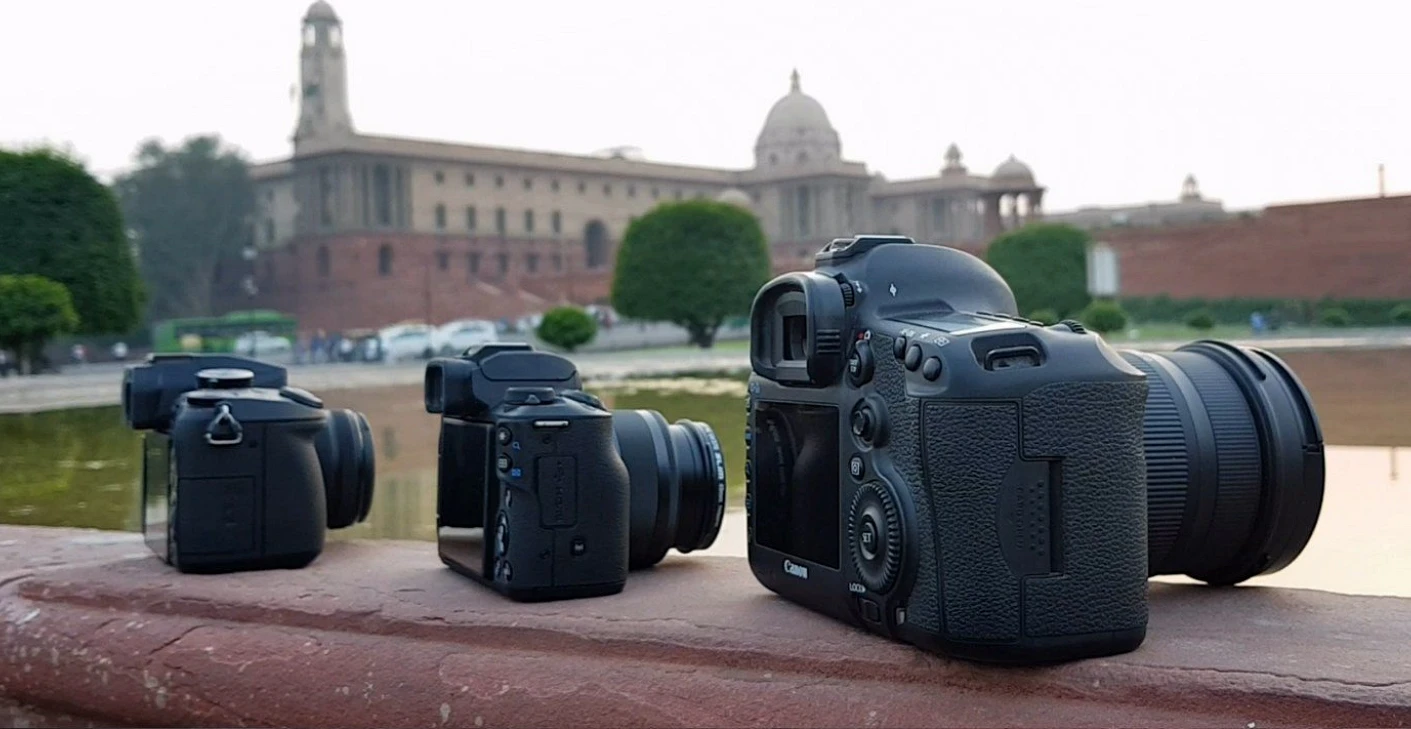
- Heavier than most modern mirrorless cameras
- Aging sensor tech compared to 2025 standards
7. Price and Used Market Value
One of the biggest reasons to consider the 7D Mark II in 2025 is its price. You can typically find used models in excellent condition for $400–$600 USD. That’s a bargain for a rugged, professional-grade DSLR. If you already own EF lenses or are transitioning from an older Canon system, the 7D Mark II provides a budget-friendly yet capable upgrade.
8. Who Should Buy It?
The Canon EOS 7D Mark II still makes sense in 2025 for:
- Wildlife and sports photographers on a budget
- Existing Canon users with EF/EF-S lenses
- Enthusiasts who value DSLR handling and durability
- Photographers needing a backup or second body
However, if you’re starting from scratch and lean heavily toward video or want the latest features like IBIS, 4K, and eye-AF, then exploring Canon’s mirrorless R-series (like the R10 or R7) may be a better long-term investment.
Conclusion
The Canon EOS 7D Mark II may no longer be the latest and greatest, but it hasn’t lost its professional edge. As a used option in 2025, it remains one of the best pro-grade APS-C DSLRs you can buy for the price. If you prioritize speed, durability, and a robust lens ecosystem, the 7D Mark II still has plenty of life left in it. It’s not just nostalgia—it’s still a beast where it counts.