Discover the top 10 used camera lenses every photographer should consider in 2025. Get pro-level performance at affordable prices with these must-have lenses for Canon, Nikon, Sony, Fujifilm, and more.
Top 10 Used Lenses Every Photographer Should Consider in 2025
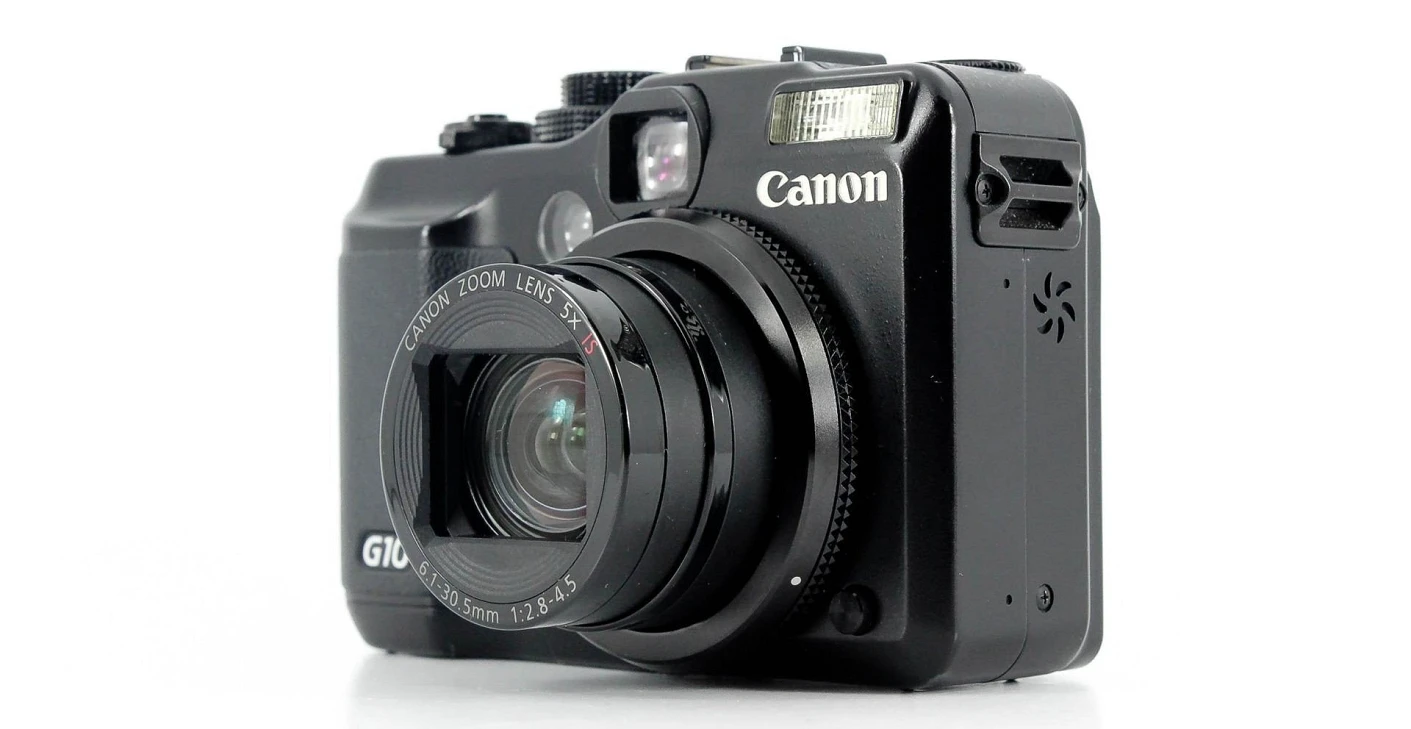
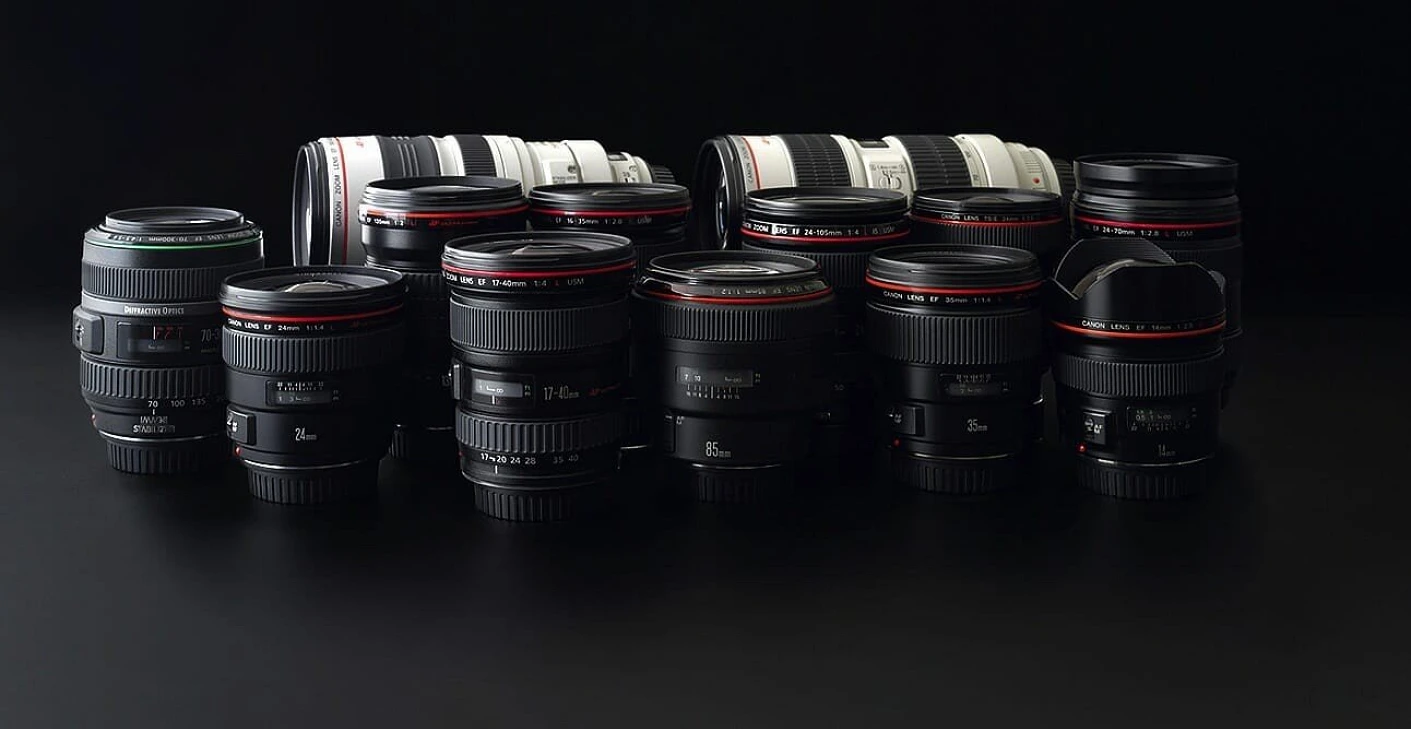
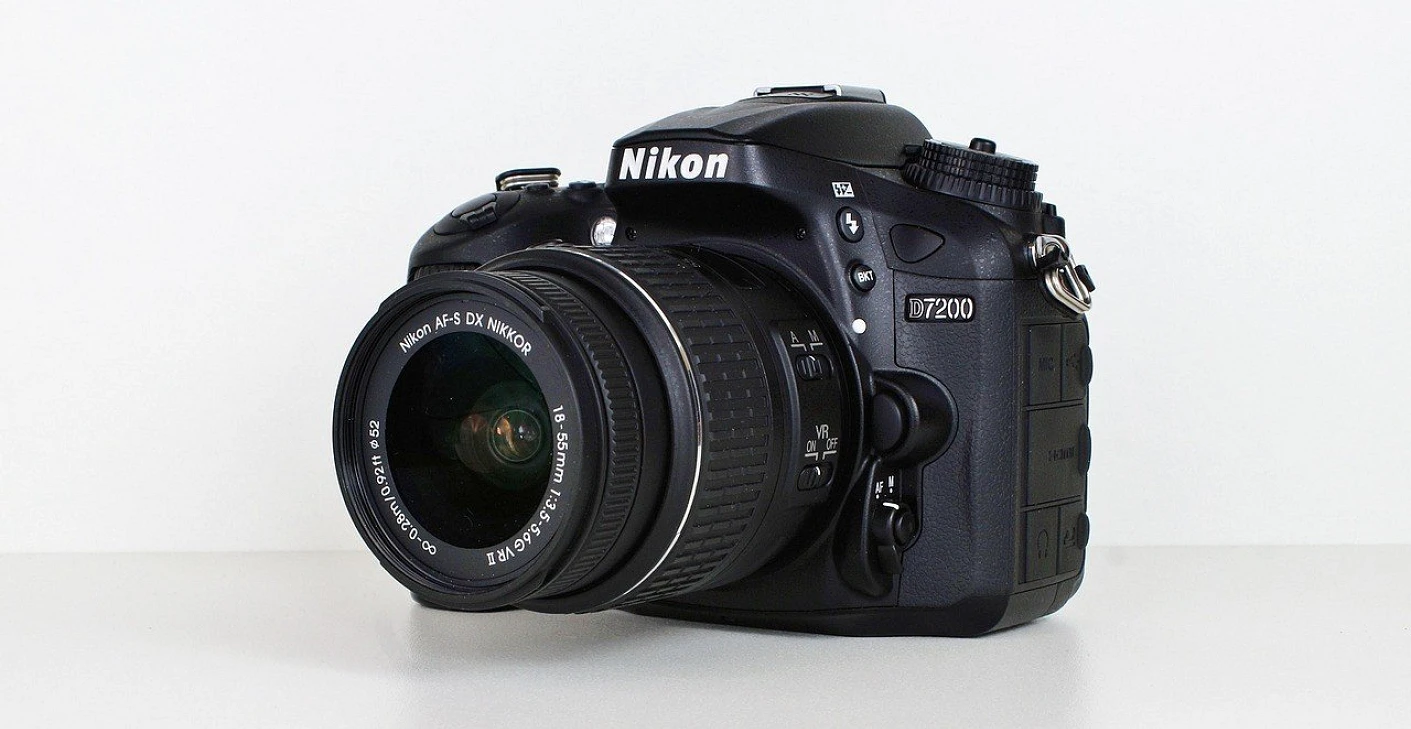
In the ever-evolving world of photography, lenses are arguably the most important part of a photographer’s toolkit. While camera bodies get frequent upgrades, high-quality lenses retain their value and performance for many years. For photographers looking to expand their gear without spending a fortune, the used lens market is a treasure trove of opportunity.
In 2025, with advanced mirrorless systems dominating headlines, many outstanding DSLR and early mirrorless lenses are available at unbeatable prices. Some of these lenses are timeless workhorses, while others offer unique optical character that new lenses simply can’t replicate.
Here are the top 10 used lenses every photographer should consider in 2025, whether you’re a beginner, hobbyist, or seasoned professional.
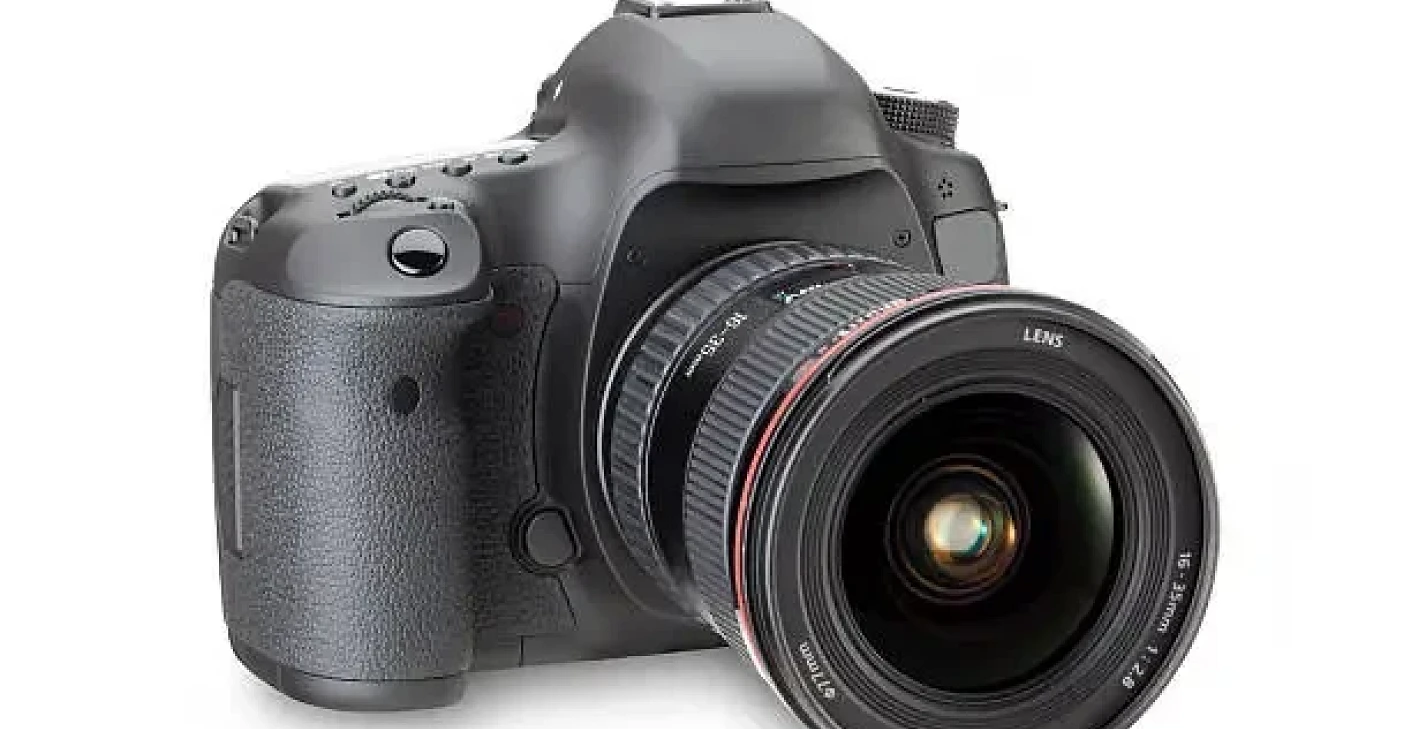
1. Canon EF 24-70mm f/2.8L II USM
The Canon EF 24-70mm f/2.8L II is often regarded as one of the best standard zoom lenses ever made. Known for its sharpness, fast aperture, and professional-grade build quality, this lens is a go-to for wedding, portrait, and event photographers.
With many Canon shooters transitioning to RF mirrorless systems, the used market is now filled with these incredible lenses at significantly reduced prices. It pairs seamlessly with EF-RF adapters, making it a smart choice even for mirrorless users.
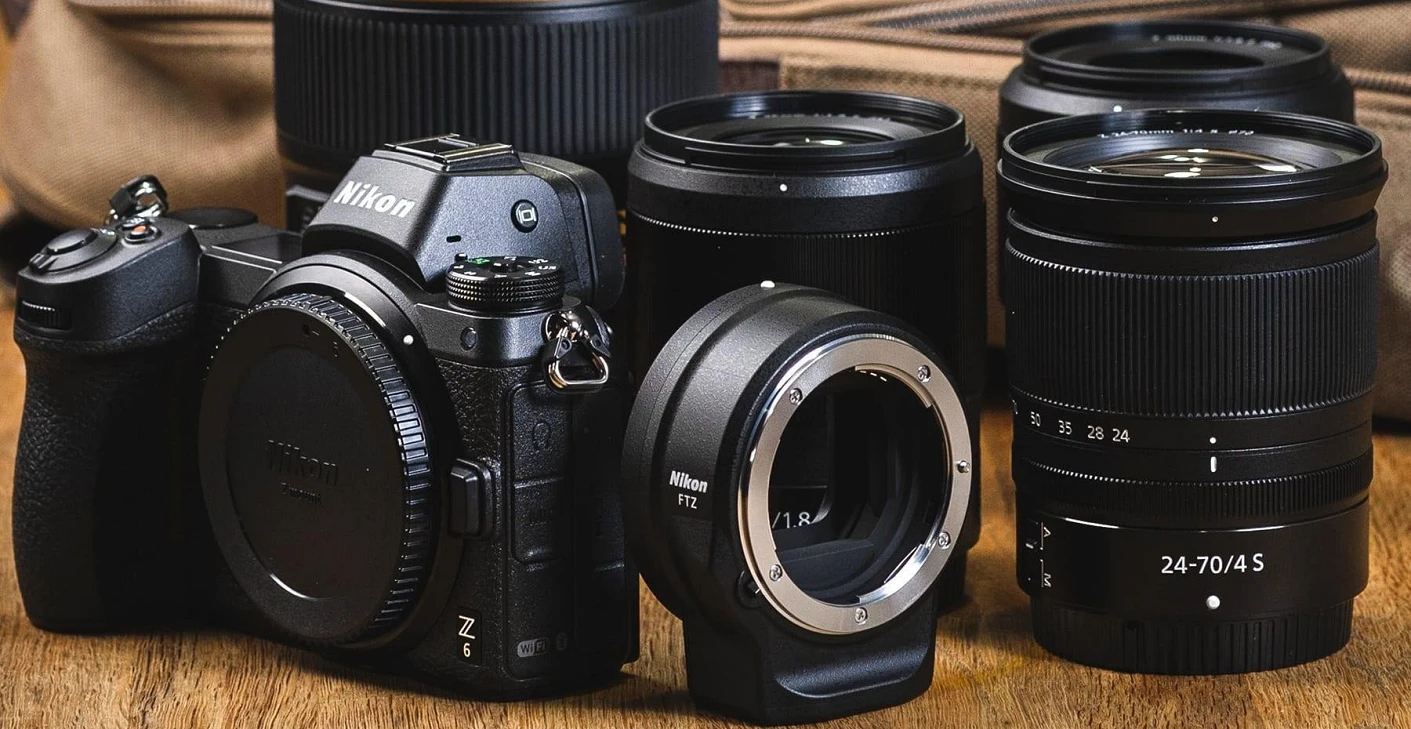
2. Nikon AF-S NIKKOR 70-200mm f/2.8G ED VR II
The Nikon 70-200mm f/2.8G VR II has long been a favorite among sports, wildlife, and portrait photographers. Its constant f/2.8 aperture, exceptional image stabilization (VR), and tank-like build make it a professional’s workhorse.
As Nikon mirrorless users shift towards Z-mount lenses, this once-premium lens can now be found on the used market at budget-friendly prices. It remains a phenomenal lens when paired with an FTZ adapter on mirrorless bodies.
3. Sony FE 85mm f/1.8
The Sony FE 85mm f/1.8 is often called the “budget portrait king.” It offers beautiful bokeh, sharpness, and lightning-fast autofocus—all in a compact and lightweight package.
For portrait photographers or those entering the Sony full-frame ecosystem, this lens provides stunning image quality without the hefty price tag of Sony’s GM series lenses. Given its popularity, it’s now widely available on the used market.
4. Sigma 35mm f/1.4 DG HSM Art
Sigma’s 35mm f/1.4 Art lens revolutionized third-party lens expectations, delivering performance that rivaled or even surpassed first-party offerings. It’s a versatile focal length ideal for street, event, and environmental portrait photography.
With Sigma releasing mirrorless-specific versions of this lens, DSLR-mount versions (Canon EF, Nikon F) are now selling for a fraction of their original price on the used market.
5. Tamron 28-75mm f/2.8 Di III RXD (Sony E-mount)
For Sony mirrorless users, the Tamron 28-75mm f/2.8 offers an affordable alternative to Sony’s native standard zooms. Known for its lightweight design, fast aperture, and excellent optical quality, it’s a favorite among travel and event photographers.
Since Tamron has updated this lens with newer versions, the original RXD model is now a fantastic value buy on the used market for photographers seeking pro-level performance on a budget.
6. Fujifilm XF 56mm f/1.2 R
For Fujifilm X-series shooters, the XF 56mm f/1.2 R is a must-have portrait lens. Its wide f/1.2 aperture produces stunningly shallow depth-of-field and creamy bokeh, making it a favorite for portrait and fashion photographers.
With Fujifilm’s newer versions arriving in 2025, this original 56mm is appearing in used listings at highly attractive prices while still delivering breathtaking image quality.
7. Canon EF 100mm f/2.8L Macro IS USM
The Canon EF 100mm f/2.8L Macro is a dual-purpose gem. Not only is it an exceptional macro lens, but it also doubles as a razor-sharp portrait lens with beautiful background compression.
Thanks to its hybrid image stabilization and legendary L-series optics, this lens is highly sought after. However, as many Canon users switch to RF macro alternatives, the EF version can now be found used at considerable savings.
8. Nikon AF-S DX 35mm f/1.8G
For Nikon DX (APS-C) DSLR shooters, the 35mm f/1.8G is a budget-friendly prime lens that punches well above its weight. Offering a 50mm equivalent field of view, this lens is perfect for everyday photography, street shots, and portraits.
Its affordability, lightweight build, and sharp optics make it an essential lens, and used versions are abundant in the second-hand market.
9. Sigma 150-600mm f/5-6.3 DG OS HSM Contemporary
Wildlife and sports photographers seeking reach without spending a fortune flock to Sigma’s 150-600mm Contemporary lens. It offers versatile zoom, optical stabilization, and excellent image quality in a surprisingly portable package.
With new mirrorless telephoto options on the market, DSLR versions of this lens are becoming more affordable in used listings, providing an accessible gateway into extreme telephoto photography.
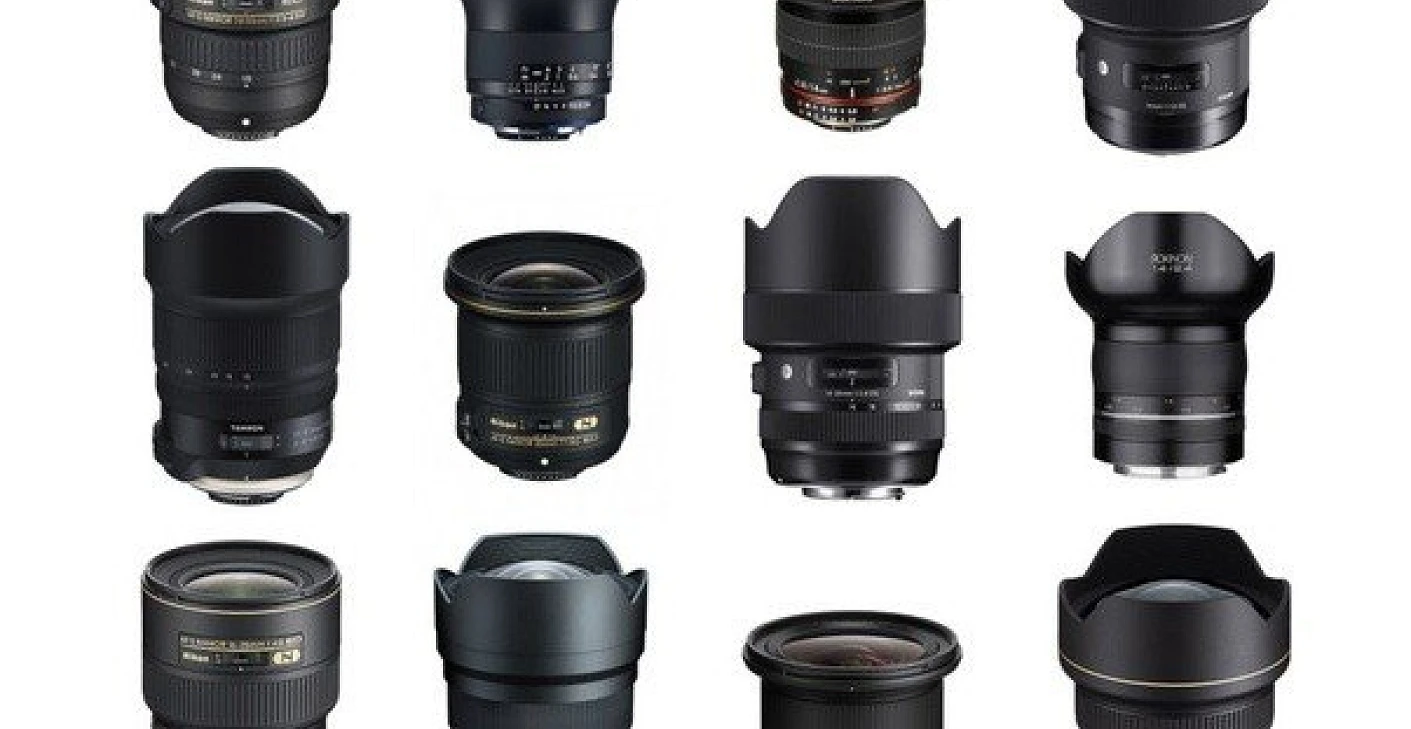
10. Tokina AT-X 11-20mm f/2.8 PRO DX
For APS-C DSLR users looking to explore ultra-wide photography, the Tokina 11-20mm f/2.8 offers fantastic value. It’s ideal for landscapes, architecture, astrophotography, and interiors.
Unlike many budget ultrawide zooms, it features a constant f/2.8 aperture, making it suitable for low-light conditions. With many photographers upgrading to full-frame or mirrorless systems, this lens can now be found at bargain prices on the used market.
Bonus Tip: Watch for Adapted Vintage Lenses
In 2025, adapting vintage manual focus lenses onto modern mirrorless bodies continues to grow in popularity. Classic lenses from brands like Minolta, Pentax, Olympus, and even Soviet-era brands like Helios offer unique optical characteristics at very affordable prices. If you enjoy experimenting with creative bokeh, flare, and vintage rendering, hunting for vintage glass in the used market is both exciting and rewarding.
Why Buying Used Lenses is a Smart Move in 2025
The used lens market in 2025 is more robust and dynamic than ever. As camera manufacturers release new mirrorless systems, many photographers are selling off their DSLR lenses, flooding the market with high-quality glass at discounted prices. This creates a golden opportunity for savvy buyers to acquire professional-grade lenses without stretching their budgets.
Additionally, lenses are long-term investments. Unlike camera bodies, which can become obsolete with technological advances, lenses often retain their value and usability for many years. With proper care, a used lens can deliver outstanding results, whether you’re a professional or an enthusiast.
Tips for Buying Used Lenses Safely
To make the most out of buying used lenses, follow these key tips:
- Inspect for Physical Damage: Look closely at lens elements for scratches, fungus, or haze.
- Test Autofocus and Aperture Blades: Ensure smooth, accurate performance.
- Buy from Reputable Sellers: Trusted retailers, certified pre-owned programs, or online marketplaces with buyer protection.
- Compare Prices: Research market rates to ensure you’re getting a fair deal.
- Check Return and Warranty Policies: Gives peace of mind in case of hidden defects.
Conclusion
Building a versatile, high-quality lens collection doesn’t have to drain your savings. The used lens market in 2025 is filled with opportunities to acquire premium optics at a fraction of their original cost. Whether you’re after a portrait prime, a workhorse zoom, or an ultra-telephoto lens for wildlife, the top 10 used lenses listed here are all excellent choices that continue to deliver outstanding performance.
By purchasing used lenses thoughtfully, photographers can maximize their creative potential while staying within budget—a smart investment strategy for any visual artist.