Which camera should I buy? One of the most frequently asked questions in the beginning of a photographer and beyond. On this page I’ll show you why compact cameras are the right choice for you; or not. Let’s go 😉
1 What is a compact camera?
2 The advantages of a compact camera
3 disadvantages of compact cameras
4 Who is the compact camera for?
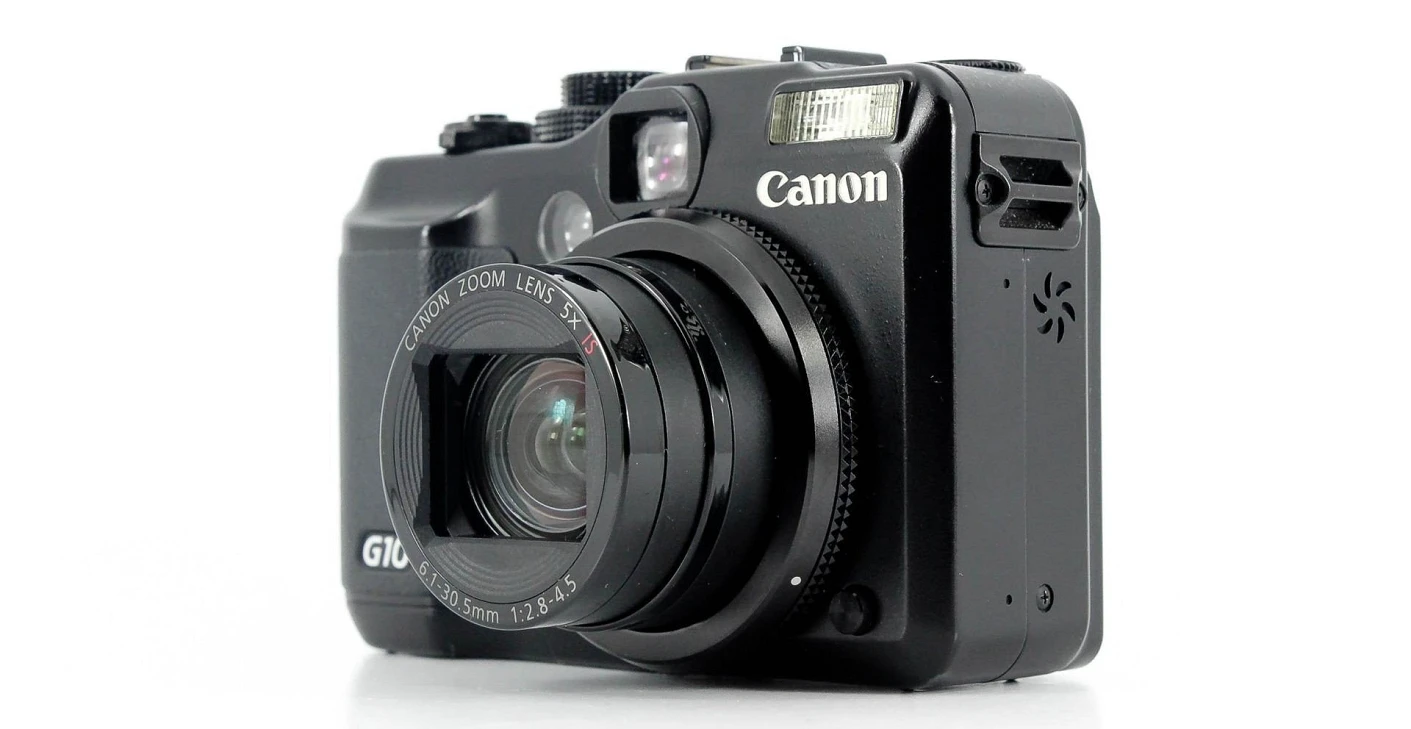
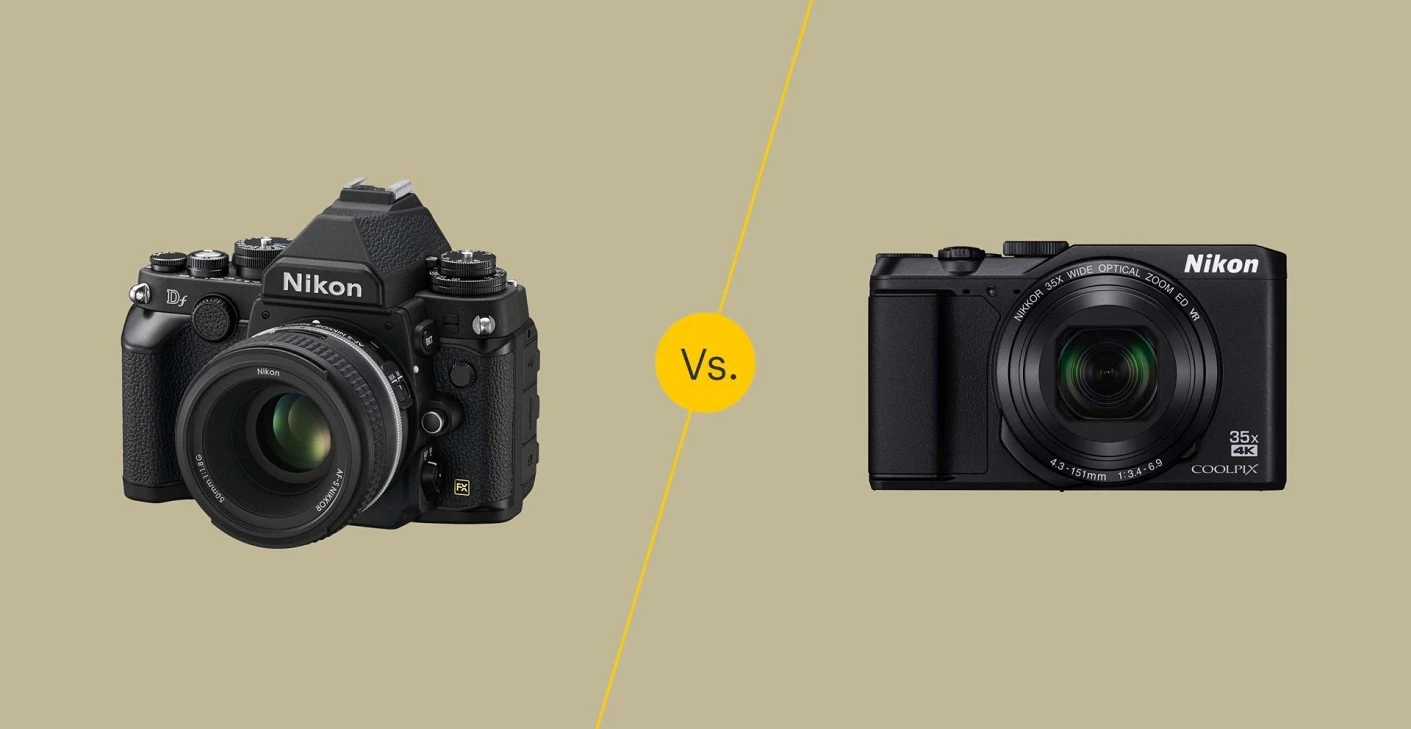
What is a compact camera?
The compact camera is, as its name suggests, compact, i.e. very small and handy. All components are designed to be as small and light as possible. A small flash is usually built into the camera housing and the lenses are specially developed for the smaller cameras and are also smaller. They are mostly designed to turn them on and just get started. For this reason, the lens, which cannot always be changed, is designed to simply photograph everything. Some cameras offer further setting options, but the primary focus is often the simple “point and shoot”. Hold on and release.
The advantages of a compact camera
Mobility
Regardless of whether it is a pocket, a backpack or simply in the hand the compact camera simply fits everywhere. You can just take them with you wherever you go. Due to its small size and hardly any weight, it is extremely mobile and no problem even on long journeys. This is a real advantage compared to a SLR camera 🙂
Service
These cameras are designed to be operated by laypeople and are therefore extremely easy and intuitive to use. They are entry-level cameras and although you can control aperture , ISO and exposure time in some models , you will look in vain for one or the other professional function. But that’s not bad, because it makes operation easier and one must not forget: the cameras are not made for this.
Universal
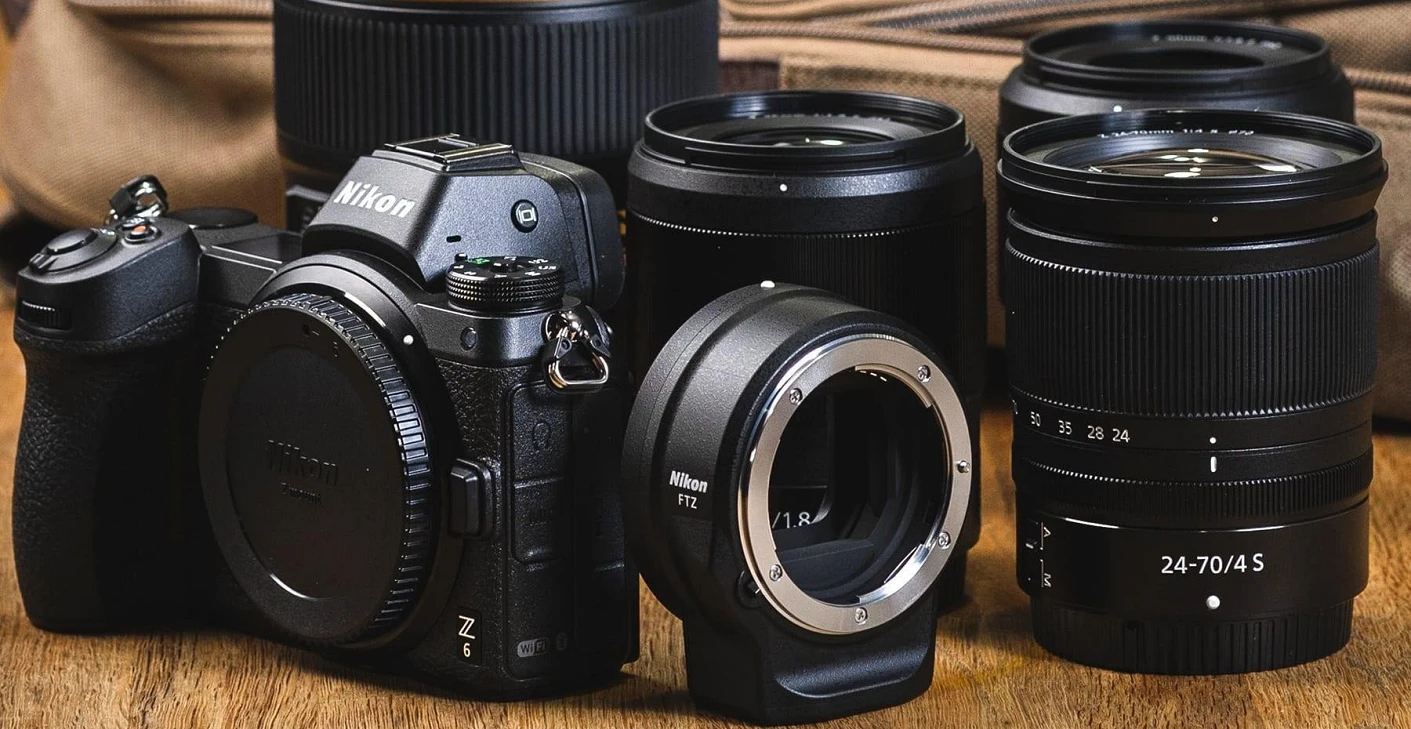
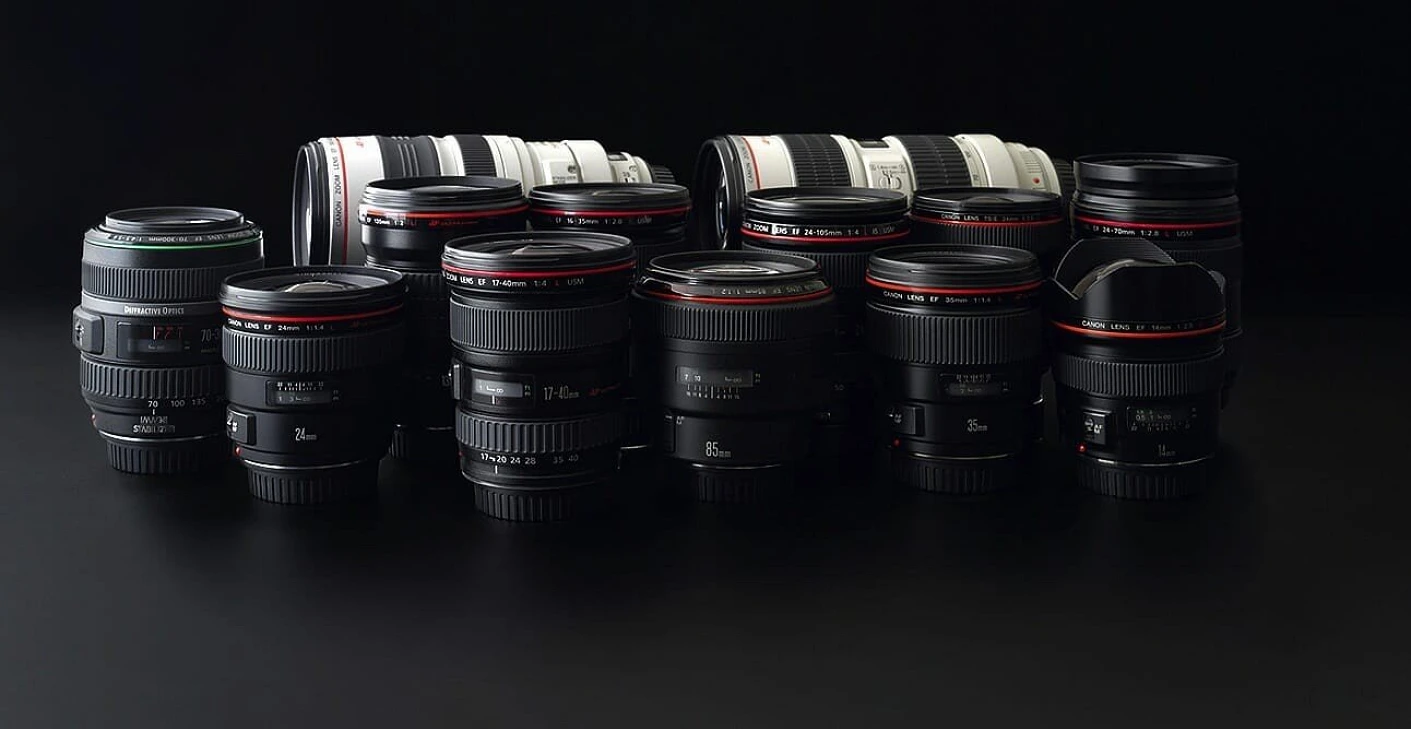
A compact camera with its fixed lens can be used universally in all situations. With a DSLR or DSLM you would have to take several lenses with you, such as a macro lens, a wide angle lens, a telephoto lens, etc … The compact camera combines all of this in one lens. Super zoom and macro are functions that can be found with these cameras. So you are prepared for every situation and it is not necessary to change the lens.
Depth of field
Now it’s getting a bit technical. Compact cameras have a very small sensor. The size of the image sensor has an influence on the focus area. This means that with a small image sensor you can get a large area of focus. If you want to have as much sharpness as possible in the pictures, you need a small image sensor. Architecture and landscapes can be reproduced very well, while cameras with a larger image sensor would have to close the aperture significantly and therefore need more light.
Price
We’re still with the small image sensor. Because small sensors are cheaper to manufacture. There are also devices in the field of compact cameras that exceed £ 2000, but these also have a large image sensor. The purchase and entry into photography is extremely cheap with these cameras, and the enormous spread of smartphones further lowers the price.
Disadvantages of compact cameras
Of course the world is not perfect. Everything has its disadvantages and so of course compact cameras too. Below I have listed the most important ones for you.
Limited image quality
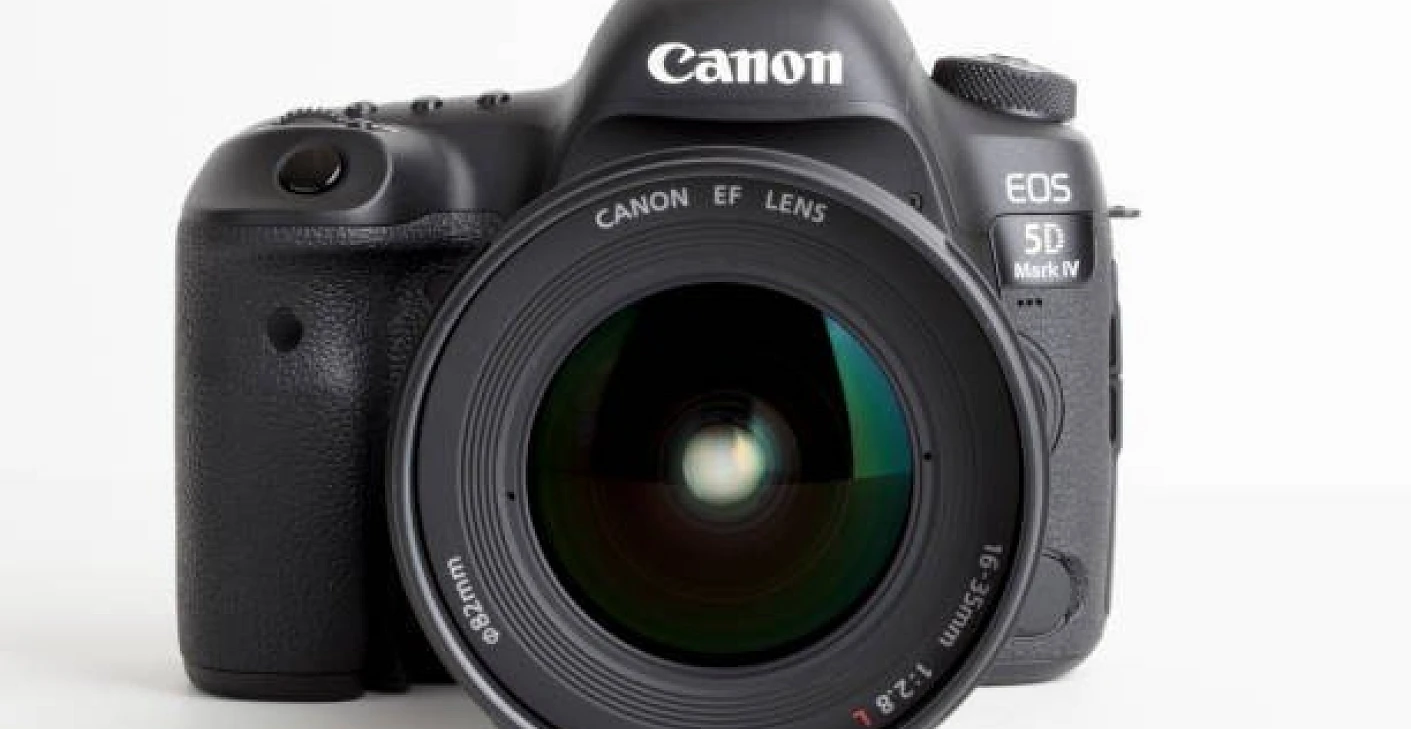
Compact cameras are all-rounders. They can do anything, but that also means they are not really good at anything. Anyone who can do a lot, offers everything and that at a reasonable price has to compromise somewhere. In this case, the small image sensor is to blame. Compared to DSLR / DSLM cameras, you have to compromise on sharpness, dynamic range and the ability to take photos in the dark ( ISO noise). Especially in demanding situations it is very difficult to achieve useful results for these small karmas. Taking photos freehand in the dark? Not a very good idea.
Limited quality of the lens
I already said that you always have to cut corners with an all-rounder. The same goes for the lens. The size of the lens and the usually enormous zoom result in a loss of sharpness, vignetting and chromatic aberration. In addition, every light reflex is reflected across the lens and makes photography almost impossible in some situations. Of course, I am comparing € 1,000 lenses with a £100 camera-lens combination, but you should know what you’re getting yourself into … It gets better (it always gets better)
Handling
A problem that I’ve had with many DSLM and bring cameras: They are simply too small. That makes it very mobile, but it is also demanding to use the small buttons and it happens again and again that you press 3 buttons at the same time. The cameras also have no eyepiece and you have to rely completely on the display. This can work, but in strong sunlight this display is almost useless.
Lens change
There are compact cameras in the higher-priced segment that offer the option of changing the lens. However, I now assume that you are using a device that does not offer this functionality. A lens that is permanently installed has advantages, but an upgrade or a change is simply not possible here. As a photographer you always want to adapt the camera to the given situation and that only works semi-well here.
Who is the compact camera for?
I can answer this question very easily. For everyone who wants a camera that just works. You don’t want to deal with many setting options? Just hold on, pull the trigger and receive a photo as a memento? Then this type of camera is perfect for you. It is small, light, universally applicable and also inexpensive. However, if you now expect the ultimate camera that perfectly photographs every situation at the push of a button, then you will be more likely to be disappointed. These cameras have technical limitations and are perfect for someone who just wants to capture memories.