Discover why the used Canon EF 50mm f/1.8 II, known as the “Nifty Fifty,” remains a top-value lens in 2025. Learn about its image quality, versatility, and why it’s still a must-have for budget-conscious photographers.
Why the Used Canon EF 50mm f/1.8 II ‘Nifty Fifty’ Is Still the Best Bang for Your Buck
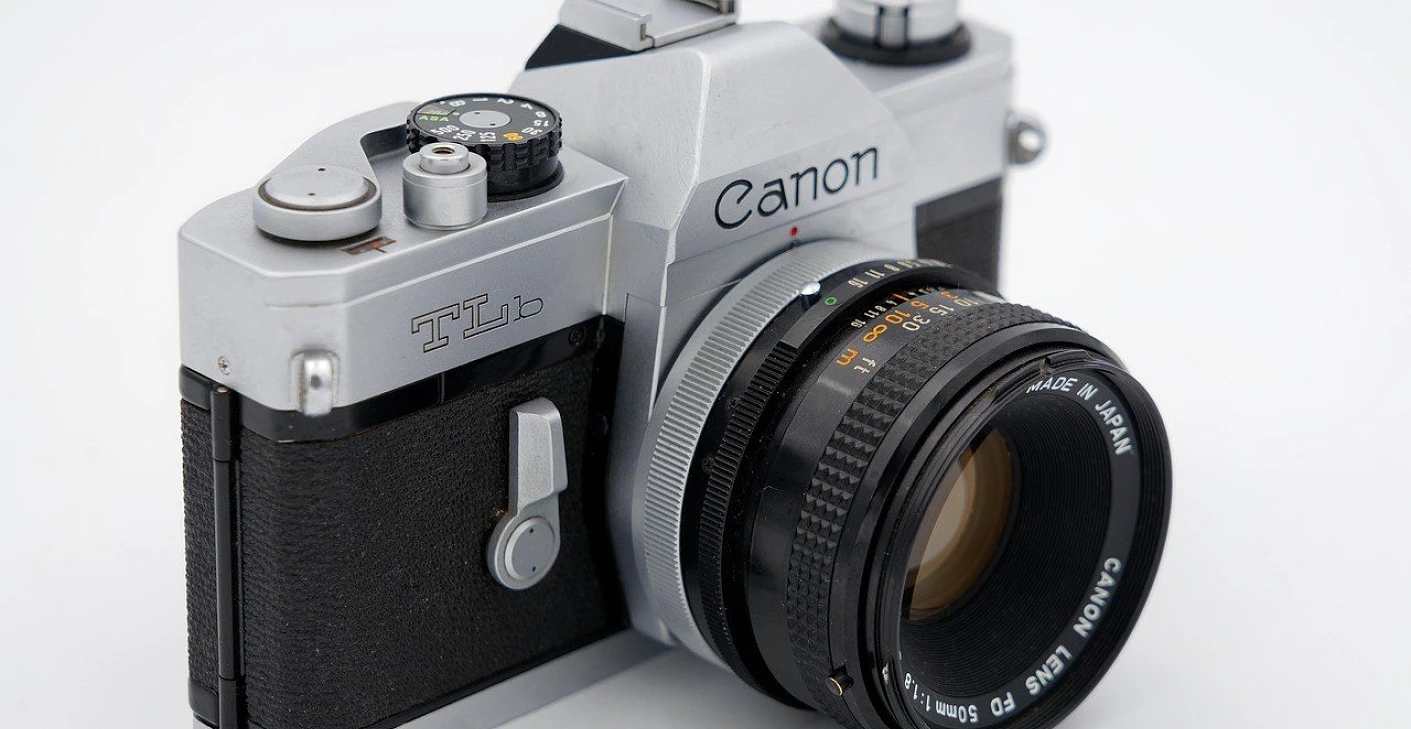
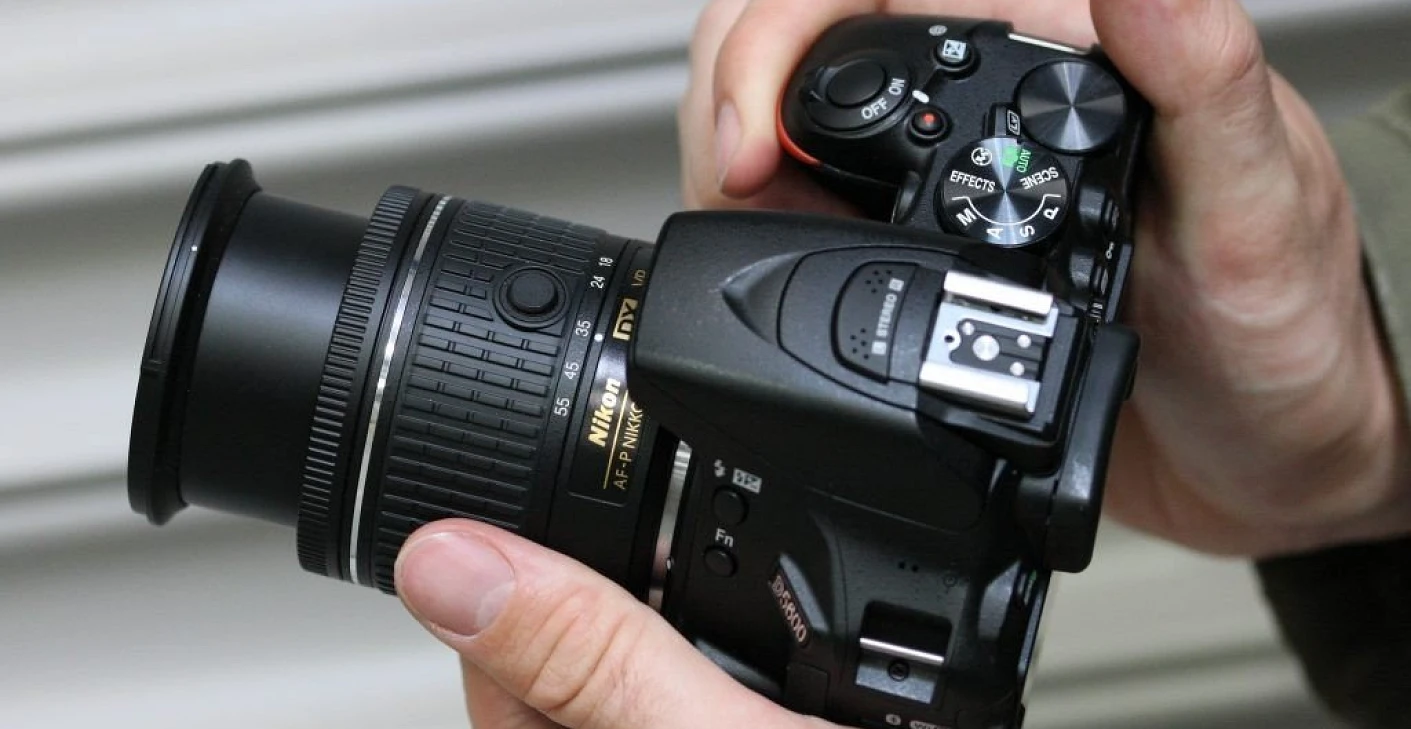
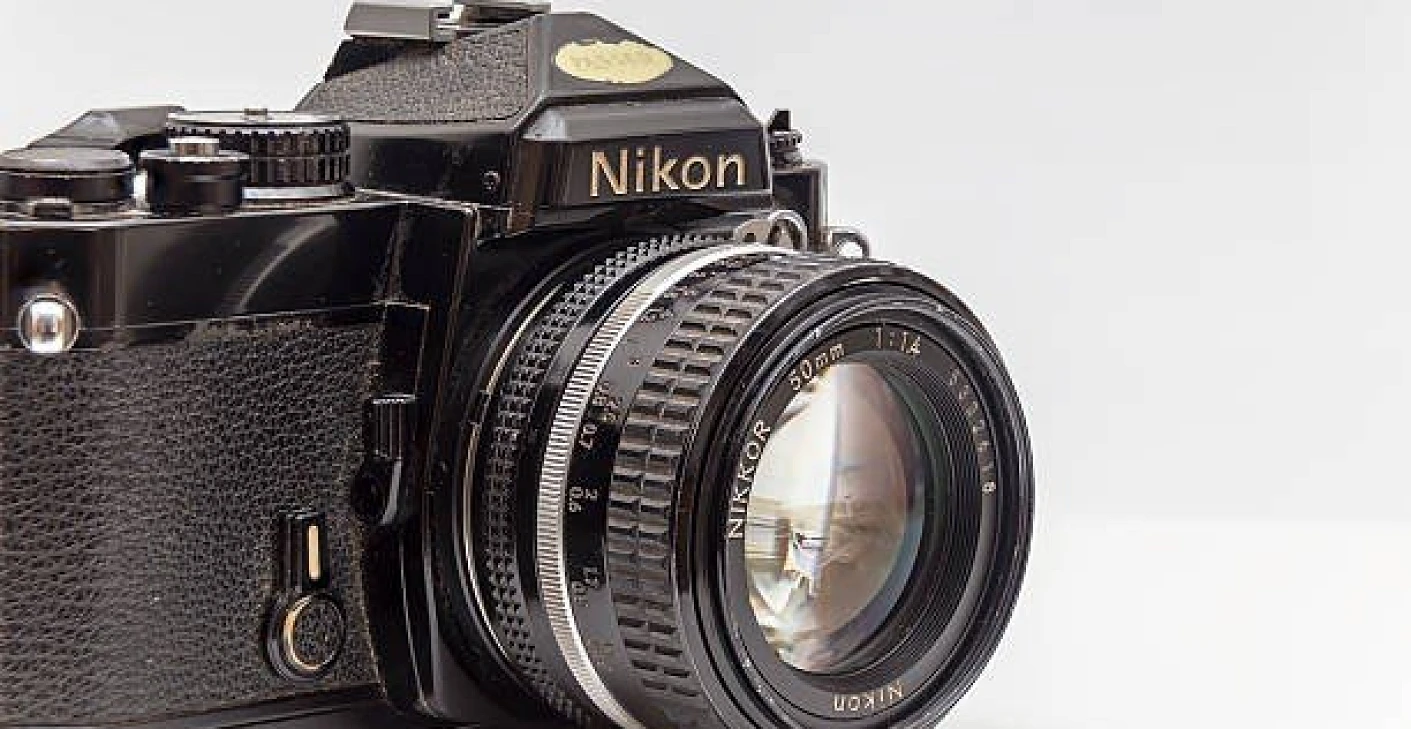
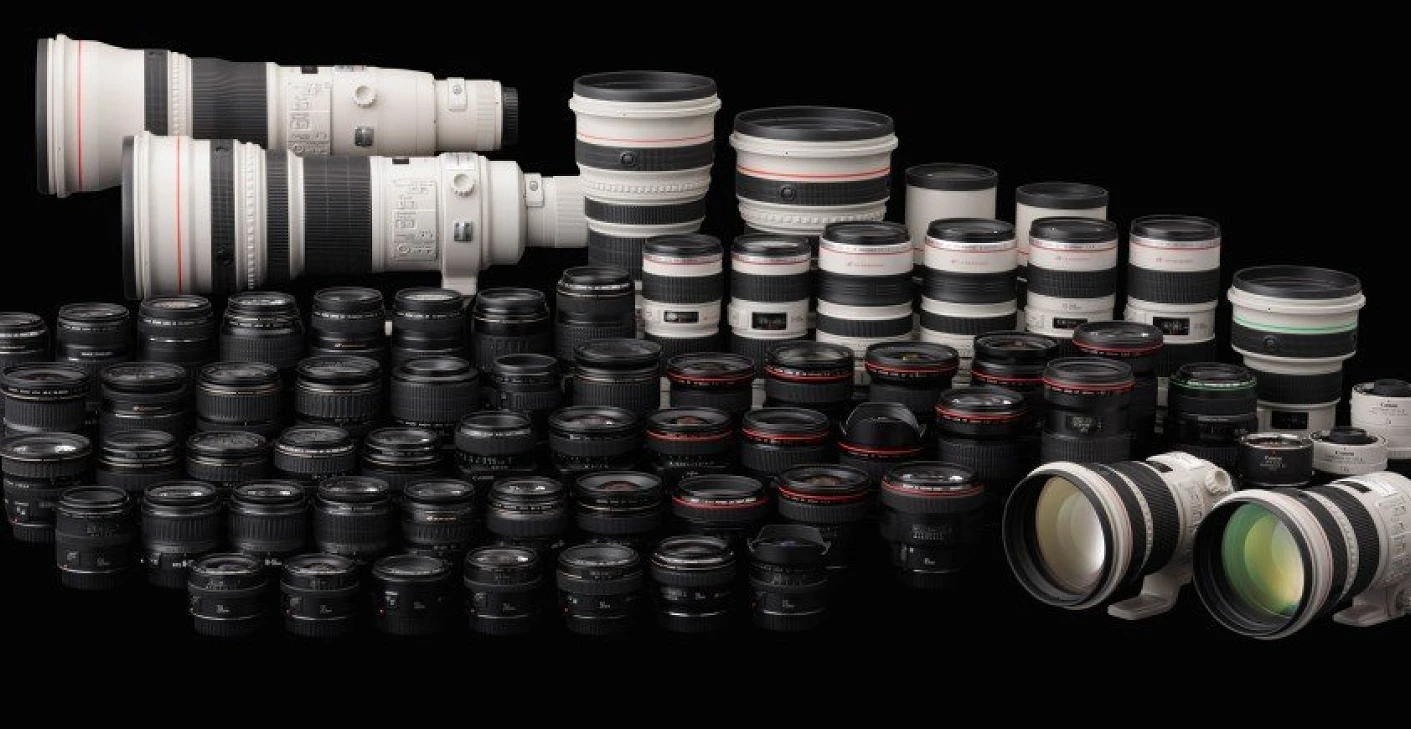
In the ever-evolving world of photography, where new gear is released every year with advanced features and price tags to match, there are a few pieces of equipment that defy the trends and remain relevant year after year. One of the most notable examples is the Canon EF 50mm f/1.8 II—affectionately dubbed the “Nifty Fifty.” Even as newer models and mirrorless systems take center stage, this modest prime lens continues to be a top recommendation—especially when bought used.
So why does this inexpensive lens, first released in 1990 and discontinued in 2015, still generate so much buzz in 2025? Let’s explore what makes the used Canon EF 50mm f/1.8 II a phenomenal investment for photographers of all skill levels.
A Classic That Punches Above Its Weight
The Canon EF 50mm f/1.8 II was designed as an affordable, lightweight prime lens for Canon’s EF-mount DSLR cameras. On the surface, it seems basic—plastic build, no fancy image stabilization, and a relatively slow autofocus motor by today’s standards. But when you look at what truly matters—sharpness, bokeh, and light-gathering ability—it delivers in spades.
At f/1.8, this lens excels in low-light situations and offers that creamy depth of field that’s beloved in portrait and street photography. Its optical performance rivals that of lenses many times its price, making it one of the best values in photography even decades after its release.
Outstanding Image Quality at a Budget Price
Sharpness is where the Nifty Fifty shines. When stopped down to f/2.8 or f/4, it delivers crisp, high-contrast images that are ideal for portraits, food photography, and everyday use. The color rendering is natural and pleasant, while the background blur (bokeh) is smooth and soft—especially impressive for such a small and inexpensive lens.
While wide-open performance at f/1.8 shows a bit of softness and vignetting, many photographers find these qualities add character to the image, making portraits appear more organic and film-like. And if needed, they can be corrected easily in post-processing.
Lightweight and Inconspicuous
Weighing just 130 grams (4.6 oz), the EF 50mm f/1.8 II is incredibly light and compact. This makes it perfect for travel, street photography, or just keeping your kit light and agile. Its size allows photographers to be more discreet—capturing candid moments without drawing attention to a large setup.
The minimalist design also makes it a great match for smaller Canon DSLRs, like the Rebel series. Together, they form a highly capable, budget-friendly setup that’s easy to carry all day.
Ideal Focal Length for Beginners and Pros Alike
On full-frame cameras, the 50mm focal length provides a natural field of view—very close to what the human eye sees. This makes it incredibly versatile for all kinds of photography: portraits, events, documentary, food, even landscape.
On APS-C Canon DSLRs (like the Canon Rebel T7 or 90D), the lens acts more like an 80mm equivalent. This makes it excellent for portraiture, giving flattering compression and beautiful background separation for headshots and close-ups.
Its versatility makes the Nifty Fifty an excellent tool for photographers learning the ropes or seasoned shooters looking to simplify their kit.
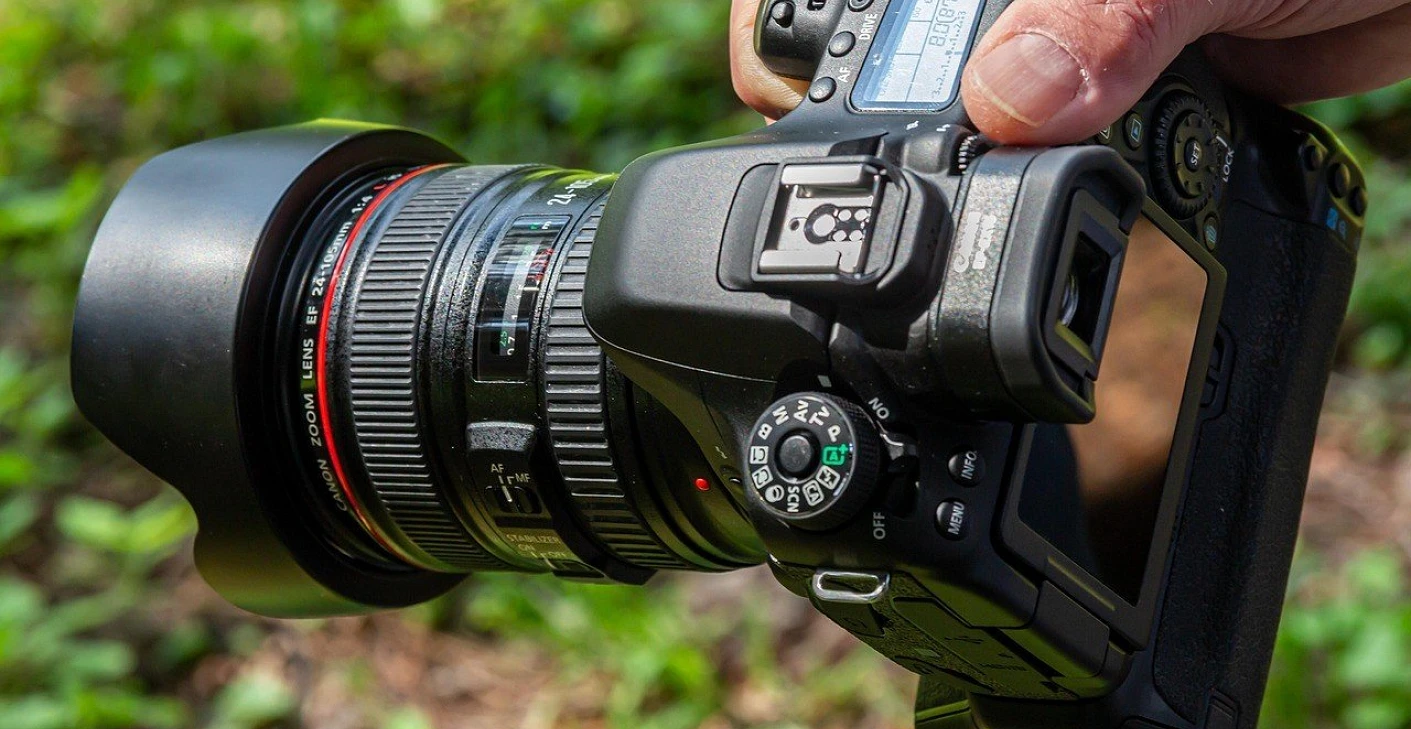
Still Compatible in the Mirrorless Era
Even with the rise of Canon’s RF mirrorless system, the EF 50mm f/1.8 II continues to hold value thanks to compatibility with Canon’s EF to RF adapters. This means you can easily mount this lens on newer mirrorless bodies like the EOS R, R6, or R8 without sacrificing performance.
While newer RF lenses offer faster autofocus and more modern designs, they come with significantly higher prices. The adapted EF 50mm f/1.8 II still delivers great results at a fraction of the cost.
Why Buying Used Makes Even More Sense
Perhaps the strongest argument for the EF 50mm f/1.8 II is how much value it offers when bought used. Since Canon discontinued this lens in 2015 and replaced it with the slightly more premium EF 50mm f/1.8 STM, many older copies are still floating around the market at very affordable prices—often under $75.
Used copies in good condition still perform nearly as well as new lenses, and the simple construction means there are fewer internal components likely to fail. It’s a low-risk, high-reward purchase.
When buying used, be sure to check for:
- Smooth focusing (autofocus and manual)
- Clean optics (no scratches, fungus, or haze)
- Snappy aperture blades
- Mount condition (no excessive wear)
Most of these lenses were lightly used or served as a beginner’s lens, so finding a clean example is relatively easy.
A Gateway to Prime Lens Photography
For many photographers, the EF 50mm f/1.8 II is their first prime lens—and for good reason. It opens up creative possibilities with its wide aperture and teaches important skills like composition, framing, and shooting with fixed focal lengths.
It’s often described as the lens that teaches you how to see. You move your feet instead of zooming. You learn how to anticipate shots and frame intentionally. For both hobbyists and aspiring professionals, that’s a priceless experience.
Final Thoughts
In a photography world that’s constantly evolving, the Canon EF 50mm f/1.8 II remains a shining example of why newer isn’t always better. Its combination of sharp optics, fast aperture, compact size, and unbeatable price continues to make it a favorite among photographers worldwide.
When bought used, it becomes an even smarter investment—offering tremendous value for beginners, seasoned shooters, and anyone looking to add a versatile prime lens to their Canon EF kit.
Whether you’re capturing your first portrait, traveling light for street photography, or building a budget-friendly DSLR setup, the Nifty Fifty proves that great photography doesn’t have to break the bank.