Discover whether used Canon L lenses are still worth the premium price. Explore their build quality, performance, top models to consider, and tips for buying second-hand gear wisely.
Used Canon L Lenses: Are They Still Worth the Premium Price?
When it comes to professional photography gear, Canon’s L-series lenses are legendary. Known for their superior optical quality, weather sealing, and rugged construction, L lenses have earned a reputation as the gold standard for Canon shooters. But what about buying them used? With prices dropping on second-hand models, many photographers—professionals and enthusiasts alike—are wondering: are used Canon L lenses still worth the premium price? In short: yes, and here’s why.
What Makes Canon L Lenses Special?
Canon’s L-series lenses, designated by the iconic red ring around the barrel, are built with professionals in mind. “L” stands for “Luxury,” and these lenses live up to the name with:
- High-Quality Optics: L lenses use superior glass elements, including fluorite, ultra-low dispersion (UD), and aspherical elements that minimize chromatic aberration, distortion, and ghosting.
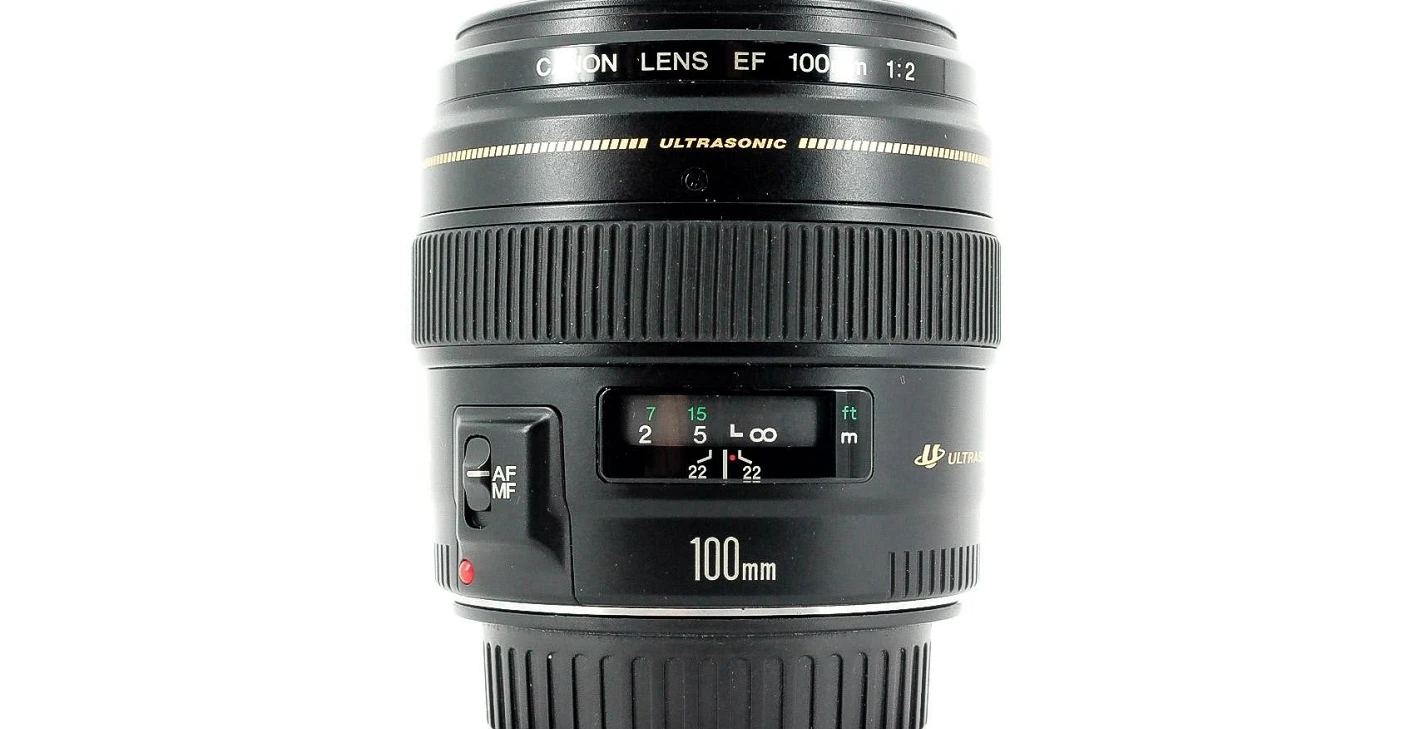
- Fast, Accurate Autofocus: Many L lenses feature Canon’s Ultra Sonic Motor (USM) or Nano USM for silent, precise autofocus performance.
- Weather Sealing: Rugged construction with gaskets to protect against dust and moisture.
- Constant Apertures: Zoom lenses in the L series usually have constant wide apertures (like f/2.8 or f/4), making them great for low light and depth-of-field control.
- Built to Last: These lenses are known to endure thousands of shutter cycles, rough conditions, and demanding usage.
All of these features make L lenses the tools of choice for working professionals, but also appealing to amateurs looking for that edge in quality.
Why Consider Buying Used?
While new L lenses can easily cost upwards of $1,000–$2,500 or more, buying used can reduce that cost by 20%–50%, depending on the model and condition. Here are some reasons why used L lenses are a smart investment:
1. Durability and Longevity
Canon L lenses are built to withstand heavy use. Many are made of metal barrels, and all include high-grade components. This means that even used, they often perform like new. A 10-year-old L lens can still produce images on par with today’s standards.
2. Minimal Depreciation
Unlike camera bodies, which lose value quickly due to technological advances, high-end lenses retain their value. Buying used often means you can resell later with minimal loss—especially if you’ve taken good care of it.
3. Professional Performance at a Discount
Buying a used Canon EF 70-200mm f/2.8L IS II instead of the latest version can save you hundreds of dollars while still delivering pro-level image quality, stabilization, and autofocus.
Best Used Canon L Lenses Worth Considering
Here are some L-series lenses that offer outstanding value when bought used:
Canon EF 24-70mm f/2.8L II USM
- Why it’s great: The go-to standard zoom for many professionals. Sharp, versatile, and fast.
- Used price range: ~$800–$1,100
- New price: ~$1,600
Canon EF 70-200mm f/2.8L IS II USM
- Why it’s great: Incredible sharpness and image stabilization in a professional-grade telephoto.
- Used price range: ~$900–$1,200
- New version (III): ~$2,100
Canon EF 16-35mm f/4L IS USM
- Why it’s great: Excellent wide-angle option with image stabilization and crisp edge-to-edge sharpness.
- Used price range: ~$500–$700
Canon EF 135mm f/2L USM
- Why it’s great: Famous for its creamy bokeh and sharpness—great for portraits.
- Used price range: ~$500–$650
What to Check Before Buying a Used L Lens
While most L lenses hold up well, it’s smart to thoroughly inspect any used lens before buying:
1. Glass Condition
Look for scratches, fungus, haze, or separation. Minor dust is common and usually not a concern, but mold or fog inside the elements can be expensive to repair.
2. Autofocus Function
Test autofocus on your camera body. Make sure it locks on quickly, accurately, and quietly.
3. Image Stabilization
If the lens has IS, make sure it engages properly and doesn’t make excessive noise or cause image shift.
4. Physical Condition
Check for dents, loose parts, or signs of heavy wear. Some cosmetic scuffs are fine, but damage to the lens mount or filter threads can be problematic.
5. Lens Mount
Ensure the metal mount isn’t worn or bent. A secure mount ensures good communication between the lens and camera.
6. Verify Authenticity
L lenses are sometimes counterfeited. Buy from reputable sellers or dealers, and check serial numbers when possible.
Should You Choose EF or RF Mount L Lenses?
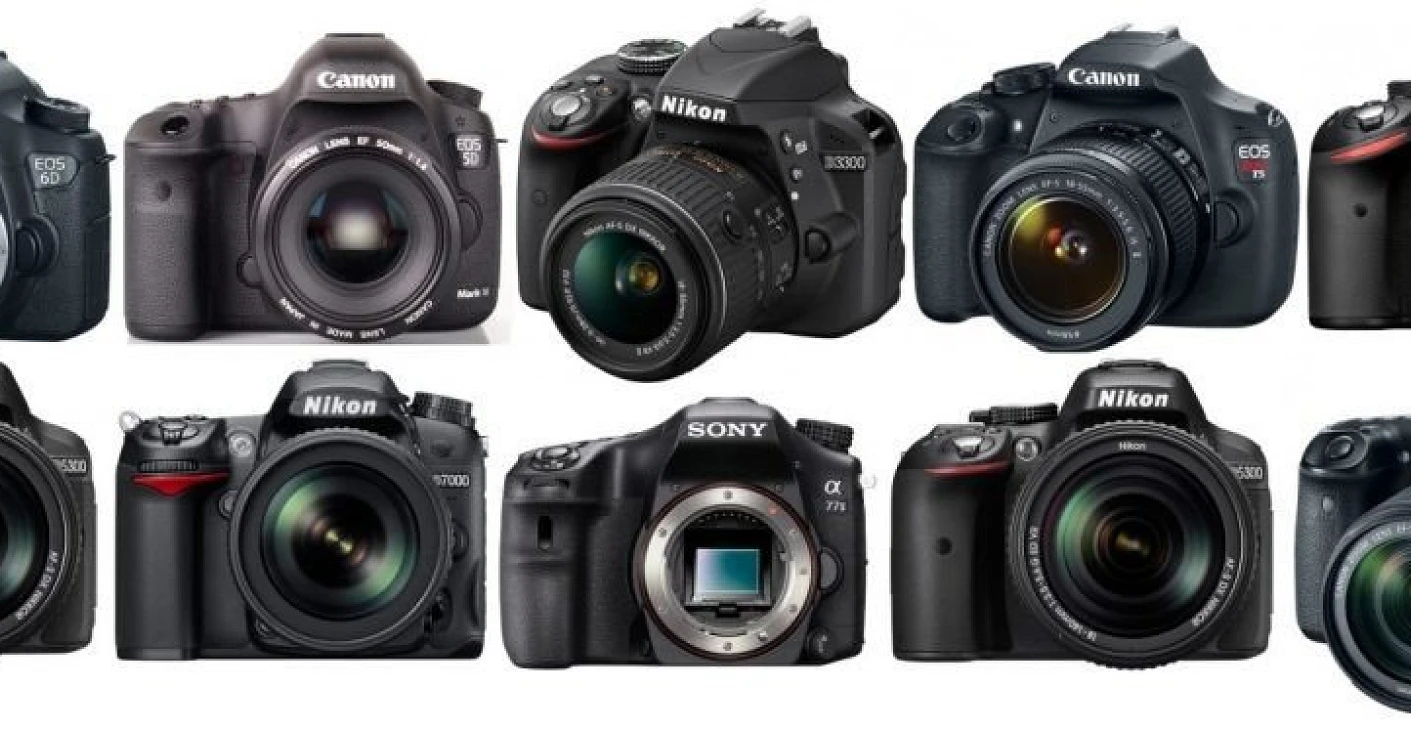
If you’re using a Canon DSLR like the 5D or 6D series, EF L lenses are perfect. If you’ve moved to the Canon mirrorless EOS R system, you can still use EF L lenses with an EF-EOS R adapter, often with full performance retained.
That said, RF L lenses (designed specifically for the RF mount) offer better optical design in some cases, but are newer and cost more—even used. So, buying used EF L lenses for your mirrorless body is still a great budget-friendly option.
Final Verdict: Still Worth It? Absolutely.
Used Canon L lenses continue to offer exceptional performance, durability, and value. Whether you’re a wedding photographer, sports shooter, portrait enthusiast, or landscape artist, there’s a used L lens out there that can elevate your work without draining your wallet.
They might not be brand new, but the images they produce are as sharp, vibrant, and professional as ever. For many photographers, buying a used Canon L lens is the smartest way to get pro gear at a fraction of the price.