Posted on

How to remove mouldy odour from cameras and lenses?

How to remove mouldy odour from cameras and lenses?

I recently bought a new old lens for one of my cameras on eBay. Everything is fine so far. But I don’t like that the lens has a stinking musty smell. Here you can quickly help yourself with a simple trick.

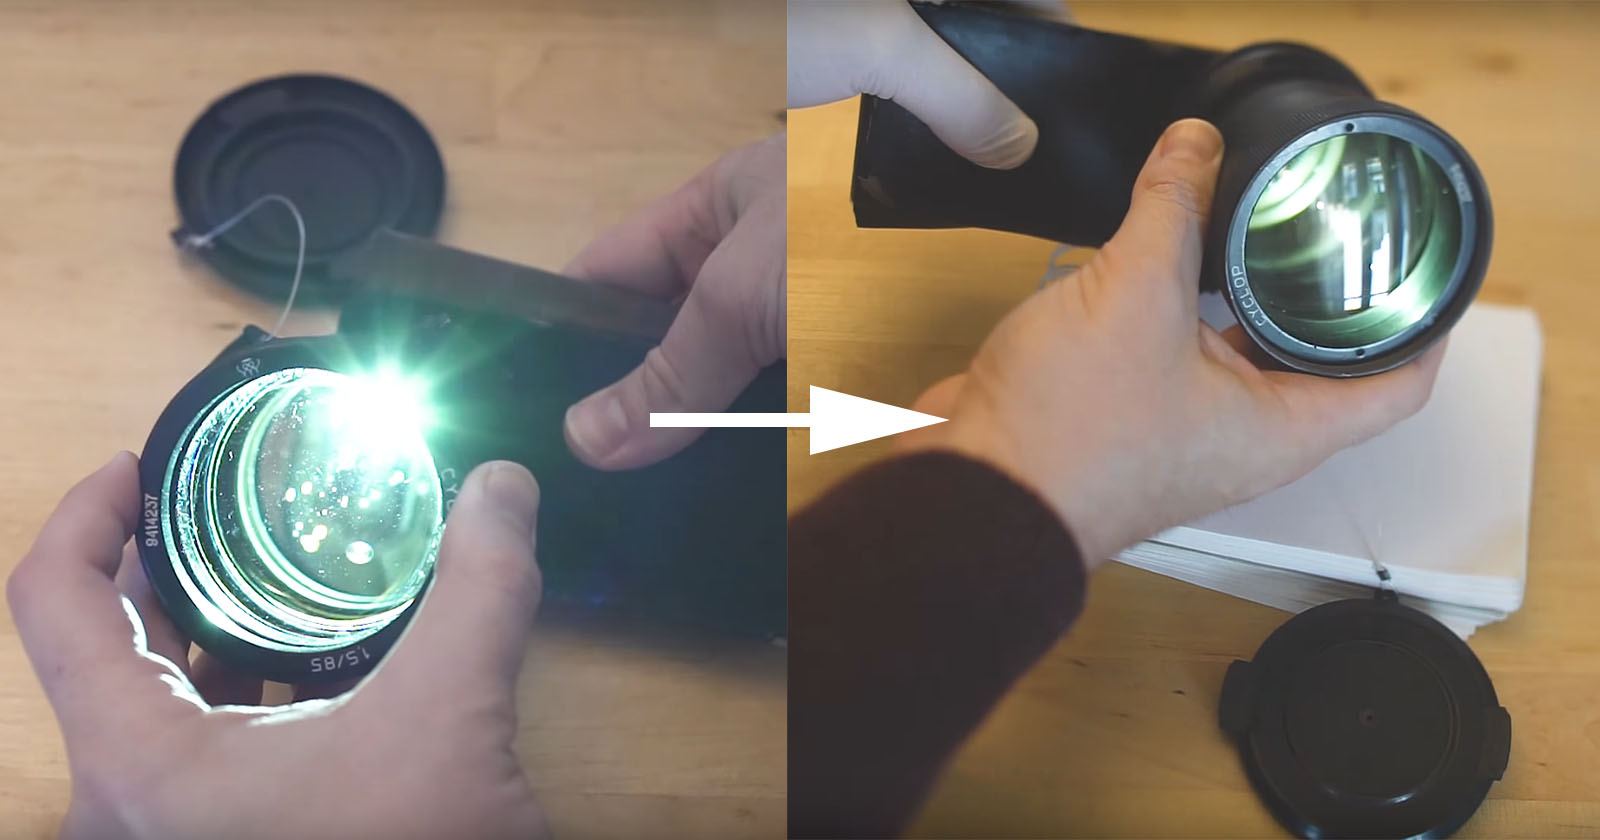
I like old analogue cameras. Every now and then I look at eBay, because these devices are now often sold there at a low price. Recently I have decided to buy a wide-angle lens for my Kiev medium format camera. The lens was apparently perfectly fine too – apparently. Because it actually had a mouldy smell! This was due to the bag in which it was. Unfortunately, this must have been lying in a damp cellar for too long. I didn’t want to do anything with it, so I threw away the bag with the strong musty smell.  The smell of mold had also spread to the lens. But here you can easily help yourself.

Yes, you can easily get out the musty smell with coffee!

So I first looked for a plastic box in the kitchen that my lens would fit. I put this in there. Next, I added some instant coffee. I closed the lid and put the can and its contents down for 24 hours. After this time I opened the can and the musty smell is almost gone! The coffee had so to speak soaked up the smell of mold. The lens now smelled slightly of the instant coffee. But this quickly evaporated.

With this simple trick, it is possible to drive out the notorious musty smell from smaller objects (that have been stored incorrectly or damp). With larger objects (e.g. items of clothing) you would have to take a larger bag like a garbage bag and sprinkle a whole pack of coffee into it. The container must be closed, however – especially when working with instant coffee. Because instant coffee tends to get lumpy and sticky with a constant supply of air! You don’t want it to stick to the objects with the musty smell or leave stains.

Clean your photography equipment with some cheap perfume or aftershave

Attention! Do not pour any liquid directly on your photography equipment, because it may cause internal damage, fungus, electric hazard, etc.!

Put few drops of cheap perfume or aftershave on a microfiber cloth and wipe your equipment carefully. You can use ear buds in places that you can’t access. For inexpensive dirty equipment I often use toothbrush. Let your equipment dry. Don’t put it into a bag yet, but also don’t let it uncovered for days on a direct sunlight because it can collect dust and direct sunlight can damage your sensitive  and expansive device. Also, it can get easily scratched or damaged if you forget it on the table or on the top of your kitchen. Wait for an hour after cleaning and place it in a bag or case, if you don’t use them. It is recommended to have a few small bags of Silica gels silicon dioxide that is absorbing moisture in your camera bag. Do not keep your equipment in rooms where the humidity is high. Keep your room at a normal humidity. You can use room dehumidifier to prevent you cameras and lenses. Yet, for your own health is also important. So find the balance (If your house is above 50% humidity then a dehumidifier is needed. However, if humidity levels are below 30%, a humidifier is needed).  

Prevention – Keep your cameras and lenses dry in bad weather

  • Use umbrella
  • Waterproof camera covers
  • Use lens hoods
  • Change lenses under cover
  • Wear waterproof clothing
Posted on

How to Prepare Your Images for Printing

ICC-color-profile - Prepare Your Images for Printing

Select a Picture

When you prepare your images for printing take note of which pictures you like when you look at them on your phone or computer. Of course, it is an important decision what are going to hang on your wall. Especially if it is going to be here for a long time. Your choice is probably depends on the emotions it evokes, the colours or the technical excellence of the picture. Find the exact image that you are looking for.

File Format and Resolution

When you prepare your images for printing for the optimal production use the highest resolution available, don’t change the resolution and don’t resize up or down your photo. Ideally you don’t want to compress your image at all. You can test your picture in some easy-to-use configurator (like WhiteWall) to optimise your file and to achieve the best possible quality. Save it with 8-bit colour and an sRGB colour space.

Colour and Brightness

Don’t forget that colour and brightness can appear different on a monitor than they do in print. There are three reasons for this. The first reason is that a monitor is illuminated and the paper isn’t. Therefore a monitor a monitor can display a photo much brighter than the picture actually is (which is how it will look printed). The second reason is that different papers have their own base tone. It means that a pure white will look different from appear to paper, affecting the overall brightness of the colour. The third reason is that depending on the specifications of the printer such as the dots per inch (DPI), the print-head capability and the type and quality of ink/toner used is also going to affect the colour and the print quality.

For Soft Proofing Use ICC Colour Profiles

What is Soft proofing?  lets you temporarily simulate how an image will appear on another device, such as a printer, by using only a computer monitor. An ICC profile is a set of data that describes the properties of a colour space, the range of colours (gamut) that a monitor can display or a printer can output. The most widely used colour space is Adobe RGB (1998). If you have a calibrated monitor, ICC profiles are the perfect way to asses how your pictures will look on the final product. You can find downloadable ICC colour profiles on the internet for many product options.

Do Test Prints

If you do not have a calibrate monitor or if you don’t want to spend too much time assessing the variables of different things that are affecting your final product, you can do a test printing, which is a hard proof option to see if you need to change anything in order to have a perfect photo.

Best Camera for Photo Printing

If you want to take photos to print them out, perhaps choosing the right camera is the most important. Please notice that print size doubles, the megapixels required increases as well. Therefore, you can make a nice 8″ x 10″ print with a 6 or 8 megapixel camera. But to make a real photo quality 16″ x 20″ print, you would need between 24 and 30 megapixel camera.

Posted on Leave a comment

2020 TIPA Winning Cameras and Lenses

In Madrid The Technical Image Press Association(TIPA) announced the winners of the 2020 TIPA World Awards.

What is TIPA?

The TIPA Award is widely regarded as one of the best known and most prestigious photography awards. . TIPA both recognise and honour industry companies and their products and serve as an important benchmark and guide for consumers in making their purchasing decisions.

Since 1991, the TIPA World Awards logos have shown which are the best photographic, video and imaging products each year. For over 25 years, the TIPA World Awards have been judged on quality, performance and value, making them the independent photo and imaging awards you can trust. I cooperation with the Camera Journal Press Club of Japan (www.tipa.com)

The TIPA jury is made up of the world’s best-known photography and imaging professionals.

2020 TIPA World Awards Process

Finalists are usually voted on at the TIPA general assembly by representatives from TIPA member magazines from around the world. The assembly was originally scheduled for mid-March in Las Vegas. However, when travel restrictions were established, the TIPA board implemented product recommendations and an online voting procedure for members globally.

Based on detailed tests and comparisons, a list of candidates and laureates are compiled.

List of 2020 TIPA winning products:

Cameras

  • Best DSLR Advanced Camera: Canon EOS 90D
  • The best DSLR Expert camera: Nikon D780
  • Best DSLR Professional Camera: Canon EOS-1DX Mark III
  • Best APS-C Advanced Camera: Nikon Z 50
  • Best APS-C Expert Camera: Sony A6600
  • Best APS-C Professional Camera: Fujifilm X-Pro 3
  • Best Full-Frame Expert Camera: Sigma fp
  • Best Full-Frame Professional Camera: Sony A7R IV
  • Best Full-Frame Photo / Video Camera: Panasonic Lumix DC-S1H
  • Best Medium Format Camera: Fujifilm GFX100

Lenses:

  • Best DSLR – Prime lens: Tamron SP 35mm f / 1.4 Di USD
  • The best DSLR macro lens: Laowa 100mm f / 2.8 2x Ultra Macro APO
  • Best DSLR – wide angle zoom lens: Tokina ATX-i 11-16mm f / 2.8 CF
  • The best DSLR – professional lens: Nikon AF-S Nikkor 120-300mm f / 2.8E FL ED SR VR
  • The best MFT lens: Panasonic Leica DG Vario-Summilux 10-25mm f / 1.7 ASPH
  • Best without mirror – Prime Standard lens: Nikkor Z 58mm f / 0.95 S Noct
  • The best mirrorless – wide-angle zoom lens: Sigma 14-24mm f / 2.8 DG DN Art
  • The best without mirror – Standard zoom lens: Sigma 24-70mm f / 2.8 DG DN Art
  • The best mirrorless – Telephoto zoom lens: Canon RF 70-200mm f / 2.8L IS USM
  • Best Professional Portrait Photo Lens: Canon RF 85mm f / 1.2L USM (DS)

Compact cameras

  • Best Expert compact camera: Sony RX100 VII
  • Best Vlogging compact camera: Canon PowerShot G7 X Mark III
  • Best Premium Compact Camera: Fujifilm X100V