Posted on

Fixed focal length vs. Zoom?

Fixed focal length vs. Zoom?

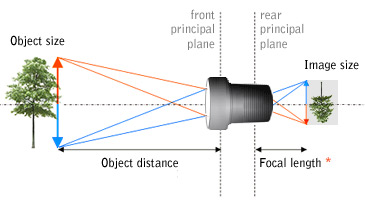
I often get the question what is actually better now, I would like to explain the difference between fixed focal lengths and zoom lenses.

Neither of the two is really better, it depends on what you want to photograph.

Zoom lens

A zoom lens makes life a lot easier for the photographer. We can easily zoom in on objects without moving. Of course, this zoom mechanism needs space. The lenses in the lens have to be able to move and this is usually at the expense of lens performance.

Disadvantages of the zoom lens

Due to the zoom mechanism, the lens is missing in other places. Most zoom lenses are very limited in terms of aperture . That is of course logical. The space that the zoom takes up in the lens is at the expense of the other elements. In the affordable price range, the lenses have a maximum open aperture of 3.5 – 6.3. It all depends on the lens and the zoom level.

Advantage of the zoom lens

Of course, the number one advantage is zooming. You don’t have to change the lens if you want a different focal length . However, this can quickly become a disadvantage. I’ve learned more from prime lenses than I could ever have learned from a zoom lens. You think a lot more about the point of view and the perspective and don’t just zoom in on your subject.

Prime lenses

A fixed focal length is a lens without a zoom function. I cannot change the focal length of the lens and have to walk to get closer to my subject.

Advantages of the prime lens

Of course, the lack of a zoom saves space. This space can be used for a large aperture or to make a lens smaller and more manageable. Fixed focal lengths already offer open apertures of 1.8 in a lower price segment.

Disadvantages of the prime lens

The photographer has to think & move. He has no possibility to zoom but can only change the image section by moving (sneaker zoom).

I don’t really see that as a disadvantage myself. It has boosted my creativity enormously and fundamentally changed my thinking in photography.

Conclusion

My recommendation: Get a fixed focal length and only force yourself to take pictures with this for a certain time. It will give you a whole new view of things. You will know when you need a prime lens and when you don’t. You will think differently and adjust your point of view and perspective on the prime lens. You learn to take photos in a completely different way and don’t just zoom in on the subject lazily.

Posted on

Normal lens advice

In photography and cinematography, a normal lens is a lens that reproduces a field of view that appears “natural” to a human observer.

The normal lens is a lens with a normal angle of view. This is approximately in the range of 40 to 50 ° or 40 – 60mm. But what is a normal angle of view? Think about how you perceive the world. Now try to transfer it to the camera. You don’t see the world very far, but you don’t see the world very narrowly either. You perceive your world as “normal”. This is exactly what a normal lens should be, but let me go into a little more detail here.

Normal lens vs. human eye

Theoretically, a normal person perceives approx. 180 ° diagonally. That’s an incredible amount. There are also lenses that can depict this, but this causes extreme distortion (fisheye). So we do not perceive the world with our full 180 ° field of view, but always concentrate on one area. You are probably reading this text on a monitor and concentrating on it. What happens in the corner of your eye is blurred.

So it is difficult to get two movable eyes into the field of view of a photo, but it works best with an angle of view between 40 & 50 °. The image doesn’t look too wide (wide-angle lens ), but also not too narrow (telephoto lens)

In all of the sample images in this post, it looks like the person is standing in front of you. That is exactly the effect of a normal lens. Everything looks normal 😉

Use of normal lenses

Normal lenses are most commonly used in portrait photography. Of course you can also photograph other subjects with the focal length range, but they are best suited for portraits due to their natural effect.

Fixed focal length for beginners

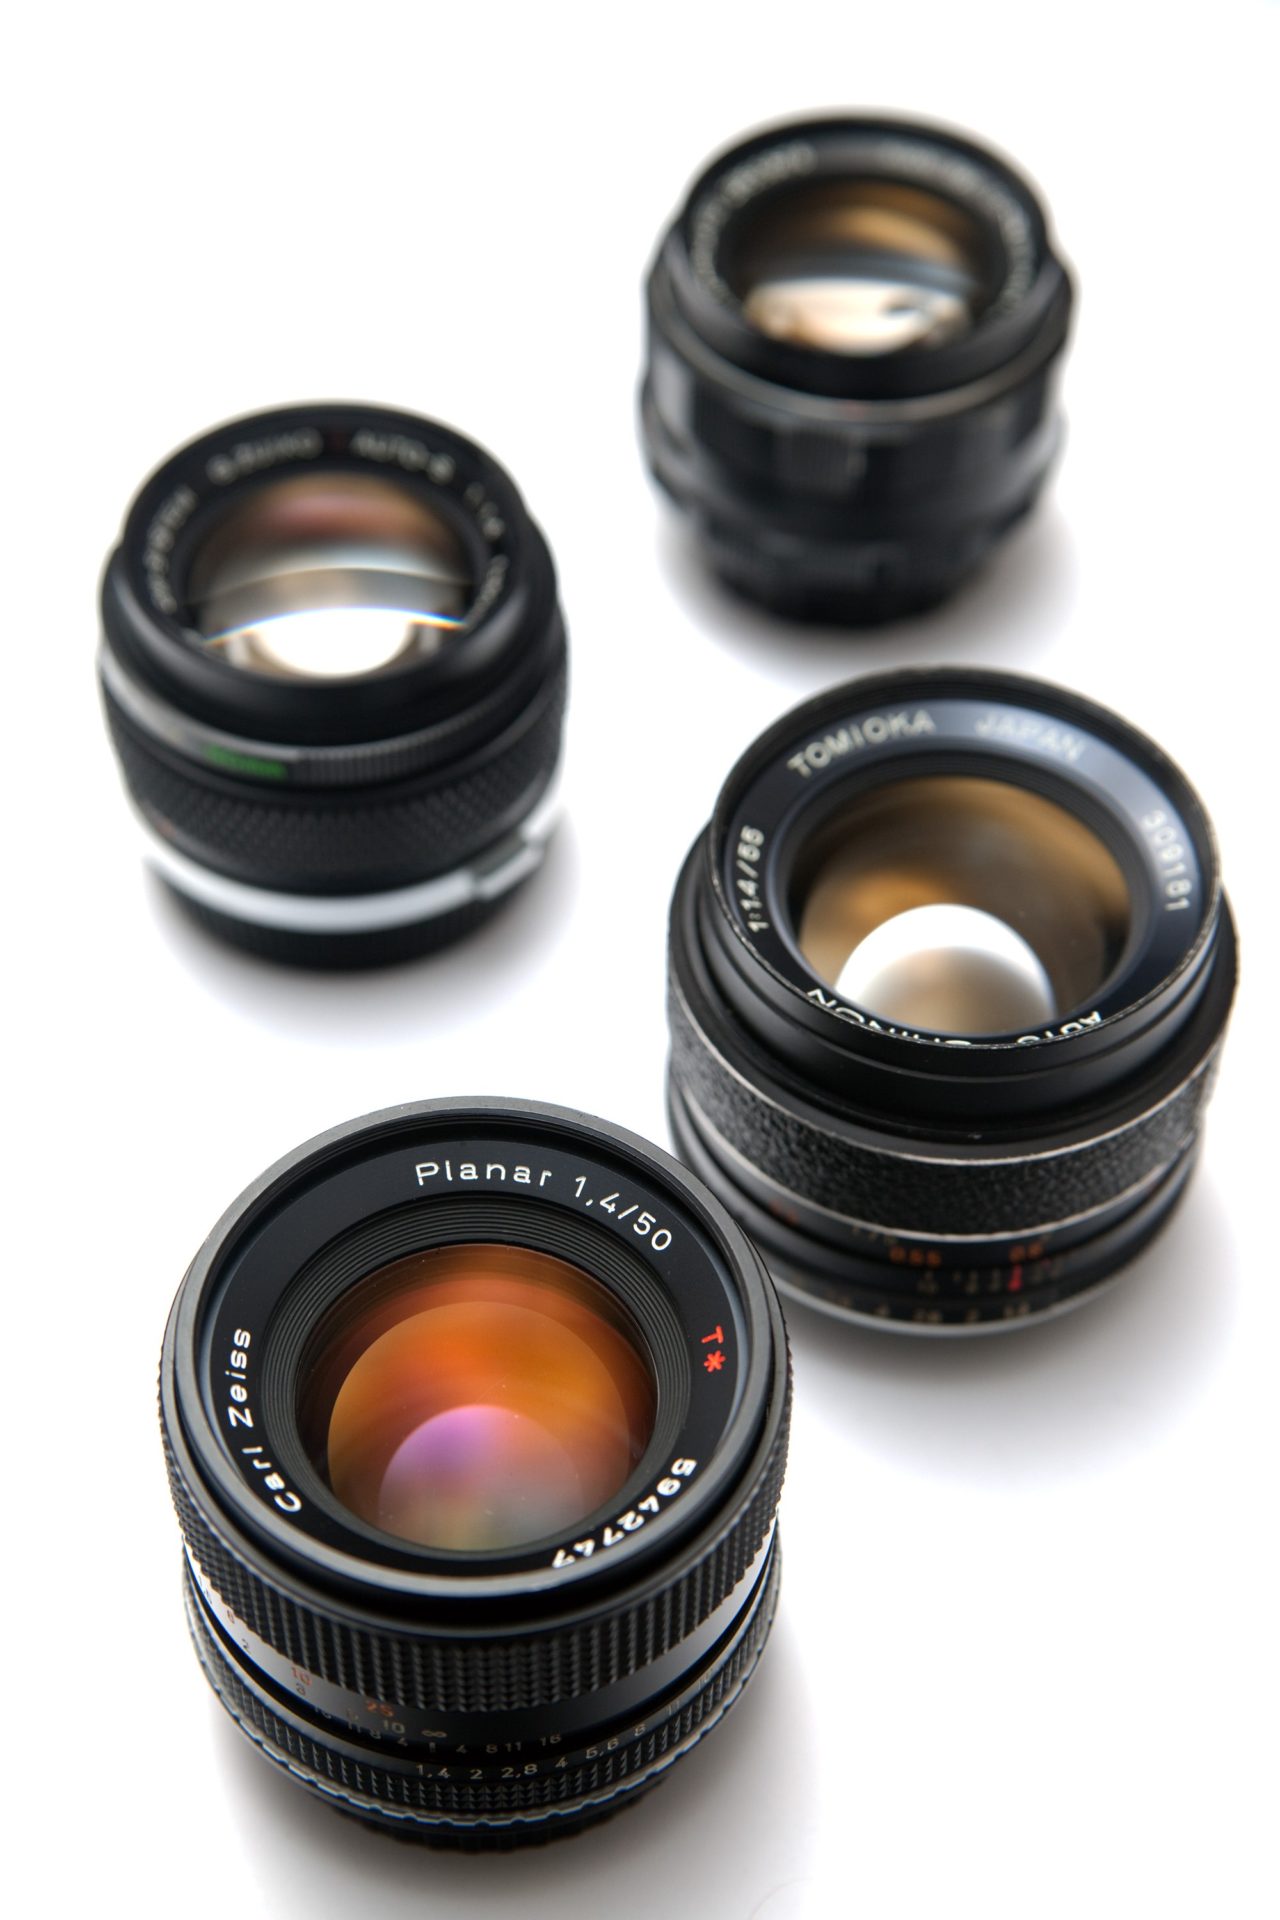
I recommend a prime lens for beginners in this area. It gives a better feeling for perception and you neither get too much nor too little on the picture. It is best to use a 50mm lens here. Thanks to their almost symmetrical construction, these lenses are inexpensive, light and powerful, and perfect for beginners in photography.

With this lens you are forced to concentrate on your subject and the composition of your picture and you cannot “zoom in” on the world.

Buy recommendation 50mm fixed focal length

Canon: EF 50mm F / 1.8 STM *
Nikon: NIKKOR 50mm 1: 1.8G
Sony: SEL-50F18F 50mm F / 1.8 *

Photo with the 50mm 1.8 from Canon

Special feature of CROP sensors

There is a special feature with CROP sensors (APS-C or Micro 4/3). These sensors are significantly smaller than full format. Full frame sensors are used as an output for calculating the focal length . The actual focal length does not change with an image sensor, but the effect of the image and the relation between camera, subject and background do.

That’s why I recommend a wider focal length when using an APS-C camera. Almost all entry-level cameras have an APS-C sensor

That’s why I used a 35mm on an APS-C camera very quickly in my early days.

Of course, I also have a few recommendations for your APS-C camera.

Canon * – Nikon * – Sony *

PS Even with full format, 35mm sometimes work much better than 50mm, even if it is actually too angular to pass as a normal lens. Just give it a try 😉

Posted on

Photo tips for successful macro photography

Photo tips for successful macro photography

Beetles and crawlers, flowers and leaves, everywhere and in every season: the world of small things fascinates with its incredible wealth of colors and shapes. The fascination of macro photography is due, among other things, to the fact that we cannot perceive the tiny natural wonders with the naked eye, or only to a very limited extent. Fortunately, photography offers a variety of optical options. We have some tips for special macro photos.

1. Calm background, brilliant foreground

The more reduced and plain the background, the clearer the main motif appears.

Background plays an important role in macro photography. Small, colorful, sharply depicted objects such as insects and butterflies are particularly effective in front of a uniformly colored, blurred surface. The photographic “laws of nature” help: A long or large focal length and an open aperture ensure perfect blurring in the background. Speaking of lenses: The best close-up images are created with a special macro lens, for example with a 100 millimeter focal length.

2. Thin sections, bright images

Light from behind makes thin slices of onions, citrus fruits and other fruits and vegetables shine wonderfully.

Fruit, vegetables and Co. can be wonderfully staged as macro motifs. The basic principle is simple: Everything that can be cut very thinly and which then has a certain degree of light permeability is suitable for these recordings. Examples are the onion and especially citrus fruits like lemons and oranges. In addition to a tripod, all you need is a surface that is illuminated from below to place the panes on – for example a glass table. Incidentally, such images are also possible with high-quality smartphones.

3. Optical accents, drop by drop

Drops of water on a colored leaf create an interesting “structure on the structure”.

Drops of water bring life to every macro photo and make the surfaces of leaves and flowers that are already interesting in themselves appear even more interesting. Because the drops act like small magnifying glasses that partially enlarge the leaf structure and thus provide an additional image layer. You can take such macro pictures outdoors as well as easily stage them yourself at home. A lamp and, if necessary, a professional brightener in the form of a photo reflector are usually sufficient for lighting.

4. Action photos with butterfly, bee and Co.

Photographing insects in flight is not easy, but practice makes perfect. Just experimenting is a lot of fun.

A butterfly or a bumblebee on the flower – this classic photo can often be seen. It is more exciting to photograph the small flying objects in action. You definitely need a telephoto lens for this. The autofocus should be set to the so-called tracking mode, in which the focus adjustment constantly readjusts the subject. In addition, set the exposure time to at least 1 / 2000th of a second or less. And now it’s time to go out into the garden, park or forest: there you will find what you need for a great macro action shot – a small, colorful, flying main subject. We wish you every success.