Discover whether Fujifilm or Sony offers better used lens value in 2025. Compare pricing, quality, availability, and long-term benefits to find the best camera system for your budget and needs.
Fujifilm vs Sony: Which Used Camera System Has Better Lens Value?
When it comes to investing in a camera system, lenses are just as important—if not more—than the camera body itself. For photographers considering buying into the used gear market, Fujifilm and Sony are two of the most popular mirrorless ecosystems. But which one offers better lens value when buying used?
In this article, we’ll break down the cost, quality, availability, and long-term investment potential of used Fujifilm and Sony lenses to help you decide which system offers more bang for your buck in 2025.
Fujifilm X-Mount System: A Unique APS-C Lens Ecosystem
Fujifilm’s X-Series cameras use an APS-C sensor, and all XF and XC lenses are designed specifically for this format. This gives Fujifilm a distinct advantage: its entire lens ecosystem is optimized for APS-C performance, with no need to adapt full-frame lenses.
Used Lens Pricing
Fujifilm’s used XF lenses hold their value relatively well but are generally more affordable than their full-frame counterparts from Sony. For example:
- Fujifilm XF 35mm f/1.4 R: Around $300–$400 used
- Fujifilm XF 56mm f/1.2 R: Around $550–$750 used
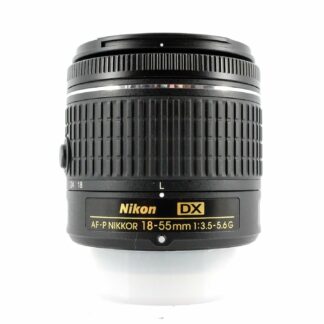
- Fujifilm XF 18-55mm f/2.8-4 R LM OIS: Often under $300 used
These lenses are sharp, compact, and well-built, and since they’re made specifically for APS-C, you’re not paying a premium for full-frame glass you won’t fully utilize.
Optical Quality
Fujifilm primes are known for their film-like rendering, strong color science, and consistent performance. Even some of their older lenses, like the XF 35mm f/1.4, are still beloved for their character and image quality.
Build & Reliability
Many XF lenses feature metal construction, weather sealing, and aperture rings. Even when bought used, they tend to hold up well—assuming they’ve been properly cared for.
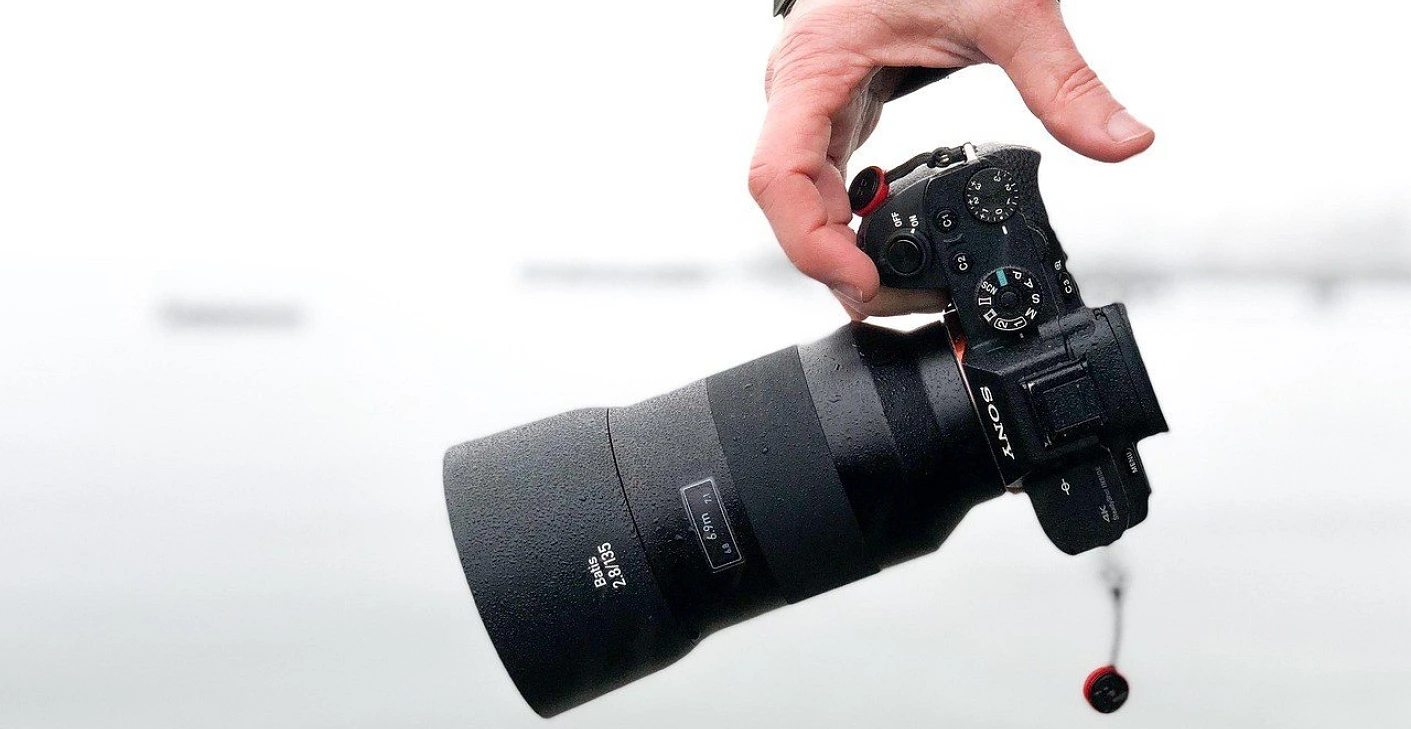
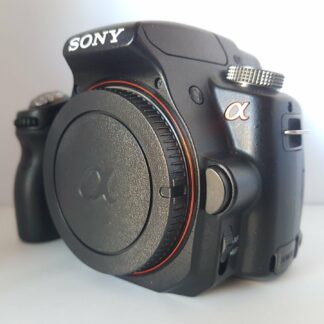
Sony E-Mount System: Flexibility and Full-Frame Options
Sony’s E-mount system includes both APS-C and full-frame bodies, which adds flexibility—but also complexity—when buying used lenses.
Used Lens Pricing
Sony’s used lenses can vary wildly in price depending on whether you’re shopping for APS-C or full-frame.
For APS-C (Sony a6000–a6700 series):
- Sony 35mm f/1.8 OSS: $250–$350 used
- Sony 16-50mm f/3.5-5.6 OSS: Around $100–$150 used
For full-frame (Sony a7 series):
- Sony FE 50mm f/1.8: $150–$200 used
- Sony FE 24-105mm f/4 G OSS: Around $700–$850 used
- Sony 85mm f/1.8: Around $400–$500 used
While Sony’s lineup includes more modern autofocus designs and often better video autofocus, the used full-frame lenses come at a premium, and even basic zooms can be significantly more expensive than Fuji’s equivalents.
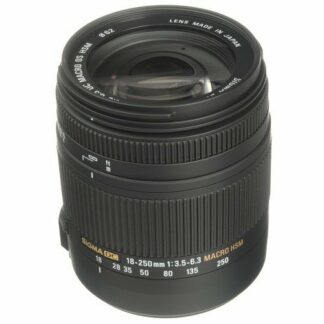
Third-Party Options
One of Sony’s biggest strengths is the wealth of third-party lens support, especially from Sigma and Tamron. Used third-party lenses for Sony are abundant and often provide excellent value:
- Sigma 24-70mm f/2.8 DG DN Art: Around $800 used
- Tamron 28-75mm f/2.8 G2: Around $600–$700 used
These lenses perform nearly as well as Sony’s native G Master lenses but are much more budget-friendly.
Availability in the Used Market
Fujifilm
Fujifilm lenses are not as common on the used market as Sony’s, but what’s available tends to be in good condition. Since the Fujifilm community often treats their gear with care, you’re likely to find lenses that have aged well.
However, Fuji’s lens prices stay relatively high, even on the secondhand market—indicating high demand and confidence in long-term lens value.
Sony
Sony lenses, by contrast, are plentiful in the used market—especially for the full-frame FE system. Whether you’re looking for native lenses or third-party options, you’ll find a wide variety at many price points.
However, due to the larger volume of products, condition can vary, and it’s important to verify lens operation, especially for older models or third-party brands.
Autofocus and Video Performance
Sony
If you shoot video, Sony is arguably the better choice. Used Sony lenses often support faster, quieter autofocus motors designed for hybrid shooting. Many Sony lenses are also equipped with linear motors, making them great for vlogging, YouTube, or professional work.
Fujifilm
While Fujifilm has made significant improvements to autofocus in recent years (especially with newer bodies like the X-T4 and X-T5), older lenses like the XF 35mm f/1.4 still use slower, noisier motors. This doesn’t impact stills as much, but video shooters may find it limiting.
Size and Weight Considerations
One of Fujifilm’s key strengths is the compact size of its lenses. Even fast primes and zooms tend to be smaller and lighter than their Sony counterparts. This makes Fuji gear particularly appealing for street photography, travel, and anyone prioritizing portability.
Sony full-frame lenses, on the other hand, tend to be larger and heavier, especially in the fast-aperture zoom category.
Long-Term Value & Ecosystem Growth
Fujifilm
Fujifilm has steadily grown its lens lineup with more pro-level options and even some niche tools like the XF 90mm f/2. Buying into the used Fuji system offers great value if you plan to stick with APS-C. However, the lack of a full-frame path may be a downside for some users.
Sony
Sony offers a more flexible ecosystem, allowing you to start with APS-C and eventually upgrade to full-frame. This makes used Sony lenses a longer-term investment, especially for users who plan to scale their gear as their skills grow.
Conclusion: Which Has Better Lens Value?
The answer depends on your shooting style, budget, and long-term goals:
Choose Fujifilm if you:
- Prefer compact gear with classic styling
- Want a system optimized for APS-C
- Prioritize stills over video
- Appreciate consistent lens quality at a modest used price
Choose Sony if you:
- Want the option to upgrade to full-frame
- Prioritize hybrid photo and video use
- Appreciate fast, modern autofocus
- Want access to a broader used and third-party lens market
Both systems offer excellent used lens value, but Fujifilm wins on consistency and simplicity, while Sony excels in flexibility and breadth. Your best bet? Define your shooting priorities, then invest in the system that matches your creative goals.